How To Build Your Own Solar Panel?
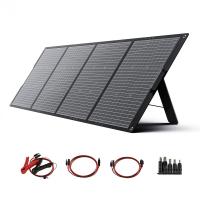
Building your own solar panel can be a rewarding and educational experience, allowing you to harness renewable energy and reduce your electricity bills. This article will guide you through the process, from understanding the basic components to assembling and installing your solar panel system. By the end of this guide, you will have a comprehensive understanding of how to build a solar panel and the practical considerations involved.
Understanding Solar Panel Components
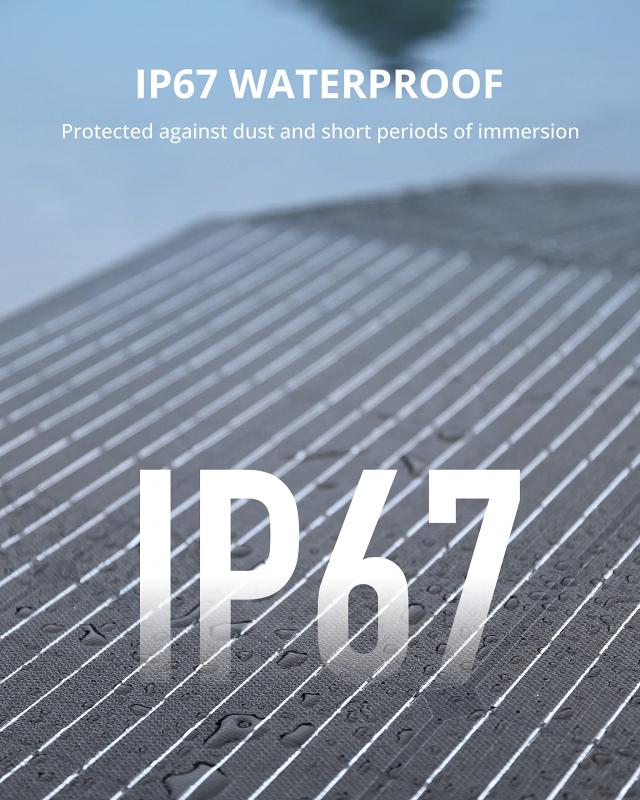
Before diving into the construction process, it's essential to understand the primary components of a solar panel system:
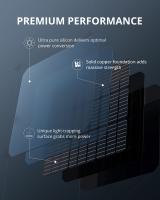
1. Solar Cells: These are the building blocks of a solar panel. Solar cells convert sunlight into electricity through the photovoltaic effect. They are typically made from silicon and come in various types, including monocrystalline, polycrystalline, and thin-film.
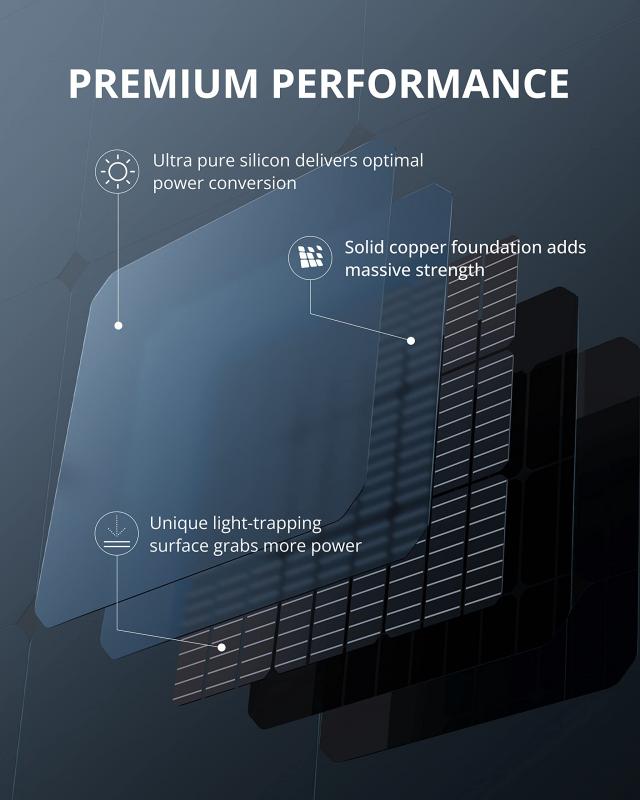
2. Encapsulation: This involves protecting the solar cells from environmental damage. Encapsulation materials include ethylene-vinyl acetate (EVA) and tempered glass.
3. Frame: The frame provides structural support and protection for the solar panel. It is usually made from aluminum.
4. Junction Box: This is where the electrical connections are made. It houses the bypass diodes, which prevent power loss due to shading.
5. Wiring and Connectors: These components connect the solar cells and allow the electricity generated to flow to the inverter or battery storage system.
6. Inverter: This device converts the direct current (DC) produced by the solar cells into alternating current (AC), which is used by most household appliances.
Step-by-Step Guide to Building a Solar Panel

Step 1: Gather Materials and Tools
To build a solar panel, you will need the following materials and tools:
- Solar cells
- EVA sheets
- Tempered glass
- Aluminum frame
- Junction box
- Soldering iron and solder
- Tabbing wire and bus wire
- Flux pen
- Silicone sealant
- Multimeter
- Screwdriver
- Wire cutters and strippers
Step 2: Design Your Solar Panel
Determine the size and power output of your solar panel based on your energy needs and available space. Calculate the number of solar cells required by considering the voltage and current ratings of each cell. For example, if you need a 100W panel and each cell produces 0.5V and 5A, you will need 36 cells (18 in series and 2 in parallel).
Step 3: Connect the Solar Cells
Lay out the solar cells on a flat surface in the desired configuration. Use the flux pen to clean the contact points on the cells. Solder the tabbing wire to the front and back of each cell, connecting them in series to achieve the desired voltage. Use bus wire to connect the series strings in parallel if needed.
Step 4: Encapsulate the Solar Cells
Place the connected solar cells between two EVA sheets. Ensure there are no air bubbles or gaps. Place the tempered glass on top of the EVA sheets and apply heat using a laminator or heat gun to bond the layers together. This process protects the cells from moisture and mechanical damage.
Step 5: Assemble the Frame
Cut the aluminum frame to size and assemble it around the encapsulated solar cells. Secure the frame using screws and silicone sealant to ensure it is watertight. Attach the junction box to the back of the panel and connect the wires from the solar cells to the junction box terminals.
Step 6: Test the Solar Panel
Before installation, test the solar panel to ensure it is functioning correctly. Use a multimeter to measure the voltage and current output. Compare the readings with the expected values based on the number of cells and their ratings. If the output is lower than expected, check for poor solder connections or damaged cells.
Step 7: Install the Solar Panel
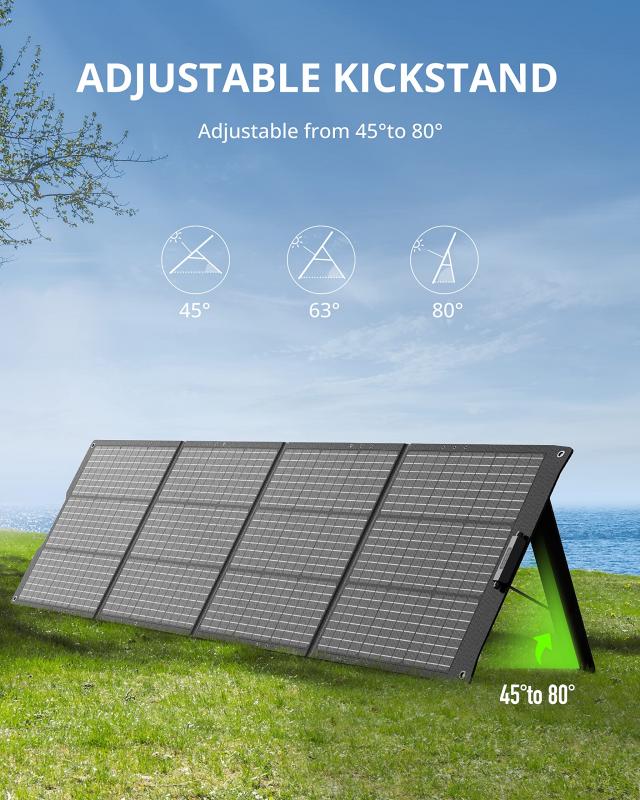
Choose a suitable location for your solar panel, such as a rooftop or a ground-mounted frame, where it will receive maximum sunlight throughout the day. Secure the panel in place using mounting brackets and ensure it is angled correctly to optimize sunlight exposure. Connect the panel to an inverter or battery storage system using appropriate wiring and connectors.
Practical Considerations
Safety Precautions
Working with electricity and tools can be hazardous. Always take safety precautions, such as wearing protective gear, working in a well-ventilated area, and following manufacturer instructions for tools and materials. If you are unsure about any step, consult a professional.
Efficiency and Performance
The efficiency of your homemade solar panel may not match that of commercially manufactured panels. Factors such as the quality of solar cells, soldering technique, and encapsulation process can affect performance. Regular maintenance, such as cleaning the panel surface and checking connections, can help maintain efficiency.
Cost and Time Investment
Building your own solar panel can be cost-effective compared to purchasing a commercial system, but it requires a significant time investment. Consider the cost of materials and tools, as well as the time needed for research, design, and assembly. Weigh these factors against the potential savings on your electricity bills.
Legal and Regulatory Considerations
Before installing a solar panel system, check local regulations and building codes. Some areas may require permits or inspections for solar installations. Additionally, if you plan to connect your system to the grid, you may need approval from your utility company.
Building your own solar panel is a challenging but rewarding project that can provide a deeper understanding of renewable energy and its benefits. By following this step-by-step guide, you can create a functional solar panel system tailored to your energy needs. Remember to prioritize safety, efficiency, and compliance with local regulations throughout the process. With careful planning and execution, you can enjoy the satisfaction of generating your own clean, renewable energy.





There are no comments for this blog.