How To Change Sd Card Write Protection?
Secure Digital (SD) cards are a popular means of storing all sorts of data, from cherished photos to important documents. One challenge users sometimes face with these storage devices is when an SD card becomes write-protected. Write protection stops any modifications from being made to the data on the card—this includes deleting files, adding new files, or formatting the card. If you're grappling with this issue, it may seem daunting at first, but rest assured there are several methods to potentially resolve it.
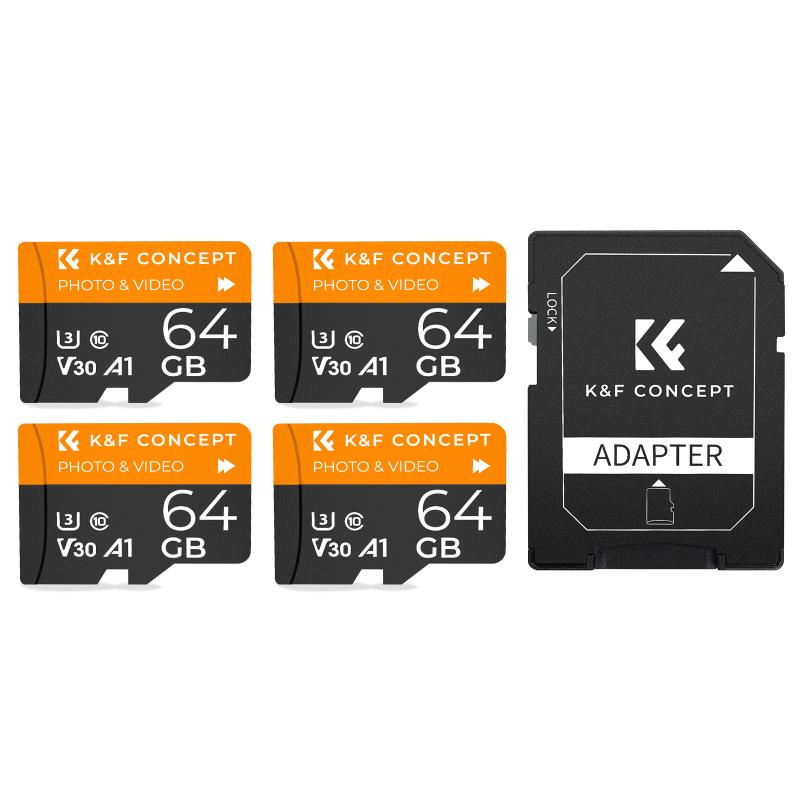
First, it's important to note why an SD card might be write-protected. There are both physical and software-related reasons behind this. Physically, many SD cards have a small switch on the side. When this switch is in the "locked" position, it prevents writing to the card. On the software side of things, the card’s file system or your device's operating system might be responsible, as some settings may be in place to protect the data on the card from accidental overwrite or deletion.
Physical Lock Switch

The most straightforward and common reason for write protection is the small physical switch on the side of the SD card. This switch is designed to toggle write protection on and off.
1. Inspect the Card: Remove the SD card from the device it's being used in. Look at the side of the card.
2. Locate the Lock Switch: You should see a tiny switch. This might be labeled “Lock” or be denoted by a small padlock symbol.
3. Toggle the Switch: If the switch is positioned towards the bottom (away from the connectors), it is in the "locked" position. Slide it upwards towards the connectors; this should unlock the card. After adjusting the switch, reinsert the card and check if a change has occurred.
Software or Filesystem Issues

If the physical switch isn't the issue, or correcting it hasn’t enabled write access, there might be a software-related problem.
1. Use Disk Management: On a Windows PC, you can employ Disk Management to remove write protection. Right-click on the Start button and select Disk Management. Locate your SD card, right-click it, and choose "Properties." Under the “General” tab, check if the device is “Read-only.” If it is, you may need to use command-line tools to alter this status.
2. Command Prompt (Windows): Using Command Prompt, you can change write-protection settings. Type `cmd` in the Windows search box, right-click Command Prompt, and select "Run as administrator." Once the command line window is open, type `diskpart` and press Enter. Then, type `list disk` and find your SD card in the list. If it is Disk 1, you would type `select disk 1`. Finally, type `attributes disk clear readonly` and press Enter. Exit the program and check if the card is no longer write-protected.
3. Regedit (Windows): Occasionally, a registry edit may be required. Press `Win + R`, type `regedit`, and press Enter to open the Registry Editor. Navigate to: `HKEY_LOCAL_MACHINE\SYSTEM\CurrentControlSet\Control\StorageDevicePolicies`. If you see the `WriteProtect` entry, double-click it and change the value from 1 to 0. If this entry does not exist, right-click the `Control` folder, choose New > Key, and name it `StorageDevicePolicies`. Inside this new key, right-click on the right pane, select New > DWORD, name it `WriteProtect`, and set its value to 0. Exit the registry, reboot your computer, and test the SD card again.
Mac OS Solutions
For Mac users experiencing similar issues, the Disk Utility might come in handy. Open Disk Utility from the Applications > Utilities folder. Select your SD card in the sidebar, then click "First Aid" to run diagnostics. Once this is complete, you can attempt to write to the card again. In some cases, reformatting the card could be necessary, but this will erase all existing data on the card.
Formatting the SD Card

If all else fails, formatting the SD card could be a last resort. Keep in mind that formatting will remove all files on your card, and as such, it should only be attempted if you have backed up the data, or it's not essential. To format an SD card on Windows, open File Explorer, right-click on the SD card, and select Format. Choose a file system format compatible with your devices, such as FAT32 or exFAT, and uncheck the “Quick Format” box for a more thorough erasure.
On a Mac, open Disk Utility, select the card, and click the Erase button. Choose a format and confirm your choice. Once the process is complete, the write-protection error should, hopefully, have been resolved.
Considerations
It is worth noting that if an SD card is permanently write-protected due to age or damage, these methods might not work. In such cases, the issue could be rooted in physical damage to the card itself, and the best course of action may be to replace it. Also, keep in mind that some USB card readers are not compatible with certain SD card types or capacities, and this could also contribute to write protection errors.
In conclusion, discovering that your SD card is write-protected can disrupt your usual workflow, but by following the methods outlined above, you should be able to regain full access to your card. Remember to handle SD cards carefully to prevent damage, always safely eject them from devices, and regularly back up important data to avoid data loss. If you've tried every method without success, it may be time to consider investing in a new SD card.



![4K digital camera for photography and video [autofocus and stabilisation] 48 MP video blog camera with SD card, 3 4K digital camera for photography and video [autofocus and stabilisation] 48 MP video blog camera with SD card, 3](https://img.kentfaith.com/cache/catalog/products/us/GW41.0065/GW41.0065-1-200x200.jpg)
