How To Clean A Headphone Jack?
Cleaning a headphone jack is a task that many people overlook, but it is essential for maintaining the quality and longevity of your audio devices. Over time, dust, lint, and other debris can accumulate in the headphone jack, leading to poor audio quality or even complete malfunction. In this article, we will explore various methods to clean a headphone jack effectively and safely. We will also discuss the tools you need, the steps to follow, and some preventive measures to keep your headphone jack in pristine condition.
Why Cleaning Your Headphone Jack is Important
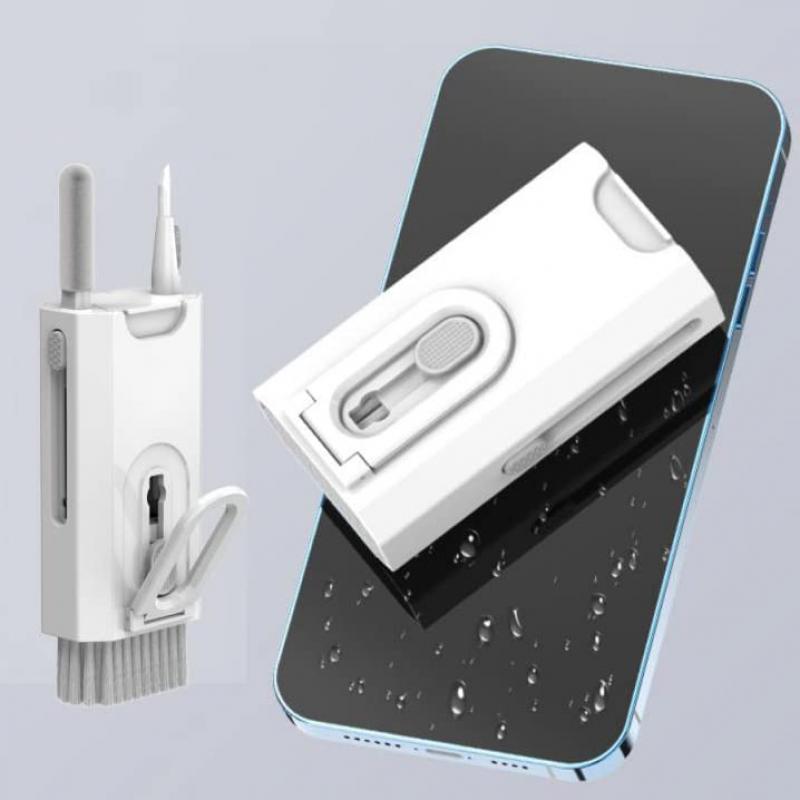
Before diving into the cleaning methods, it's crucial to understand why cleaning your headphone jack is essential. A dirty headphone jack can cause several issues, including:
1. Poor Audio Quality: Debris can obstruct the connection between the headphone plug and the jack, leading to static, muffled sound, or intermittent audio.
2. Device Malfunction: In severe cases, a dirty headphone jack can cause your device to malfunction, as the debris can interfere with the electrical connections.
3. Physical Damage: Accumulated debris can cause wear and tear on the headphone jack, leading to physical damage over time.
Tools You Will Need
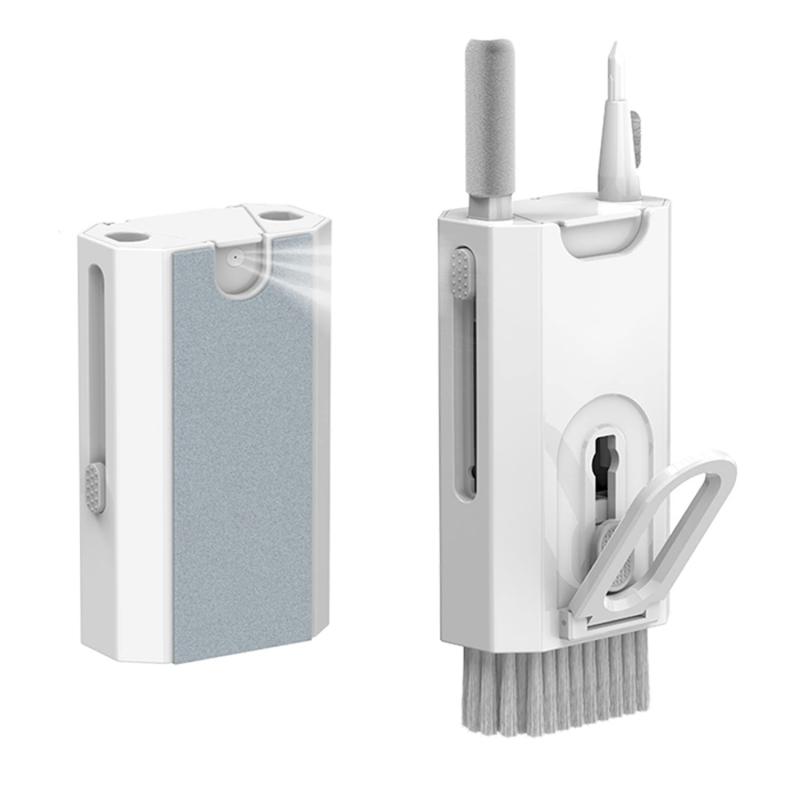
To clean your headphone jack, you will need a few basic tools. These tools are readily available and inexpensive:
1. Compressed Air: A can of compressed air can blow out loose debris from the headphone jack.
2. Cotton Swabs: These are useful for cleaning the inside of the headphone jack.
3. Isopropyl Alcohol: A small amount of isopropyl alcohol can help dissolve stubborn debris.
4. Toothpick or Needle: These can be used to gently dislodge debris that is stuck inside the jack.
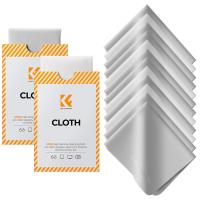
5. Soft Cloth: A soft, lint-free cloth can be used to wipe down the exterior of the headphone jack.
Step-by-Step Cleaning Methods
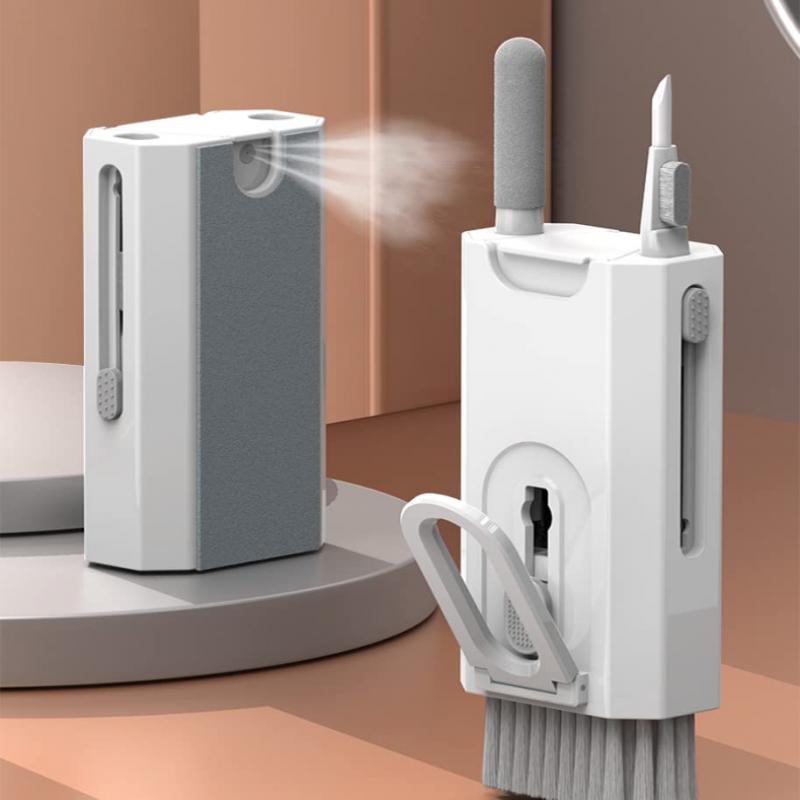
Method 1: Using Compressed Air
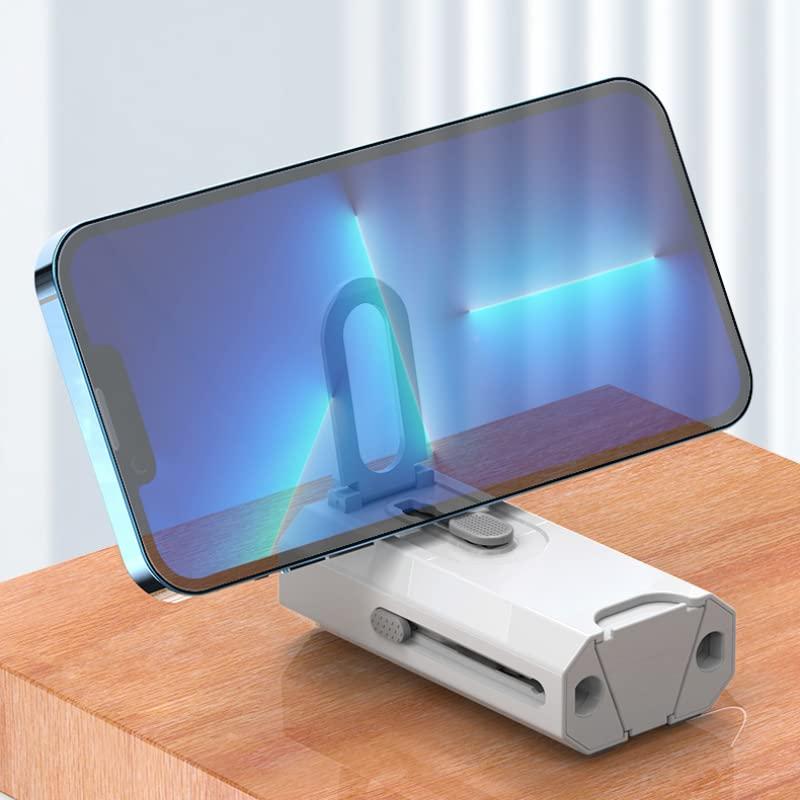
1. Turn Off Your Device: Before you start cleaning, make sure your device is turned off to avoid any electrical issues.
2. Insert the Nozzle: Attach the nozzle to the can of compressed air and insert it into the headphone jack.
3. Blow Air: Press the trigger to release a burst of air into the headphone jack. This should dislodge any loose debris.
4. Check the Jack: After blowing air, check the headphone jack to see if any debris remains. If necessary, repeat the process.
Method 2: Using Cotton Swabs and Isopropyl Alcohol
1. Turn Off Your Device: Ensure your device is turned off.
2. Dampen the Cotton Swab: Lightly dampen a cotton swab with isopropyl alcohol. Make sure it is not soaking wet.
3. Insert the Swab: Gently insert the cotton swab into the headphone jack and twist it around to clean the inside.
4. Remove the Swab: Carefully remove the swab and check for any debris. Repeat the process if necessary.
5. Let it Dry: Allow the headphone jack to dry completely before turning your device back on.
Method 3: Using a Toothpick or Needle
1. Turn Off Your Device: As always, make sure your device is turned off.
2. Insert the Toothpick or Needle: Carefully insert the toothpick or needle into the headphone jack.
3. Dislodge Debris: Gently move the toothpick or needle around to dislodge any debris. Be very careful not to damage the internal components.
4. Remove Debris: Once the debris is dislodged, use a can of compressed air to blow it out.
Preventive Measures
Cleaning your headphone jack is essential, but taking preventive measures can help you avoid frequent cleanings. Here are some tips to keep your headphone jack clean:
1. Use a Dust Plug: A dust plug is a small accessory that fits into the headphone jack to prevent debris from entering.
2. Store Your Device Properly: When not in use, store your device in a clean, dust-free environment.
3. Regular Maintenance: Make it a habit to clean your headphone jack regularly, even if you don't notice any issues.
4. Avoid Using in Dusty Environments: Try to avoid using your device in extremely dusty or dirty environments.
Troubleshooting Common Issues
Even after cleaning, you might still encounter some issues with your headphone jack. Here are some common problems and their solutions:
1. No Sound: If you still don't hear any sound after cleaning, try using a different pair of headphones to rule out a headphone issue.
2. Intermittent Sound: If the sound cuts in and out, the headphone jack might be damaged. In this case, you may need to have it repaired or replaced.
3. Static or Distorted Sound: If you hear static or distorted sound, make sure the headphone plug is fully inserted into the jack. If the problem persists, it might be an issue with the headphones or the device itself.
Cleaning a headphone jack is a simple yet essential task that can significantly improve the performance and longevity of your audio devices. By following the methods outlined in this article, you can effectively remove debris and maintain a clean headphone jack. Remember to take preventive measures to keep your headphone jack in good condition and troubleshoot any issues that may arise. With a little effort and the right tools, you can ensure that your headphone jack remains clean and functional for years to come.


