How To Clean Earphones?
Earphones have become an essential part of our daily lives, whether we use them for listening to music, making phone calls, or watching videos. However, many people overlook the importance of keeping their earphones clean. Dirty earphones can not only affect sound quality but also pose health risks, such as ear infections. In this article, we will explore the best practices for cleaning earphones, ensuring they remain in optimal condition and safe for use.
Why Cleaning Earphones is Important
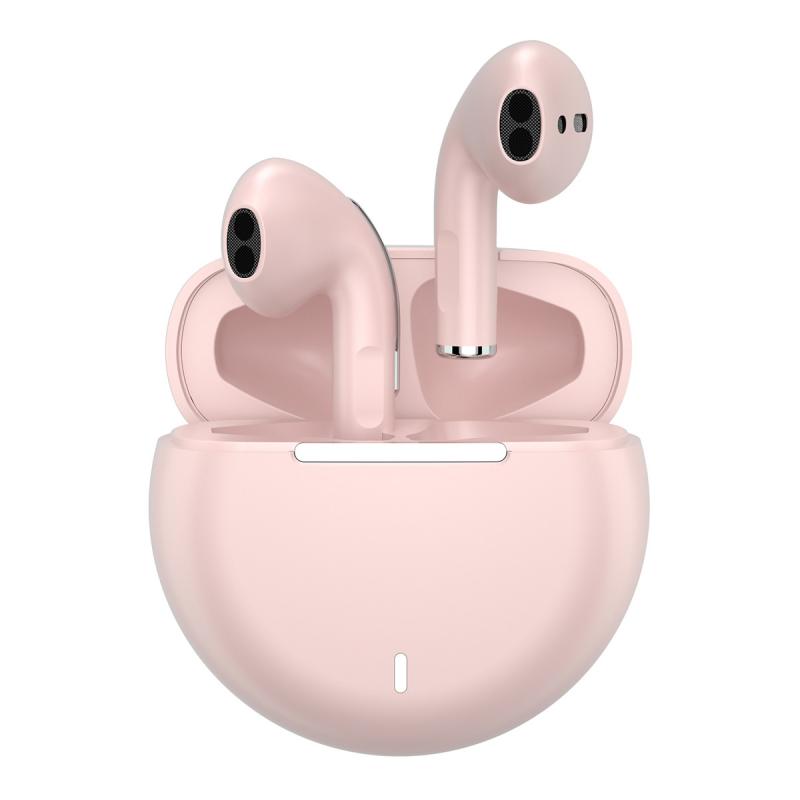
Before diving into the cleaning methods, it's crucial to understand why keeping your earphones clean is essential. Earphones come into direct contact with your ears, which can harbor bacteria, earwax, and other debris. Over time, this buildup can lead to several issues:
1. Reduced Sound Quality: Accumulated earwax and debris can block the earphone's speaker, leading to muffled or distorted sound.
2. Health Risks: Dirty earphones can introduce bacteria into your ears, potentially causing infections or irritations.
3. Longevity: Regular cleaning can extend the lifespan of your earphones by preventing damage caused by dirt and moisture.
Materials Needed for Cleaning
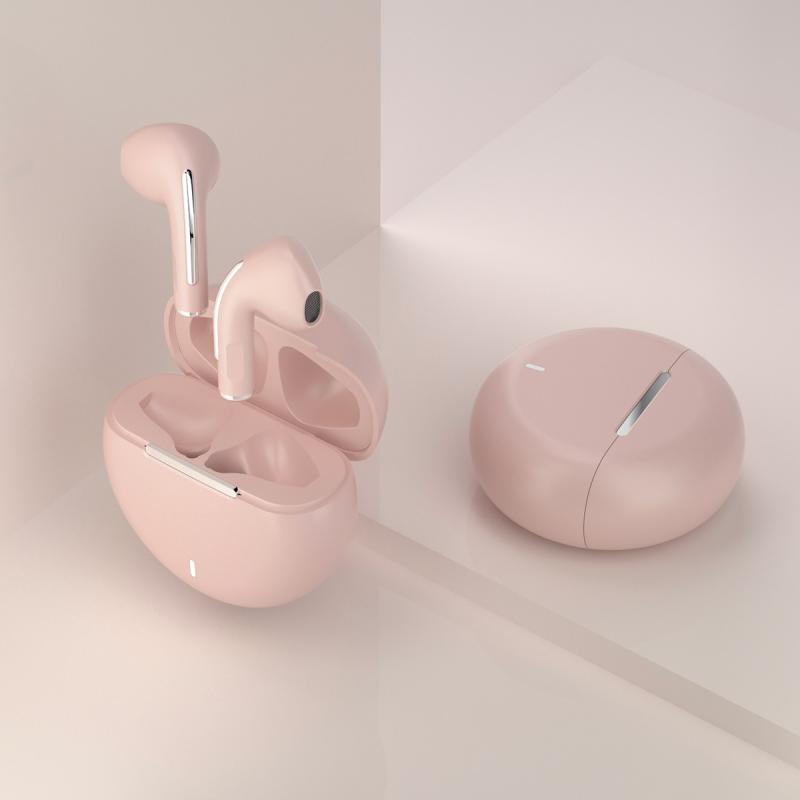
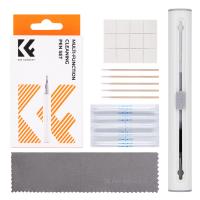
To clean your earphones effectively, you will need the following materials:
- A soft, lint-free cloth
- Cotton swabs
- Isopropyl alcohol (70% or higher)
- Warm water
- Mild soap
- A small brush (such as a toothbrush)
- Compressed air (optional)
Step-by-Step Guide to Cleaning Earphones
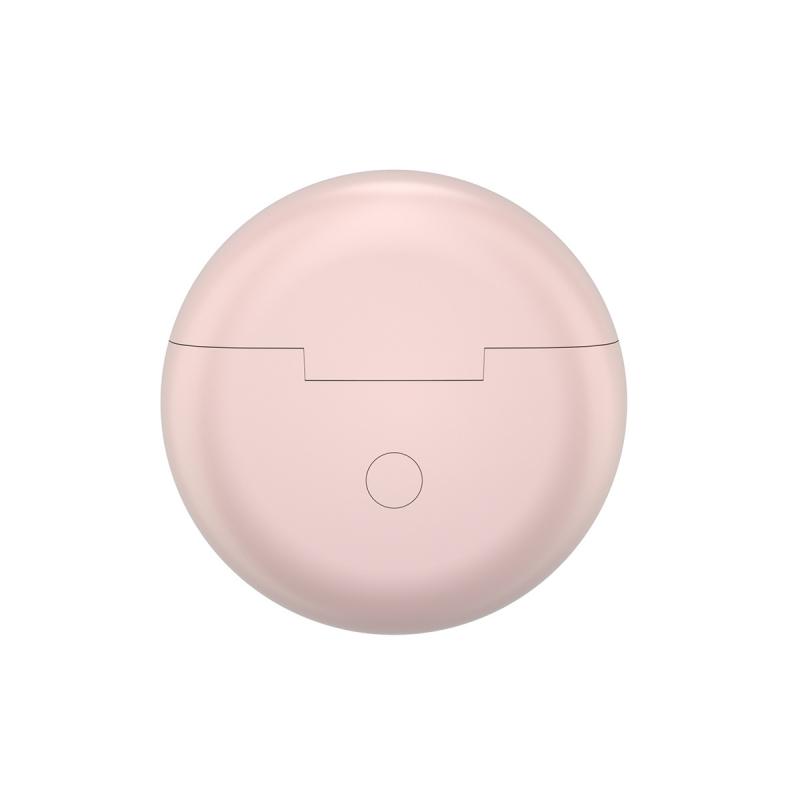
1. Initial Inspection
Before you start cleaning, inspect your earphones for any visible dirt, earwax, or damage. This will help you determine the areas that need the most attention.
2. Remove Ear Tips
If your earphones have removable silicone or foam ear tips, take them off. These tips often accumulate the most dirt and earwax. Soak them in warm, soapy water for a few minutes to loosen any debris.
3. Clean the Ear Tips
After soaking, use a soft cloth or a cotton swab to gently clean the ear tips. Make sure to remove all the soap residue by rinsing them thoroughly with clean water. Allow them to air dry completely before reattaching them to the earphones.
4. Clean the Earphone Body
Dampen a soft, lint-free cloth with a small amount of isopropyl alcohol. Gently wipe down the body of the earphones, paying special attention to areas that come into contact with your ears. Avoid getting any liquid into the speaker or electronic components.
5. Clean the Speaker Grills
The speaker grills are often the most challenging part to clean. Use a dry cotton swab or a small brush to remove any visible debris. If necessary, you can dampen the cotton swab with a tiny amount of isopropyl alcohol to help dissolve stubborn dirt. Be very gentle to avoid damaging the delicate mesh.
6. Use Compressed Air (Optional)
If you have access to compressed air, you can use it to blow out any remaining debris from the speaker grills and other hard-to-reach areas. Hold the can at a safe distance to avoid damaging the earphones with too much pressure.
7. Reassemble the Earphones
Once all the components are clean and completely dry, reattach the ear tips to the earphones. Make sure everything is securely in place before using them again.
Additional Tips for Maintaining Clean Earphones
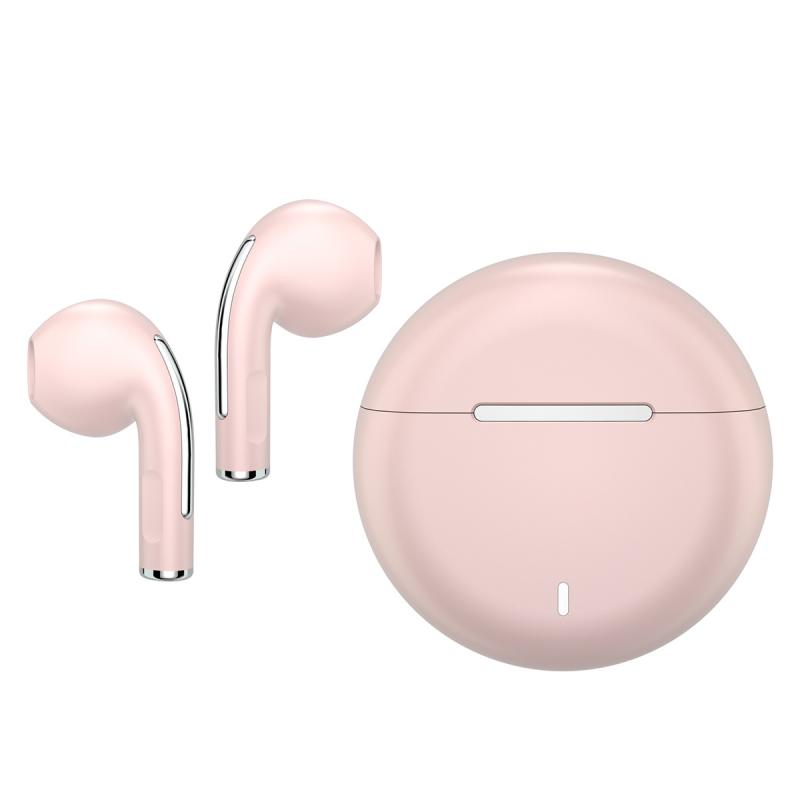
- Regular Cleaning: Make it a habit to clean your earphones at least once a week, especially if you use them frequently.
- Storage: Store your earphones in a clean, dry case when not in use to protect them from dirt and moisture.
- Avoid Sharing: Sharing earphones can transfer bacteria and earwax between users. If you must share, clean them thoroughly before and after use.
- Handle with Clean Hands: Always handle your earphones with clean hands to minimize the transfer of dirt and oils.
Troubleshooting Common Issues
Muffled Sound
If you notice that the sound quality has deteriorated, it could be due to a buildup of earwax or debris in the speaker grills. Follow the cleaning steps outlined above to remove any obstructions.
Ear Tips Falling Off
If the ear tips frequently fall off, they may be worn out or not properly attached. Ensure they are securely fitted, and consider replacing them if they are damaged.
Unpleasant Odor
An unpleasant odor can indicate bacterial growth. Clean your earphones thoroughly with isopropyl alcohol and allow them to dry completely before using them again.
Keeping your earphones clean is not just about maintaining sound quality; it's also about ensuring your health and extending the life of your device. By following the steps outlined in this article, you can keep your earphones in top condition and enjoy a better listening experience. Regular cleaning, proper storage, and mindful handling are key to maintaining your earphones and preventing potential issues. So, take a few minutes each week to clean your earphones, and you'll be rewarded with better sound quality and a safer listening experience.


