How To Clean Over Ear Headphones?
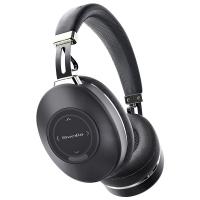
Cleaning over-ear headphones is an essential task to ensure their longevity and maintain sound quality. Over time, headphones can accumulate dirt, sweat, and earwax, which can affect their performance and hygiene. In this article, we will explore the best practices for cleaning over-ear headphones, addressing various user demands and providing practical solutions to common problems.
Why Cleaning Over-Ear Headphones is Important
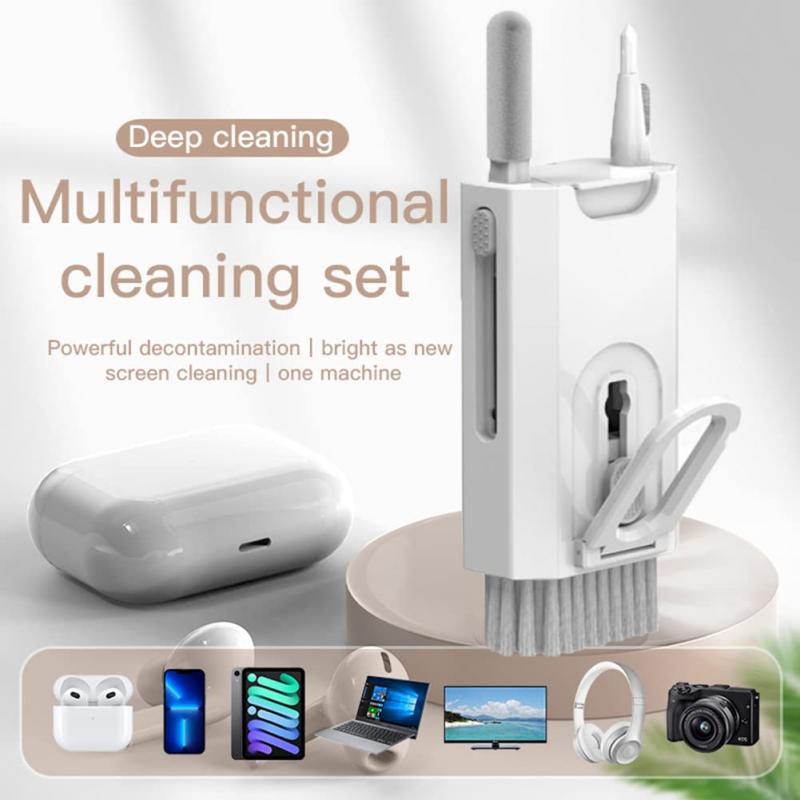
Before diving into the cleaning process, it's crucial to understand why maintaining clean headphones is essential. Dirty headphones can lead to several issues:
1. Hygiene: Accumulated sweat and earwax can harbor bacteria, leading to potential ear infections.
2. Sound Quality: Dirt and debris can clog the ear pads and drivers, affecting the sound quality.
3. Durability: Regular cleaning can prevent wear and tear, extending the lifespan of your headphones.
Tools and Materials Needed
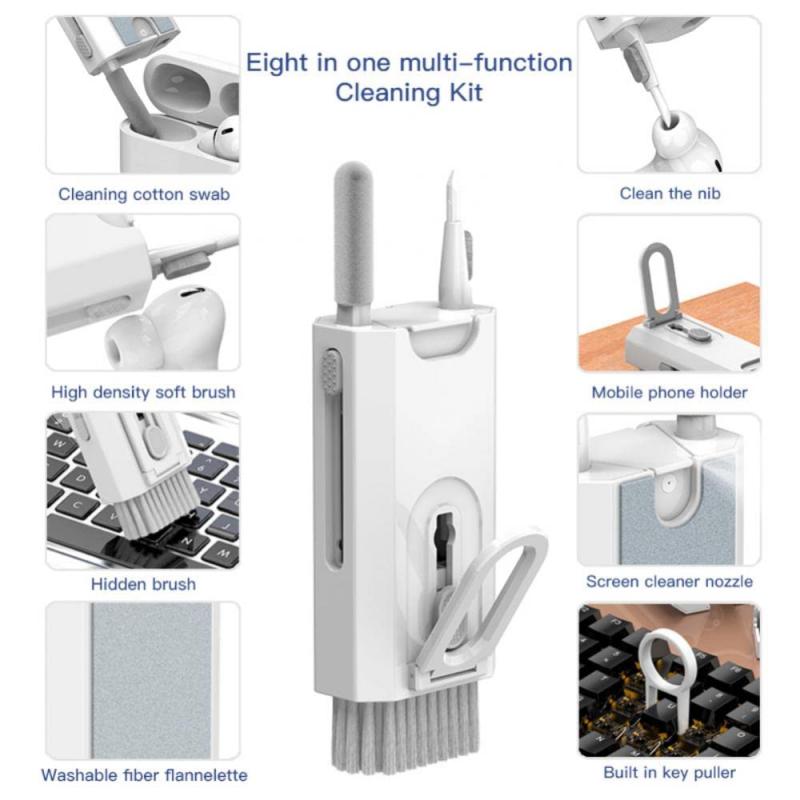
To clean your over-ear headphones effectively, you will need the following tools and materials:
- Soft, lint-free cloth
- Mild soap or detergent
- Water
- Isopropyl alcohol (70% or higher)
- Cotton swabs
- Small brush (e.g., a toothbrush)
- Compressed air (optional)
Step-by-Step Cleaning Guide
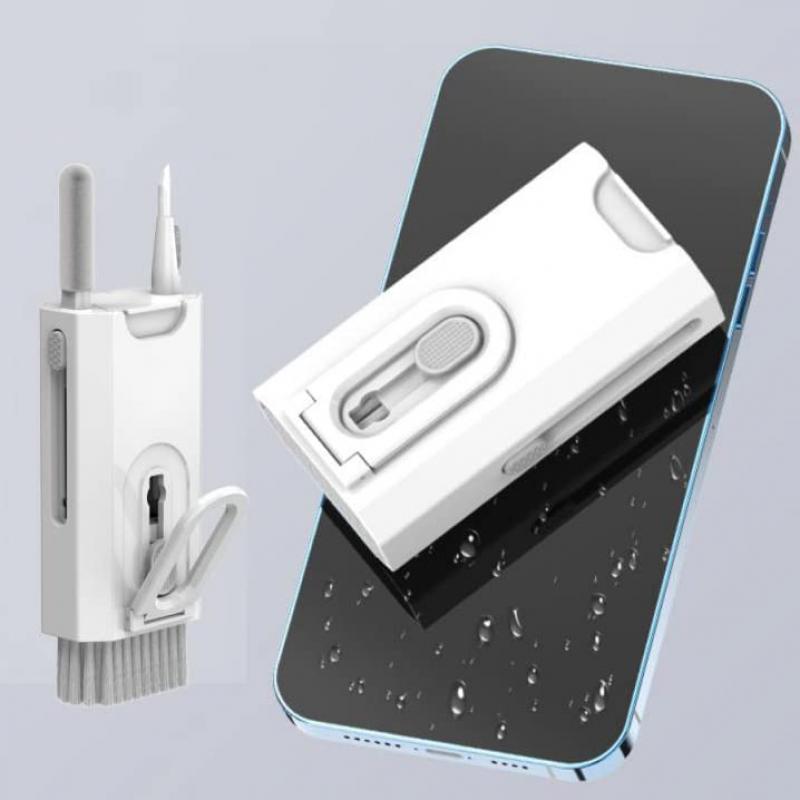
1. Preparation
Before you start cleaning, make sure your headphones are unplugged and turned off. If your headphones have removable ear pads, detach them to clean separately.
2. Cleaning the Ear Pads
Ear pads are the most exposed part of the headphones and tend to accumulate the most dirt. Here's how to clean them:
- Remove the Ear Pads: If possible, detach the ear pads from the headphones.
- Wipe with a Cloth: Dampen a soft, lint-free cloth with a mixture of mild soap and water. Gently wipe the ear pads to remove dirt and grime.
- Deep Clean: For a more thorough clean, you can soak the ear pads in soapy water for a few minutes. After soaking, use a small brush to scrub away any remaining dirt.
- Rinse and Dry: Rinse the ear pads with clean water and pat them dry with a towel. Allow them to air dry completely before reattaching them to the headphones.
3. Cleaning the Headband and Exterior
The headband and exterior parts of the headphones also need regular cleaning:
- Wipe Down: Use a damp cloth with mild soap to wipe down the headband and exterior surfaces. Avoid getting water into any openings or the drivers.
- Disinfect: For added hygiene, you can use a cloth dampened with isopropyl alcohol to disinfect the surfaces. This will help kill any bacteria or germs.
4. Cleaning the Drivers and Grilles
The drivers and grilles are delicate parts of the headphones that require careful cleaning:
- Brush Away Debris: Use a small brush or a toothbrush to gently remove any dust or debris from the grilles.
- Compressed Air: If you have compressed air, use it to blow away any remaining particles. Be cautious not to blow air directly into the drivers, as this can cause damage.
5. Cleaning the Cables
If your headphones have detachable cables, clean them separately:
- Wipe Down: Use a damp cloth with mild soap to wipe down the cables. Be careful not to get water into the connectors.
- Disinfect: Use a cloth dampened with isopropyl alcohol to disinfect the cables.
Tips for Maintaining Clean Headphones
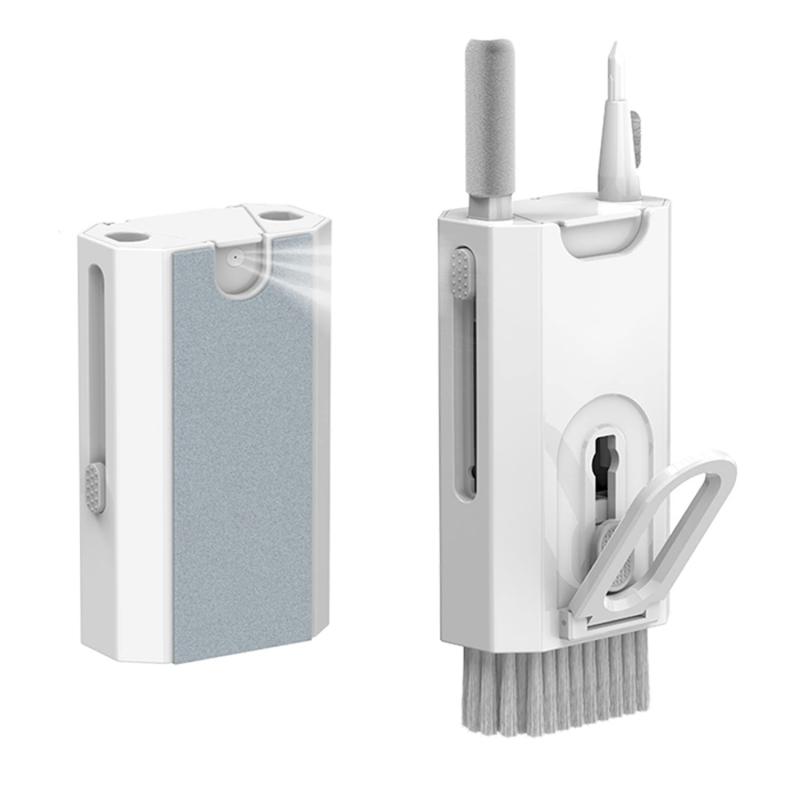
To keep your headphones clean and in good condition, follow these maintenance tips:
- Regular Cleaning: Make it a habit to clean your headphones regularly, especially after heavy use or sweating.
- Storage: Store your headphones in a clean, dry place when not in use. Consider using a protective case to prevent dust accumulation.
- Avoid Sharing: Sharing headphones can transfer bacteria and earwax. If you must share, clean the headphones before and after use.
- Ear Hygiene: Maintain good ear hygiene to reduce the amount of earwax and sweat that gets transferred to your headphones.
Troubleshooting Common Issues
Even with regular cleaning, you may encounter some common issues with your over-ear headphones. Here are some troubleshooting tips:
1. Unpleasant Odor
If your headphones develop an unpleasant odor, it may be due to accumulated sweat and bacteria. To address this:
- Deep Clean: Follow the deep cleaning steps for the ear pads and headband.
- Disinfect: Use isopropyl alcohol to disinfect all surfaces.
- Air Out: Allow the headphones to air out in a well-ventilated area.
2. Reduced Sound Quality
If you notice a decline in sound quality, it could be due to clogged drivers or grilles:
- Clean the Grilles: Use a small brush and compressed air to remove any debris from the grilles.
- Check the Drivers: Ensure that the drivers are not obstructed by dirt or earwax.
3. Loose or Damaged Ear Pads
Over time, ear pads can become loose or damaged. To fix this:
- Replace Ear Pads: If the ear pads are worn out, consider replacing them with new ones. Most manufacturers offer replacement ear pads.
- Secure Attachment: Ensure that the ear pads are securely attached to the headphones to prevent them from falling off.
Cleaning your over-ear headphones is a simple yet crucial task that can significantly enhance their performance and longevity. By following the steps outlined in this article, you can ensure that your headphones remain in top condition, providing you with the best possible sound quality and hygiene. Regular maintenance and proper storage will go a long way in preserving your investment and ensuring a pleasant listening experience. So, take the time to clean your headphones regularly and enjoy your music with clarity and comfort.









There are no comments for this blog.