How To Fix Audio Jack On Headphones?
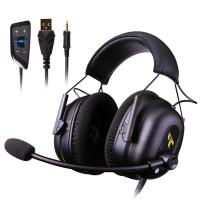
Fixing an audio jack on headphones can be a daunting task for many, but with the right tools and a bit of patience, it is entirely possible to restore your headphones to their former glory. In this article, we will delve into the common issues that can arise with headphone audio jacks, the tools you will need, and a step-by-step guide to fixing them. Whether you are dealing with a loose connection, a broken jack, or intermittent sound, this guide will help you troubleshoot and repair your headphones.
Understanding Common Issues with Headphone Audio Jacks
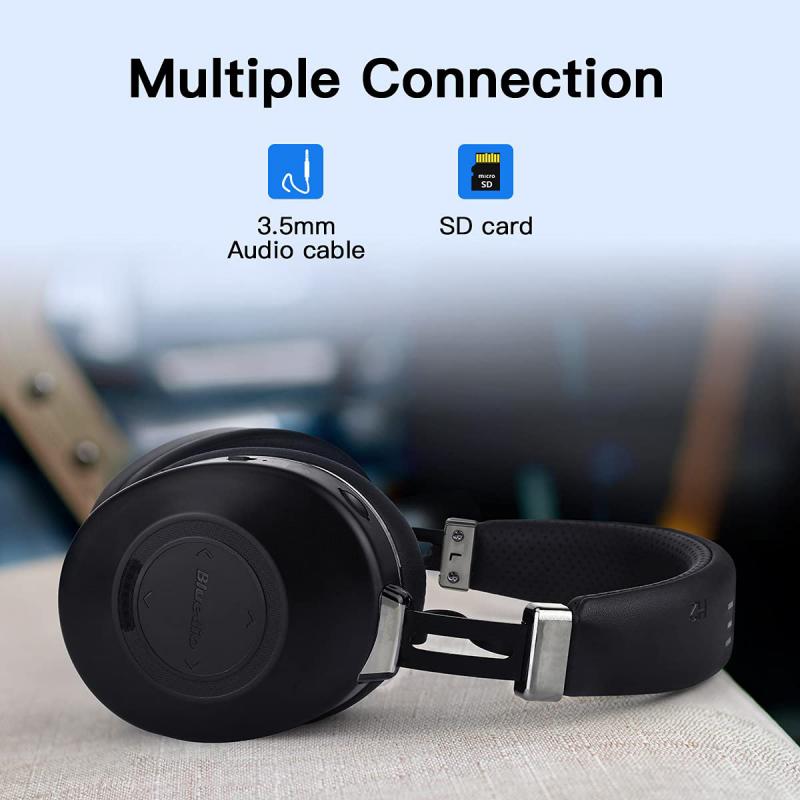
Before diving into the repair process, it is essential to understand the common problems that can occur with headphone audio jacks. These issues can range from simple wear and tear to more complex internal damage. Here are some of the most common problems:
1. Loose Connection: Over time, the connection between the audio jack and the headphones can become loose, leading to intermittent sound or no sound at all.
2. Broken Jack: The audio jack itself can break or become bent, making it impossible to connect to your device properly.
3. Worn Out Wires: The wires inside the headphone cable can wear out or break, leading to a loss of sound in one or both ears.
4. Corrosion: Exposure to moisture can cause the metal parts of the audio jack to corrode, affecting the sound quality.
Tools You Will Need
To fix an audio jack on headphones, you will need the following tools:
- Soldering iron and solder
- Wire cutters/strippers
- Multimeter (optional, but helpful for diagnosing issues)
- Replacement audio jack (if the original is broken)
- Heat shrink tubing or electrical tape
- Small screwdriver (if your headphones have screws)
Step-by-Step Guide to Fixing an Audio Jack

Step 1: Diagnose the Problem
The first step in fixing your headphones is to diagnose the problem. Plug your headphones into a device and gently wiggle the audio jack. If you hear intermittent sound or no sound at all, the issue is likely with the jack or the internal wiring. Use a multimeter to check for continuity in the wires if you have one.
Step 2: Cut and Strip the Cable
If you have determined that the issue is with the audio jack or the internal wiring, the next step is to cut off the old jack. Use wire cutters to make a clean cut a few inches above the jack. Then, use wire strippers to remove about an inch of the outer insulation from the cable, exposing the internal wires.
Step 3: Identify the Wires
Inside the headphone cable, you will typically find three or four wires. These wires are usually color-coded as follows:
- Red: Right audio channel
- Green or Blue: Left audio channel
- Copper or Gold: Ground
- White (if present): Microphone (for headphones with a built-in mic)
Carefully separate and strip the ends of these wires, being careful not to damage them.
Step 4: Prepare the Replacement Jack
If you are using a replacement audio jack, disassemble it to expose the terminals. Most replacement jacks have three terminals: one for the left audio channel, one for the right audio channel, and one for the ground. If your headphones have a built-in microphone, you will need a four-terminal jack.
Step 5: Solder the Wires
Before soldering, slide a piece of heat shrink tubing onto each wire. This will be used to insulate the connections later. Then, using a soldering iron, carefully solder each wire to the corresponding terminal on the replacement jack. Make sure to match the colors correctly:
- Red wire to the right audio terminal
- Green or blue wire to the left audio terminal
- Copper or gold wire to the ground terminal
- White wire to the microphone terminal (if applicable)
Step 6: Insulate the Connections
Once the wires are soldered, slide the heat shrink tubing over the connections and use a heat source (such as a lighter or heat gun) to shrink the tubing, providing insulation. If you do not have heat shrink tubing, you can use electrical tape to wrap the connections.
Step 7: Reassemble and Test
Reassemble the replacement jack, making sure all parts are securely in place. Then, plug your headphones into a device and test them to ensure that the sound is working correctly in both ears. If you still experience issues, double-check your soldering and connections.
Tips for Preventing Future Issues
To prevent future issues with your headphone audio jack, consider the following tips:
- Avoid Pulling on the Cable: Always unplug your headphones by pulling on the jack, not the cable, to avoid stressing the internal wires.
- Store Properly: Store your headphones in a case or pouch to protect them from damage when not in use.
- Keep Dry: Avoid exposing your headphones to moisture, which can cause corrosion and damage the internal components.
- Use a Right-Angle Adapter: If you frequently use your headphones with a device in your pocket, consider using a right-angle adapter to reduce stress on the audio jack.
Fixing an audio jack on headphones may seem intimidating, but with the right tools and a bit of patience, it is a manageable task. By following the steps outlined in this guide, you can diagnose and repair common issues with your headphone audio jack, extending the life of your headphones and saving money on replacements. Remember to take your time, work carefully, and always prioritize safety when using tools like a soldering iron. With these tips and techniques, you can enjoy your favorite music and podcasts without interruption.

