How To Fix Iphone Microphone?
If you’ve ever experienced issues with your iPhone’s microphone, you know how frustrating it can be. Whether it’s for making calls, recording voice memos, or using Siri, a malfunctioning microphone can severely impact your daily activities. In this article, we will explore various methods to diagnose and fix common iPhone microphone problems. By following these steps, you can potentially save yourself a trip to the Apple Store and get your device back in working order.
Understanding the Problem

Before diving into the solutions, it’s essential to understand the symptoms of a faulty microphone. Common signs include:
- People can’t hear you during phone calls.
- Siri can’t understand your commands.
- Voice memos or videos have no sound.
- Audio recordings are muffled or distorted.
Initial Troubleshooting Steps

1. Check for Obstructions
The first step is to ensure that nothing is blocking the microphone. Dust, lint, or even a poorly fitting case can obstruct the microphone. Use a soft brush or a can of compressed air to clean the microphone openings gently.
2. Restart Your iPhone
Sometimes, a simple restart can resolve minor software glitches. Hold down the power button and slide to power off. Wait a few seconds, then turn your iPhone back on.
3. Update iOS
Software updates often include bug fixes and improvements. Go to Settings > General > Software Update to check if there’s a new version of iOS available. If so, download and install it.
Testing the Microphone

Before proceeding with more advanced troubleshooting, it’s crucial to test the microphone to identify the issue accurately.
1. Voice Memos App
Open the Voice Memos app and record a short message. Play it back to see if you can hear your voice clearly.
2. Camera App
Switch to video mode in the Camera app and record a short video. Play it back to check the audio quality.
3. Siri
Activate Siri and ask a question. If Siri can’t hear you or responds incorrectly, it may indicate a microphone issue.
Advanced Troubleshooting

If the initial steps didn’t resolve the problem, it’s time to delve deeper.
1. Check App Permissions
Sometimes, microphone issues are due to app-specific settings. Go to Settings > Privacy > Microphone and ensure that the apps you’re using have permission to access the microphone.
2. Reset All Settings
Resetting all settings can resolve software-related issues without deleting your data. Go to Settings > General > Reset > Reset All Settings. Note that this will reset Wi-Fi passwords, wallpapers, and other settings to their defaults.
3. DFU Mode Restore
A Device Firmware Update (DFU) mode restore is a more in-depth method to fix software issues. Connect your iPhone to a computer, open iTunes (or Finder on macOS Catalina and later), and follow these steps:
- For iPhone 8 and later: Quickly press and release the Volume Up button, then the Volume Down button. Hold the Side button until the screen goes black. Hold the Side button and Volume Down button for 5 seconds, then release the Side button while continuing to hold the Volume Down button.
- For iPhone 7 and 7 Plus: Hold the Side and Volume Down buttons for 8 seconds, then release the Side button while continuing to hold the Volume Down button.
- For iPhone 6s and earlier: Hold the Home and Side buttons for 8 seconds, then release the Side button while continuing to hold the Home button.
Your iPhone screen should remain black if done correctly. Follow the on-screen instructions in iTunes or Finder to restore your iPhone.
Hardware Solutions
If none of the software solutions work, the issue might be hardware-related.
1. Inspect for Physical Damage
Check for any visible damage to the microphone area. If your iPhone has been dropped or exposed to water, it might have sustained internal damage.
2. Use an External Microphone
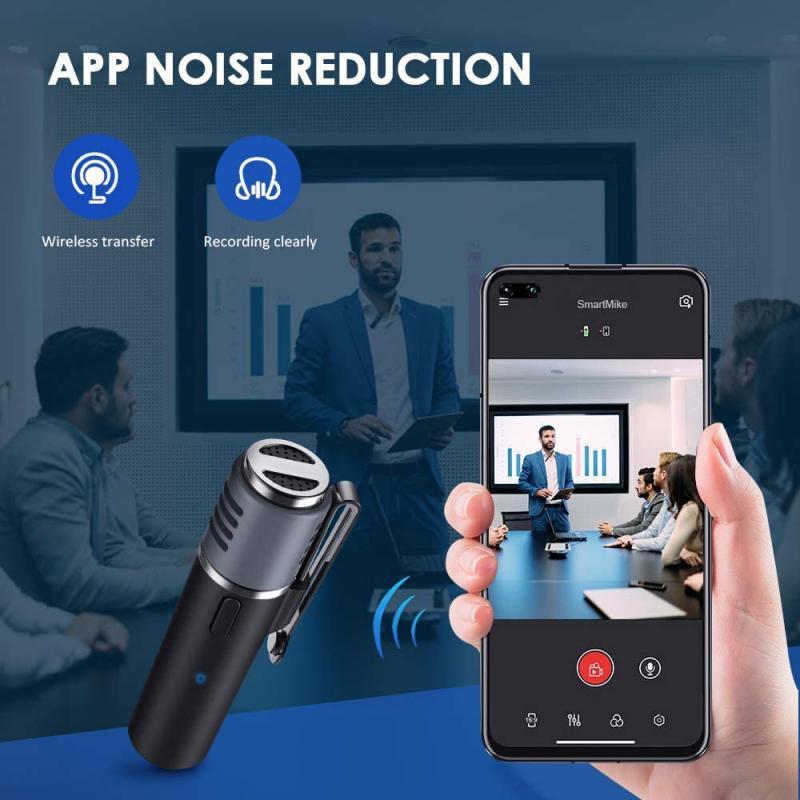
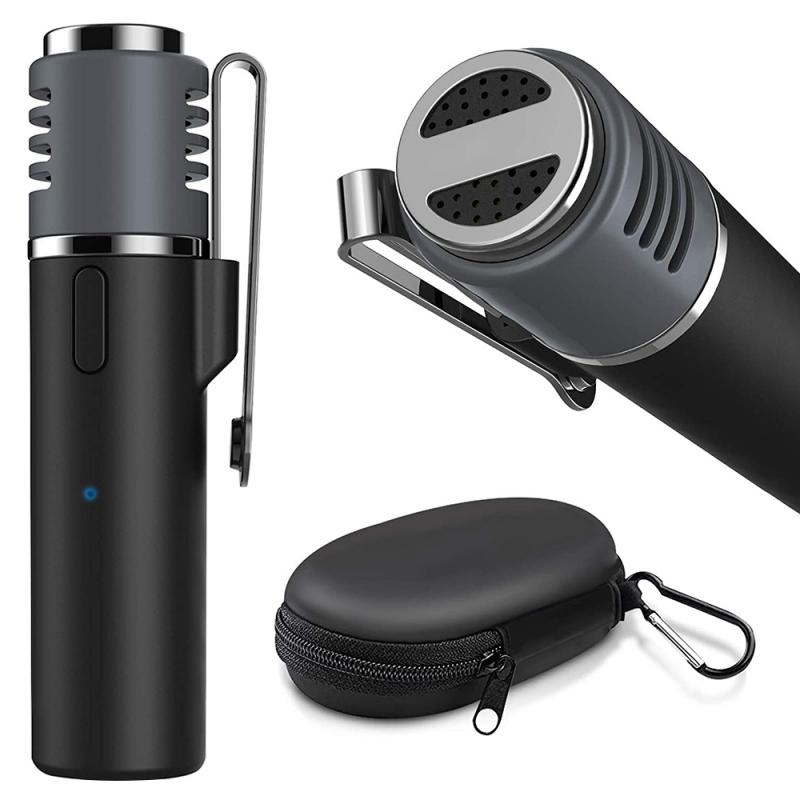
As a temporary solution, you can use an external microphone or a headset with a built-in mic. This can help you continue using your iPhone while you arrange for a repair.
3. Professional Repair
If you’ve exhausted all other options, it’s time to seek professional help. Visit an Apple Store or an authorized service provider for a thorough diagnosis and repair. If your iPhone is still under warranty, this might be covered at no additional cost.
Preventive Measures
Once you’ve resolved the microphone issue, consider taking preventive measures to avoid future problems.
1. Regular Cleaning
Keep the microphone area clean and free from dust and debris. Regularly inspect and clean the openings using a soft brush or compressed air.
2. Protective Case
Use a high-quality protective case that doesn’t obstruct the microphone. Ensure that the case fits well and has precise cutouts for the microphone and other components.
3. Avoid Water Exposure
While many iPhones are water-resistant, it’s still best to avoid exposing your device to water. If your iPhone gets wet, dry it thoroughly and avoid using it until you’re sure it’s completely dry.
A malfunctioning iPhone microphone can be a significant inconvenience, but with the right approach, you can often resolve the issue yourself. Start with basic troubleshooting steps like checking for obstructions and updating your software. If the problem persists, move on to more advanced solutions like resetting settings or performing a DFU mode restore. In cases where the issue is hardware-related, don’t hesitate to seek professional help.
By following these steps, you can diagnose and fix most iPhone microphone problems, ensuring that your device remains functional and reliable. Remember to take preventive measures to keep your microphone in good condition and avoid future issues. With a little effort and attention, you can keep your iPhone’s microphone working perfectly for years to come.
