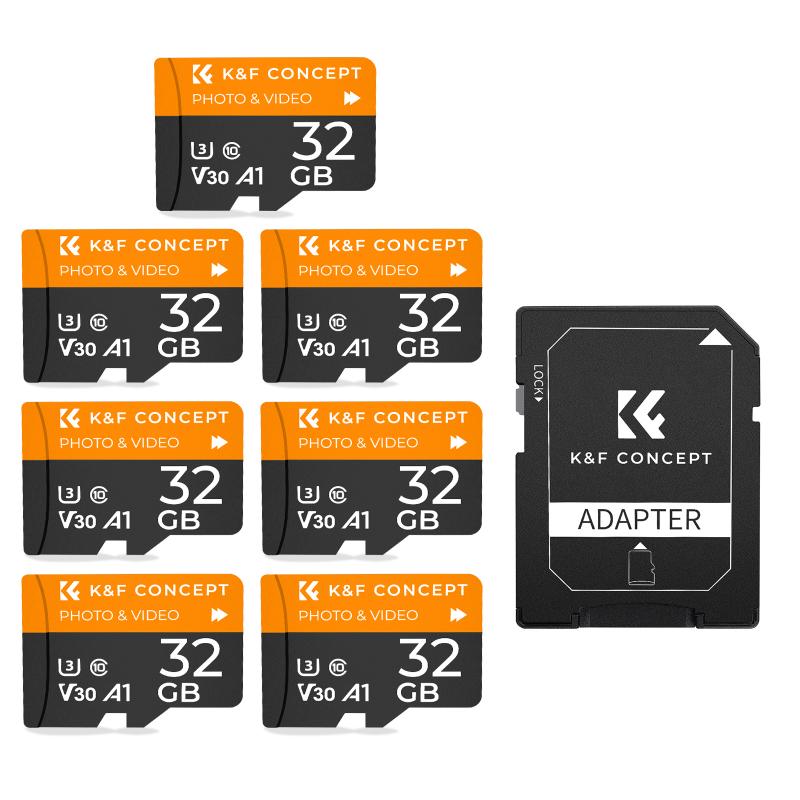
How To Format Sd Card For Switch?
Formatting an SD card for use with a Nintendo Switch is a common task that many users need to perform to expand their console's storage capacity. This process ensures that the SD card is compatible with the Switch and can store games, updates, and other data efficiently. In this article, we will walk you through the steps to format an SD card for your Nintendo Switch, discuss the different file systems, and provide tips to ensure a smooth experience.
Understanding the Need for Formatting

Before diving into the formatting process, it's essential to understand why formatting is necessary. The Nintendo Switch requires the SD card to be in a specific file system format to read and write data correctly. The most compatible file system for the Switch is FAT32 for cards up to 32GB and exFAT for cards larger than 32GB. Formatting the SD card ensures that it is set up correctly and free of any previous data that might cause conflicts.
Choosing the Right SD Card

Not all SD cards are created equal. When selecting an SD card for your Nintendo Switch, consider the following factors:
1. Capacity: The Switch supports microSD, microSDHC, and microSDXC cards. MicroSD cards range from 2GB to 32GB, microSDHC cards range from 4GB to 32GB, and microSDXC cards range from 64GB to 2TB. Choose a card based on your storage needs.
2. Speed: Look for cards with a high read and write speed to ensure smooth performance. A card with a UHS-I (Ultra High Speed) rating is recommended.
3. Brand: Stick to reputable brands like SanDisk, Samsung, and Kingston to ensure reliability and durability.
Steps to Format an SD Card for Nintendo Switch

Step 1: Backup Your Data

Before formatting your SD card, it's crucial to back up any existing data. Formatting will erase all data on the card, so ensure you have copies of any important files.
Step 2: Insert the SD Card into Your Computer
To format the SD card, you will need to use a computer. Insert the SD card into your computer's SD card slot or use an SD card reader.
Step 3: Open the Formatting Tool
Depending on your operating system, the steps to format the SD card will vary:
- Windows: Open "File Explorer," right-click on the SD card drive, and select "Format."
- Mac: Open "Disk Utility," select the SD card from the list of drives, and click on the "Erase" tab.
Step 4: Select the File System
Choose the appropriate file system for your SD card:
- For cards up to 32GB, select FAT32.
- For cards larger than 32GB, select exFAT.
Step 5: Format the SD Card
- Windows: In the Format window, ensure the "File system" is set to FAT32 or exFAT, check the "Quick Format" option, and click "Start."
- Mac: In Disk Utility, set the "Format" to MS-DOS (FAT) for FAT32 or ExFAT for exFAT, and click "Erase."
Step 6: Eject the SD Card
Once the formatting process is complete, safely eject the SD card from your computer.
Step 7: Insert the SD Card into Your Nintendo Switch
Power off your Nintendo Switch, insert the formatted SD card into the microSD card slot, and power the console back on. The Switch should recognize the card and be ready to use it for additional storage.
Troubleshooting Common Issues
While formatting an SD card is generally straightforward, you may encounter some issues. Here are common problems and their solutions:
1. SD Card Not Recognized: Ensure the SD card is properly inserted into the slot. If the problem persists, try using a different SD card or card reader.
2. Formatting Errors: If you receive an error message during formatting, try using a different computer or formatting tool. Some third-party tools like SD Card Formatter can be helpful.
3. Slow Performance: If your games or data load slowly, consider using a higher-speed SD card. Ensure the card meets the recommended speed ratings for optimal performance.
Tips for Maintaining Your SD Card
To ensure the longevity and performance of your SD card, follow these tips:
1. Avoid Physical Damage: Handle the SD card with care to prevent physical damage. Store it in a protective case when not in use.
2. Regular Backups: Periodically back up your data to avoid data loss in case of card failure.
3. Keep Software Updated: Ensure your Nintendo Switch firmware is up to date to maintain compatibility with your SD card.
Formatting an SD card for your Nintendo Switch is a simple yet crucial task to expand your console's storage capacity. By following the steps outlined in this article, you can ensure that your SD card is correctly formatted and ready for use. Remember to choose a high-quality SD card, back up your data before formatting, and follow best practices to maintain the card's performance and longevity. With the right SD card, you can enjoy a seamless gaming experience with ample storage for all your favorite games and updates.
