How To Get Photos Off Digital Camera?
Digital cameras have become an essential tool for capturing memories, whether it's documenting family vacations, special events, or simply everyday moments worth cherishing. As more people return from trips or conclude photography sessions, a common question arises: how to efficiently transfer photos from a digital camera to a computer or other devices for storage, editing, and sharing? This article will explore multiple methods, provide helpful tips, and suggest best practices to make photo transfers seamless, ensuring that your valuable memories are preserved and accessible.
The Importance of Transferring Photos
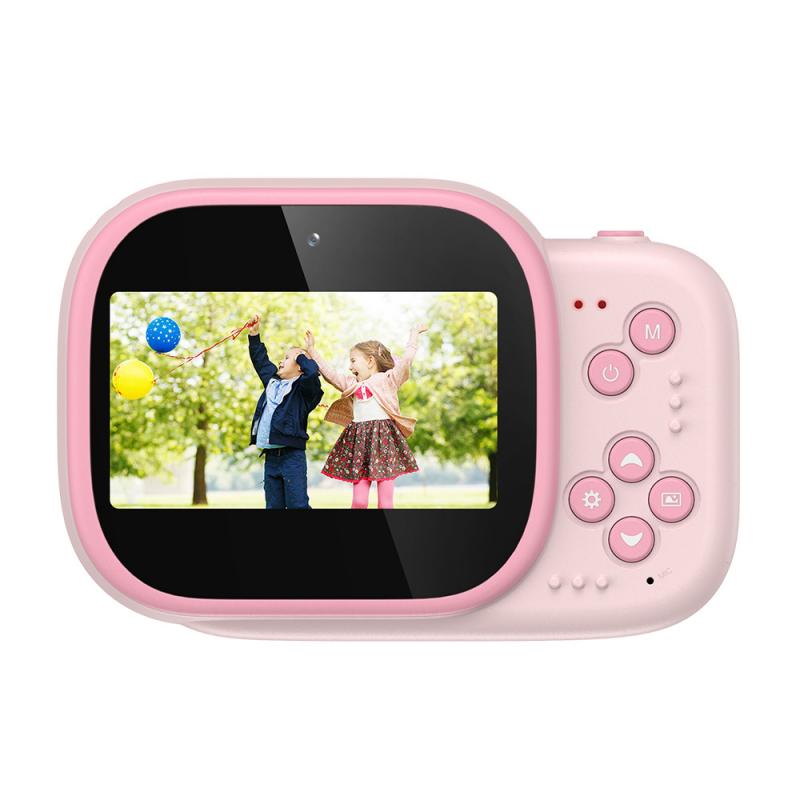
Before diving into methods and techniques, it's crucial to understand why transferring photos is beneficial. Moving photos from your camera to another device offers several advantages:
1. Storage Space: Digital camera memory cards have a finite storage capacity. Transferring photos regularly frees up space for new images.
2. Backup and Security: Keeping photos only on a memory card is risky. Transferring them means you can back them up, reducing the risk of loss or damage.
3. Editing and Sharing: Once on your computer, photos can be edited and enhanced using various software. Sharing on social media or with family and friends becomes much easier.
Methods for Transferring Photos
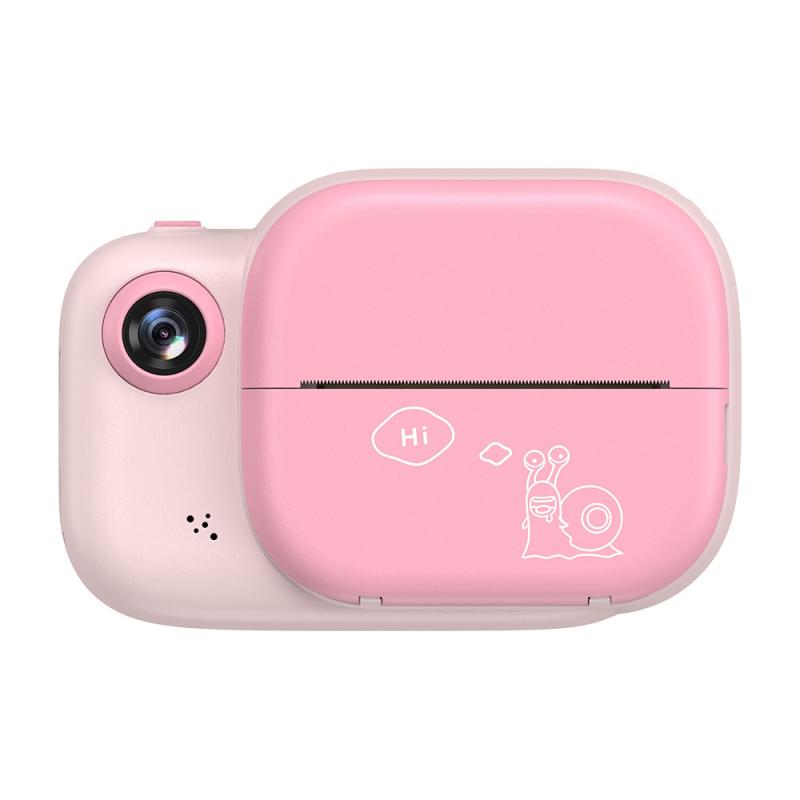
1. Using a USB Cable
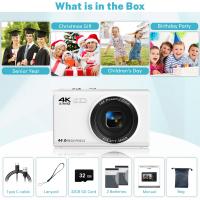
Most digital cameras come with a USB cable designed specifically for connecting the camera to a computer. Here’s a step-by-step guide:
- Connect the Camera: Use the USB cable to connect your camera to a computer. The computer should recognize the camera, usually opening an auto-play window or displaying it as a removable drive.
- Transfer Photos: Navigate to the appropriate folder on your camera, which often contains subfolders for photos. Drag and drop or copy and paste the files onto your computer’s hard drive.
- Safely Eject: Once you’ve transferred all your photos, ensure you properly eject the camera to avoid data corruption.
2. Using a Memory Card Reader
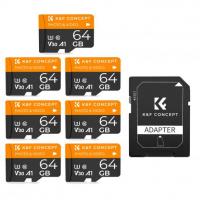
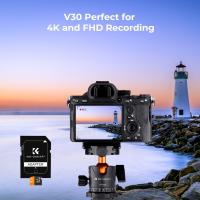
A memory card reader is a handy tool particularly useful if your camera uses a standard memory card format like SD or MicroSD. Here's how to use it:
- Remove the Memory Card: Ensure the camera is off before removing the memory card.
- Insert into Reader: Insert the memory card into the compatible slot on the card reader.
- Connect to Computer: Most card readers connect to the computer via USB. Once connected, the computer should recognize it as an external drive.
- Transfer Photos: As with the USB cable method, navigate to the memory card's folder and transfer the photos to your computer.
3. Using Built-in Wireless Capabilities
Many modern cameras come equipped with Wi-Fi or Bluetooth capabilities, allowing for wireless photo transfers. This method can vary based on camera make and model but generally follows these steps:
- Enable Wireless Transfer: Turn on the camera’s wireless feature, which might require navigating through the camera’s settings menu.
- Connect to Device: Use the camera’s app (available for smartphones and computers) to establish a connection between the devices.
- Transfer Photos: Through the app, select and transfer photos directly to your chosen device without needing cables or adapters.
4. Using Cloud Storage Services
Some cameras have integrated features that allow direct upload to cloud storage services like Google Photos, Dropbox, or OneDrive. To use cloud services:
- Set Up Cloud Sync: Follow the camera or service provider’s instructions to link your camera to your cloud account.
- Upload Photos: Photos can either be uploaded automatically upon capture (if supported) or manually at your convenience.
Best Practices for Photo Transfer
- Consistent Backup Regularly: Establish a routine for transferring and backing up photos. The more frequent the backups, the less likely you are to lose valuable data.
- Organize Photos Immediately: After transferring, take some time to organize your pictures into folders named by event or date. This organization will save time later.
- Edit Responsibly: Work on copies of your original files when editing. This precaution ensures you have the original shot as a backup for future use.
- Use Reliable Gear: Always use a good-quality USB cable or card reader to prevent data corruption during transfer.
- Check for Updates: Regularly update your camera’s firmware and the apps used for wireless transfers to benefit from enhanced features and security improvements.
Troubleshooting Common Issues
What if the Camera isn’t Recognized?
- Different USB Port or Cable: Try a different USB port or cable as the original might be damaged.
- Drivers and Software: Install the latest drivers for your camera or update your computer’s OS to ensure compatibility.
Memory Card Issues
- Locked Card: Ensure your memory card isn’t write-protected by adjusting its lock switch.
- Card Reader Incompatibility: Make sure your card reader supports your card’s format and size.
Transferring photos off your digital camera is a straightforward process once you identify the right method for your gear and preferences. Whether using traditional USB cables or embracing modern wireless technology, the priority should always be securing your images by backing them up and organizing them efficiently. Following these guidelines and best practices, you can ensure that your photographic memories are preserved safely and are always just a click away for viewing, editing, and sharing.

