How To Get Pictures Off Sd Card?
In today's digital age, SD cards are a ubiquitous storage medium used in a variety of devices, from cameras to smartphones. They offer a convenient way to store and transfer photos, but many users often find themselves puzzled about how to retrieve these images effectively. Whether you're a professional photographer or a casual user, knowing how to get pictures off an SD card is essential. This article will guide you through various methods to accomplish this task, addressing common issues and providing practical solutions.
Understanding the Basics
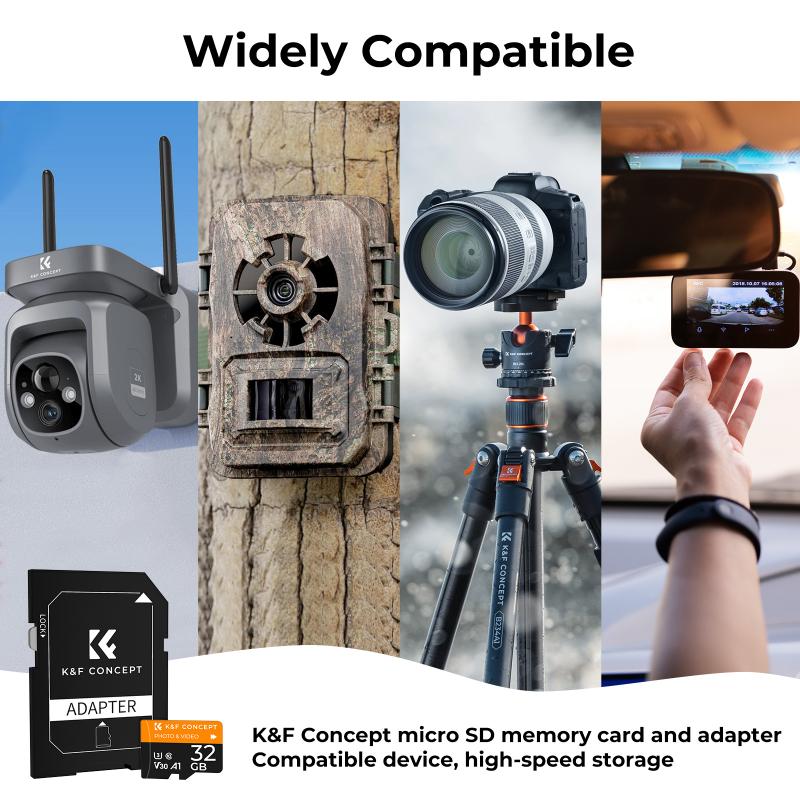
Before diving into the methods, it's important to understand the basics of SD cards. SD cards come in different formats, such as SD, SDHC, and SDXC, each with varying storage capacities and speeds. Ensure that your device supports the specific type of SD card you are using. Additionally, always handle your SD card with care to avoid data corruption or physical damage.
Method 1: Using a Card Reader

One of the most straightforward ways to transfer photos from an SD card to your computer is by using a card reader. Here’s how you can do it:
1. Insert the SD Card: Remove the SD card from your device and insert it into the card reader. Most modern laptops come with built-in card readers, but if yours doesn’t, you can purchase an external USB card reader.
2. Connect to Computer: Plug the card reader into a USB port on your computer. Your computer should recognize the SD card as an external storage device.
3. Access the Files: Open 'File Explorer' on Windows or 'Finder' on Mac. You should see the SD card listed as a removable drive. Click on it to access the files.
4. Copy the Photos: Navigate to the folder containing your photos. Select the images you want to transfer, right-click, and choose 'Copy'. Then, navigate to the desired location on your computer, right-click, and choose 'Paste'.
5. Eject the SD Card: Once the transfer is complete, safely eject the SD card to avoid data corruption. On Windows, right-click the removable drive and select 'Eject'. On Mac, drag the drive to the trash.
Method 2: Direct Connection via USB Cable
If you don’t have a card reader, you can transfer photos directly from your device using a USB cable. Here’s how:
1. Connect the Device: Use a USB cable to connect your camera or smartphone to your computer. Ensure the device is turned on.
2. Select USB Mode: On your device, you may need to select a USB mode. Choose 'File Transfer' or 'MTP' (Media Transfer Protocol) if prompted.
3. Access the Device: Open 'File Explorer' on Windows or 'Finder' on Mac. You should see your device listed. Click on it to access the internal storage or SD card.
4. Transfer the Photos: Navigate to the folder containing your photos. Select the images you want to transfer, right-click, and choose 'Copy'. Then, navigate to the desired location on your computer, right-click, and choose 'Paste'.
5. Safely Disconnect: Once the transfer is complete, safely disconnect your device. On Windows, right-click the device and select 'Eject'. On Mac, drag the device to the trash.
Method 3: Using Built-in Software
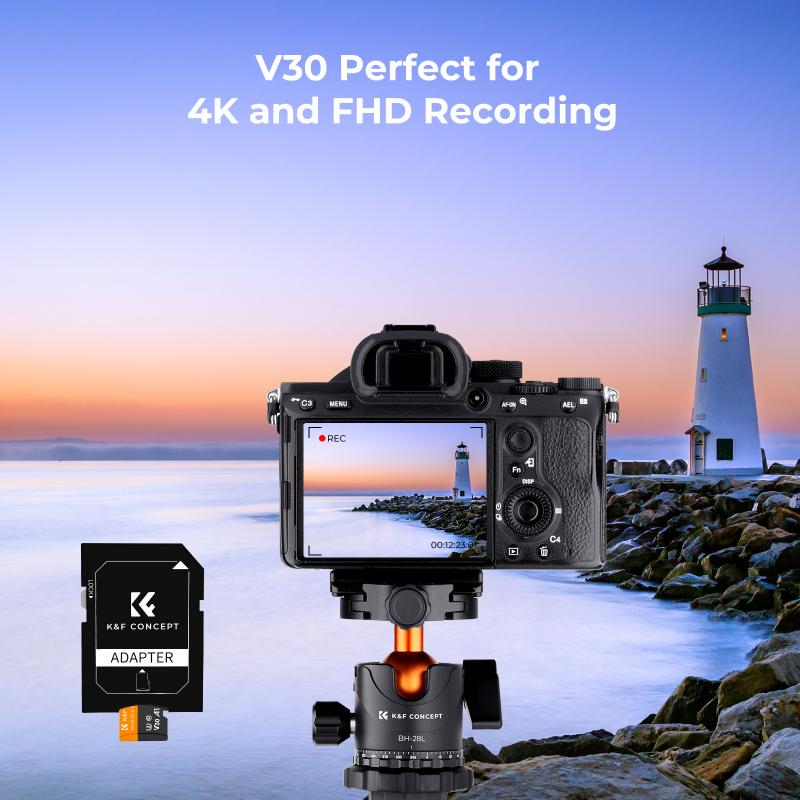
Many cameras and smartphones come with built-in software that can facilitate the transfer of photos. For example, Canon cameras often come with Canon EOS Utility, while smartphones may have companion apps. Here’s a general approach:
1. Install the Software: If you haven’t already, install the software that came with your device. You can usually download it from the manufacturer’s website.
2. Connect the Device: Use a USB cable to connect your device to your computer.
3. Launch the Software: Open the installed software. It should automatically detect your device and display options for transferring photos.
4. Select and Transfer: Follow the on-screen instructions to select the photos you want to transfer and choose the destination folder on your computer.
5. Disconnect the Device: Once the transfer is complete, safely disconnect your device.
Method 4: Wireless Transfer
For those who prefer a cable-free solution, wireless transfer is an excellent option. Many modern cameras and smartphones support Wi-Fi or Bluetooth transfer. Here’s how:
1. Enable Wi-Fi/Bluetooth: On your device, enable Wi-Fi or Bluetooth. Ensure your computer is also connected to the same network or has Bluetooth enabled.
2. Use Companion Apps: Many devices have companion apps that facilitate wireless transfer. For example, Nikon cameras have the SnapBridge app, while smartphones may use Google Photos or iCloud.
3. Pair the Devices: Follow the app’s instructions to pair your device with your computer.
4. Select and Transfer: Use the app to select the photos you want to transfer and choose the destination folder on your computer.
5. Complete the Transfer: Once the transfer is complete, you can disconnect from the network or turn off Bluetooth.
Troubleshooting Common Issues
Despite following these methods, you may encounter some issues. Here are common problems and their solutions:
1. SD Card Not Recognized: If your computer doesn’t recognize the SD card, try using a different card reader or USB port. Ensure the card is properly inserted. If the problem persists, the SD card may be corrupted.
2. Slow Transfer Speeds: Slow transfer speeds can be due to the type of SD card or the USB port. Ensure you are using a high-speed SD card (Class 10 or UHS) and a USB 3.0 port for faster transfers.
3. File Corruption: If your photos appear corrupted, it could be due to improper ejection of the SD card. Always safely eject the card before removing it. You can also use recovery software to attempt to retrieve corrupted files.
4. Insufficient Storage: Ensure your computer has enough storage space for the transferred photos. If not, consider transferring to an external hard drive or cloud storage.
Transferring photos from an SD card to your computer is a simple yet essential task that ensures your precious memories are safely stored and easily accessible. Whether you use a card reader, USB cable, built-in software, or wireless transfer, each method has its advantages and can be chosen based on your convenience and available resources. By following the steps outlined in this article, you can efficiently manage your photo transfers and troubleshoot common issues, ensuring a smooth and hassle-free experience.






There are no comments for this blog.