How To Insert Sd Card In Computer?
Inserting an SD card into a computer is a common task that many users need to perform for various reasons, such as transferring photos, videos, or other data. Despite its simplicity, some users may find the process confusing, especially if they are not familiar with the different types of SD cards and the corresponding slots on their computers. This article aims to provide a comprehensive guide on how to insert an SD card into a computer, addressing various scenarios and potential issues that users might encounter.
Understanding SD Cards and Their Types
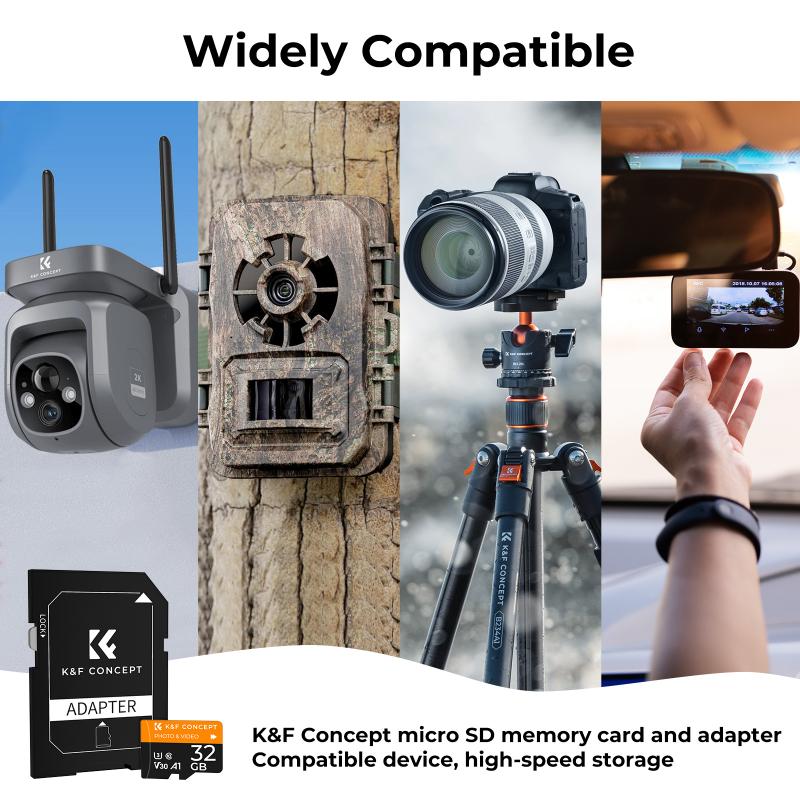
Before diving into the process of inserting an SD card, it is essential to understand the different types of SD cards available. SD cards come in various sizes and capacities, and the type of SD card you have will determine how you insert it into your computer.
1. Standard SD Card: This is the original and largest type of SD card, measuring 32mm x 24mm. It is commonly used in digital cameras and some older devices.
2. MiniSD Card: This is a smaller version of the standard SD card, measuring 21.5mm x 20mm. It is less common and often requires an adapter to be used in standard SD card slots.
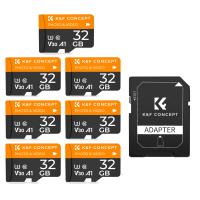
3. MicroSD Card: This is the smallest type of SD card, measuring 15mm x 11mm. It is widely used in smartphones, tablets, and other compact devices. MicroSD cards often come with an adapter to fit into standard SD card slots.
Locating the SD Card Slot on Your Computer

The first step in inserting an SD card into your computer is to locate the SD card slot. The location of the slot can vary depending on the type of computer you have:
1. Laptops: Most modern laptops come with a built-in SD card slot. It is usually located on the side of the laptop, either on the left or right edge. Some laptops may have a slot on the front edge.
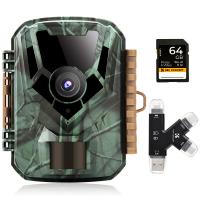
2. Desktops: Desktop computers may or may not have a built-in SD card slot. If your desktop does not have one, you can use an external SD card reader that connects via USB.
3. All-in-One Computers: These computers often have an SD card slot on the side or back of the monitor.
Inserting the SD Card

Once you have located the SD card slot, follow these steps to insert the SD card:
1. Check the Orientation: Ensure that the SD card is oriented correctly. The label side of the SD card should face up, and the metal contacts should face down. If you are using a microSD card with an adapter, insert the microSD card into the adapter first.
2. Insert the Card: Gently push the SD card into the slot until it clicks into place. Do not force the card, as this can damage both the card and the slot. If the card does not go in smoothly, double-check the orientation.
3. Confirm Detection: Once the SD card is inserted, your computer should automatically detect it. A notification may appear on your screen, indicating that the SD card has been recognized. You can also check for the SD card in your file explorer or disk management tool.
Accessing the SD Card
After successfully inserting the SD card, you can access its contents through your computer's file explorer. Here’s how to do it:
1. Open File Explorer: On Windows, you can open File Explorer by clicking the folder icon in the taskbar or pressing `Win + E` on your keyboard. On macOS, open Finder by clicking the Finder icon in the Dock.
2. Locate the SD Card: In File Explorer or Finder, look for the SD card under the list of drives and devices. It may be labeled as "SD Card," "Removable Disk," or with the name of the card's manufacturer.
3. Access Files: Click on the SD card to open it and view its contents. You can now copy, move, delete, or edit files as needed.
Ejecting the SD Card Safely
It is crucial to eject the SD card safely to avoid data corruption or loss. Follow these steps to eject the SD card properly:
1. Close Files: Ensure that all files and applications using the SD card are closed.
2. Eject the Card: On Windows, right-click the SD card in File Explorer and select "Eject." On macOS, click the eject icon next to the SD card in Finder or drag the SD card icon to the Trash.
3. Remove the Card: Once you receive a notification that it is safe to remove the SD card, gently pull it out of the slot.
Troubleshooting Common Issues
Sometimes, you may encounter issues when inserting or using an SD card. Here are some common problems and their solutions:
1. SD Card Not Detected: If your computer does not recognize the SD card, try the following:
- Ensure the card is fully inserted.
- Check the card for physical damage.
- Try the card in another device to see if it is working.
- Update your computer's drivers.
- Use an external SD card reader.
2. Read/Write Errors: If you experience errors while accessing files on the SD card:
- Check if the card is write-protected. Some SD cards have a lock switch on the side.
- Run a disk check utility to scan for errors.
- Backup your data and format the SD card.
3. Slow Performance: If the SD card is slow:
- Ensure you are using a high-speed SD card.
- Avoid using the card with multiple devices simultaneously.
- Regularly format the card to maintain performance.
Inserting an SD card into a computer is a straightforward process, but it requires attention to detail to ensure proper handling and avoid potential issues. By understanding the different types of SD cards, locating the appropriate slot on your computer, and following the correct steps for insertion and ejection, you can efficiently manage your data and keep your devices running smoothly. If you encounter any problems, the troubleshooting tips provided can help you resolve common issues and maintain the functionality of your SD card.





There are no comments for this blog.