How To Insert Sd Card Into Switch?
Inserting an SD card into a Nintendo Switch is a straightforward process, but it’s essential to follow the correct steps to ensure that the card is properly recognized and functions correctly. This guide will walk you through the process, addressing common questions and potential issues you might encounter along the way.
Understanding the Importance of an SD Card for Nintendo Switch

The Nintendo Switch comes with a limited amount of internal storage, which can quickly fill up with game downloads, updates, and saved data. An SD card expands this storage capacity, allowing you to store more games and data without worrying about running out of space. This is particularly useful for avid gamers who download a lot of digital content.
Choosing the Right SD Card

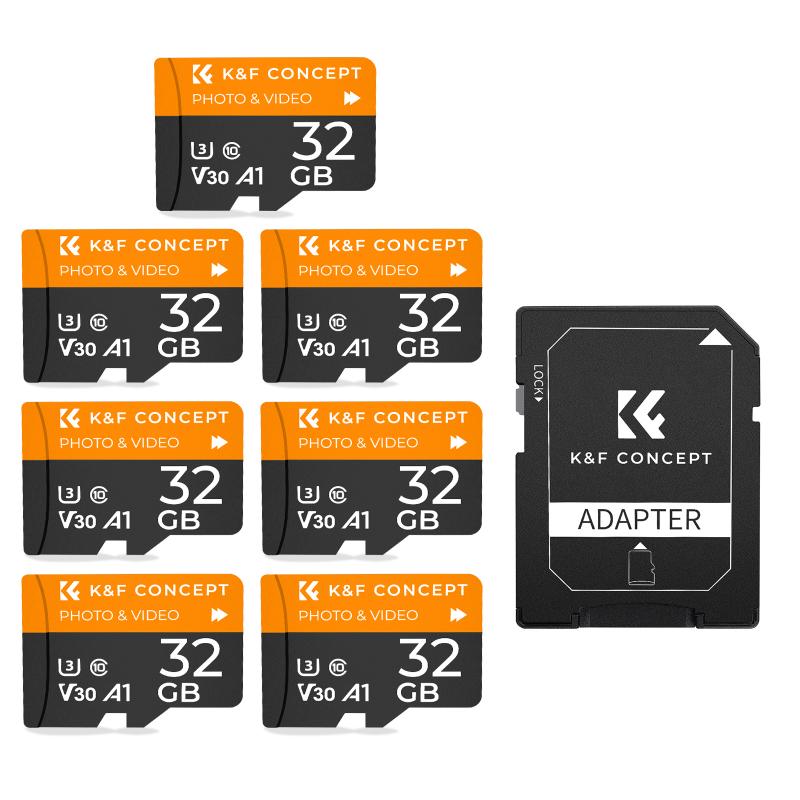
Before you insert an SD card into your Nintendo Switch, it’s crucial to choose the right one. The Switch is compatible with microSD, microSDHC, and microSDXC cards. Here are some key points to consider:
1. Capacity: MicroSD cards come in various capacities, ranging from a few gigabytes to several terabytes. For most users, a card with at least 128GB of storage is recommended, but this depends on your gaming habits.
2. Speed: The speed of the SD card affects how quickly games load and save data. Look for cards with a high read and write speed, typically indicated by a UHS (Ultra High Speed) rating. A UHS-I card with a speed class of U3 is generally sufficient for most gaming needs.
3. Brand: Stick to reputable brands like SanDisk, Samsung, or Kingston to ensure reliability and performance.
Preparing the SD Card

Once you have chosen the right SD card, you may need to format it before use. The Nintendo Switch can format the card for you, but if you prefer to do it manually, here’s how:
1. On a Computer:
- Insert the SD card into your computer using an SD card reader.
- Open the disk management tool (Disk Utility on Mac, Disk Management on Windows).
- Select the SD card and choose the format option.
- Format the card to FAT32 or exFAT (exFAT is recommended for cards larger than 32GB).
2. On the Nintendo Switch:
- Insert the SD card into the Switch (steps on how to do this are detailed below).
- Go to System Settings > System > Formatting Options > Format microSD Card.
- Follow the on-screen instructions to format the card.
Inserting the SD Card into the Nintendo Switch

Now that your SD card is ready, follow these steps to insert it into your Nintendo Switch:
1. Power Off the Switch: It’s important to turn off your Nintendo Switch before inserting or removing an SD card to prevent data corruption. Hold down the power button for a few seconds, then select “Power Options” and “Turn Off.”
2. Locate the SD Card Slot: The SD card slot is located on the back of the Nintendo Switch, underneath the kickstand. Gently lift the kickstand to reveal the slot.
3. Insert the SD Card: Hold the SD card with the label facing away from the console and the metal contacts facing down. Carefully insert the card into the slot until you hear a click, indicating that it’s securely in place.
4. Close the Kickstand: Once the SD card is inserted, close the kickstand.
5. Power On the Switch: Turn your Nintendo Switch back on by holding down the power button for a few seconds.
Verifying the SD Card
After inserting the SD card, you’ll want to verify that it’s recognized by the Nintendo Switch:
1. Go to System Settings: From the home screen, select the gear icon to open System Settings.
2. Select Data Management: Scroll down and select “Data Management.”
3. Check microSD Card: Here, you should see information about the SD card, including its total capacity and available space. If the card is not recognized, ensure it’s properly inserted and formatted correctly.
Transferring Data to the SD Card
With the SD card successfully inserted and recognized, you can now transfer data to it. This includes game downloads, updates, and screenshots. Here’s how to manage your data:
1. Move Games to SD Card:
- Go to System Settings > Data Management > Move Data Between System / microSD Card.
- Select the data you want to move and follow the on-screen instructions.
2. Set Default Download Location:
- To ensure future downloads go directly to the SD card, go to System Settings > Data Management > Download Location.
- Select “microSD Card” as the default location.
Troubleshooting Common Issues
While inserting an SD card into a Nintendo Switch is generally hassle-free, you might encounter some issues. Here are common problems and their solutions:
1. SD Card Not Recognized:
- Ensure the card is properly inserted.
- Check if the card is formatted correctly (exFAT for cards larger than 32GB).
- Try a different SD card to rule out compatibility issues.
2. Data Corruption:
- Always power off the Switch before inserting or removing the SD card.
- Avoid using counterfeit or low-quality SD cards.
3. Slow Performance:
- Use a high-speed SD card (UHS-I, U3).
- Ensure the card is not filled to capacity, as this can slow down performance.
Inserting an SD card into your Nintendo Switch is a simple yet essential task for expanding your console’s storage capacity. By following the steps outlined in this guide, you can ensure that your SD card is properly inserted, recognized, and ready to store your favorite games and data. Remember to choose a high-quality, high-speed SD card to optimize your gaming experience and avoid potential issues. With the right preparation and care, your Nintendo Switch will be well-equipped to handle all your gaming needs.
