How To Install A Depth Finder?
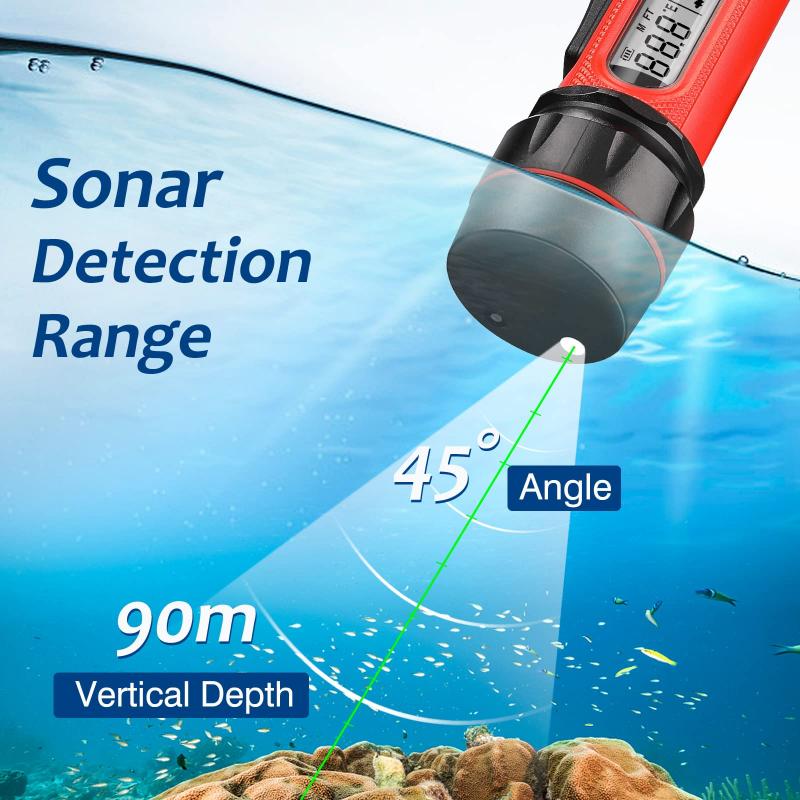
Installing a depth finder on your boat can significantly enhance your fishing and navigation experience. A depth finder, also known as a fish finder, uses sonar technology to measure the depth of the water and identify fish and underwater structures. This guide will walk you through the process of installing a depth finder, ensuring you get the most out of your device.
Understanding the Components

Before diving into the installation process, it’s essential to understand the main components of a depth finder:
1. Transducer: This is the part that sends and receives sonar signals.
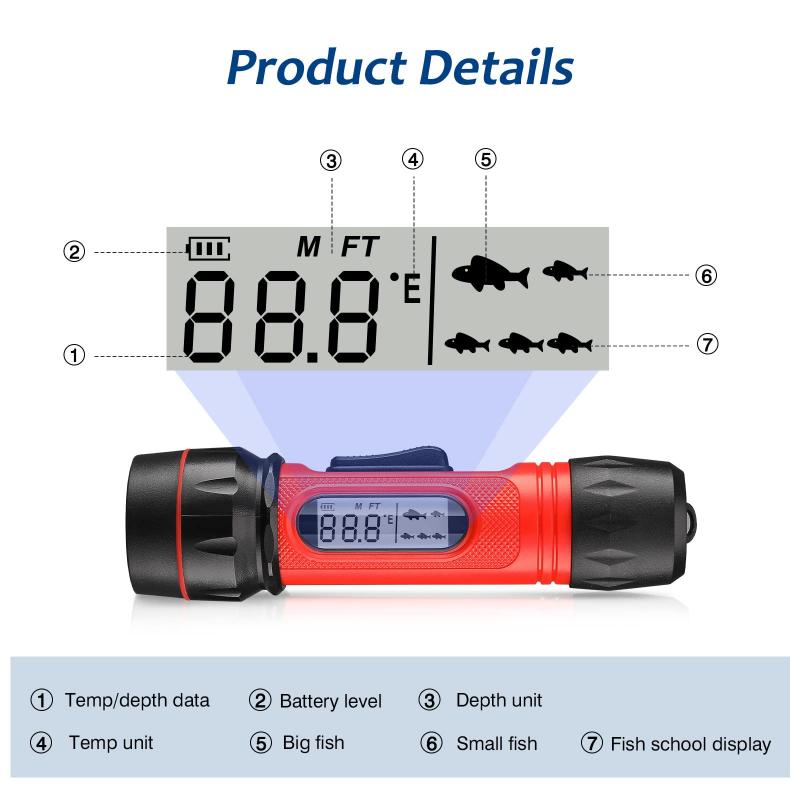
2. Display Unit: This shows the data collected by the transducer.
3. Power Supply: Usually connected to the boat’s battery.
4. Cables and Mounting Hardware: These are used to connect and secure the components.
Step-by-Step Installation Guide

1. Choosing the Right Location

Transducer Placement:
- Transom Mount: This is the most common type of installation. The transducer is mounted on the boat's transom, below the waterline.
- Through-Hull Mount: This involves drilling a hole in the hull and is typically used for larger boats.
- In-Hull Mount: The transducer is mounted inside the hull and works through the hull material.
Display Unit Placement:
- The display unit should be placed where it is easily visible and accessible, usually near the helm or console.
2. Gathering Tools and Materials

You will need:
- Drill and drill bits
- Screwdrivers
- Marine sealant
- Cable ties
- Mounting brackets (usually included with the depth finder)
- Electrical tape
3. Installing the Transducer
Transom Mount Installation:
1. Positioning: Place the transducer on the transom, ensuring it is below the waterline and away from any turbulence created by the boat’s hull or propeller.
2. Drilling Holes: Mark the mounting holes and drill pilot holes. Be cautious not to drill too deep.
3. Sealing: Apply marine sealant to the holes to prevent water ingress.
4. Mounting: Attach the transducer using the provided screws and ensure it is level.
Through-Hull Mount Installation:
1. Drilling the Hull: Mark the location and drill a hole through the hull. This step requires precision and care.
2. Sealing and Mounting: Apply marine sealant around the hole and insert the transducer. Secure it with the provided hardware.
In-Hull Mount Installation:
1. Positioning: Find a flat area inside the hull where the transducer can be mounted.
2. Sealing: Use a special adhesive or epoxy to secure the transducer to the hull.
4. Running the Cables
1. Routing: Run the transducer cable from the transom to the display unit. Avoid sharp bends and areas where the cable could be damaged.
2. Securing: Use cable ties to secure the cable along its route.
3. Connecting: Connect the transducer cable to the display unit.
5. Installing the Display Unit
1. Mounting: Use the provided bracket to mount the display unit in the chosen location.
2. Power Connection: Connect the display unit to the boat’s power supply. Ensure the connections are secure and protected from water.
3. Testing: Turn on the depth finder to ensure it powers up and the transducer is working correctly.
Troubleshooting Common Issues
No Power to the Display Unit:
- Check the power connections and ensure the battery is charged.
- Inspect the fuse and replace it if necessary.
Inaccurate Readings:
- Ensure the transducer is mounted correctly and is level.
- Check for any obstructions or turbulence affecting the transducer.
Interference:
- Ensure the transducer cable is not running alongside other electrical cables.
- Check for any electronic devices that might be causing interference.
Maintenance Tips
- Regularly inspect the transducer for any damage or marine growth.
- Clean the display unit and transducer with fresh water after each use.
- Check the cables and connections periodically to ensure they are secure and free from corrosion.
Installing a depth finder can seem daunting, but with the right tools and a systematic approach, it can be a straightforward process. By following this guide, you can ensure your depth finder is installed correctly, providing you with accurate and reliable data for your fishing and navigation needs. Remember, proper installation and maintenance are key to getting the most out of your depth finder. Happy boating!
