How To Install Micro Sd Card In Switch?
Installing a microSD card in a Nintendo Switch is a straightforward process, but it’s essential to follow the correct steps to ensure that your console recognizes the card and that you can use it to expand your storage. In this article, we will walk you through the process of installing a microSD card in your Nintendo Switch, covering everything from choosing the right card to troubleshooting common issues.
Choosing the Right microSD Card
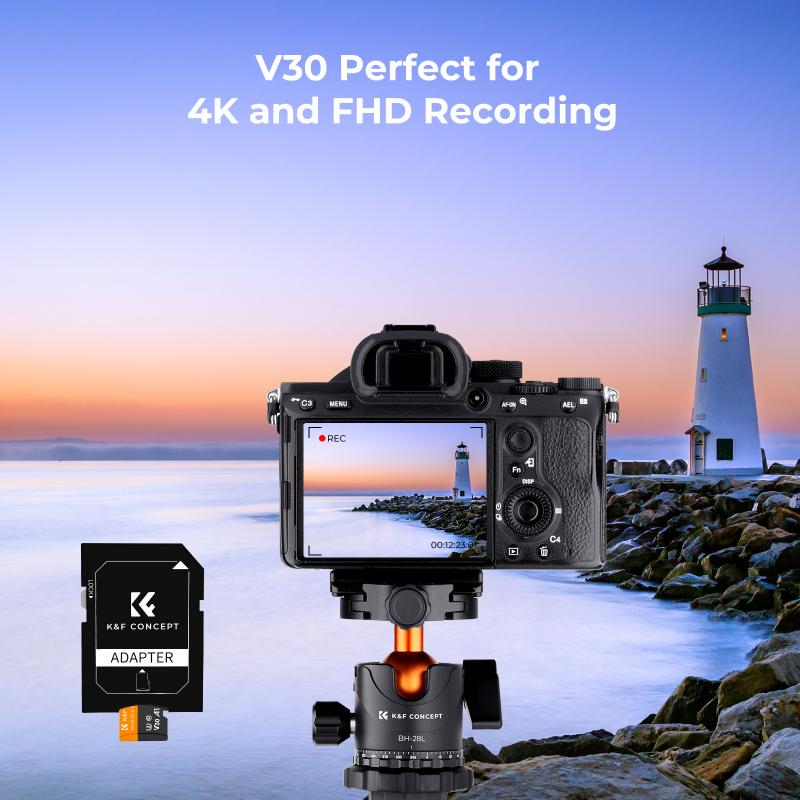
Before you begin the installation process, it’s crucial to select a microSD card that is compatible with your Nintendo Switch. Here are some key considerations:
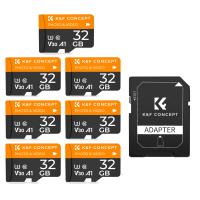
1. Storage Capacity: The Nintendo Switch supports microSD cards up to 2TB. However, cards with such high capacity are not yet widely available. Commonly used capacities range from 32GB to 512GB. Choose a card based on your storage needs and budget.
2. Speed Class: The speed of the microSD card is important for game performance. Look for cards with a UHS-I (Ultra High Speed) rating and a speed class of at least U1 or U3. The higher the speed class, the better the performance.
3. Brand and Reliability: Stick to reputable brands like SanDisk, Samsung, and Kingston. These brands are known for their reliability and performance.
Preparing the microSD Card

Once you have chosen the right microSD card, you may need to format it before using it with your Nintendo Switch. Here’s how to do it:
1. Insert the microSD Card into Your Computer: Use a microSD card adapter if necessary.
2. Format the Card: On Windows, right-click the card in File Explorer, select “Format,” choose the FAT32 or exFAT file system, and click “Start.” On Mac, use the Disk Utility app to format the card to FAT32 or exFAT.
Installing the microSD Card in the Nintendo Switch

Now that your microSD card is ready, follow these steps to install it in your Nintendo Switch:
1. Power Off the Console: Ensure that your Nintendo Switch is completely powered off. Hold down the power button for a few seconds, then select “Power Options” and “Turn Off.”
2. Locate the microSD Card Slot: The microSD card slot is located behind the kickstand on the back of the console. Gently lift the kickstand to reveal the slot.
3. Insert the microSD Card: Hold the microSD card with the label facing away from the console and the gold contacts facing down. Gently push the card into the slot until it clicks into place.
4. Close the Kickstand: Once the card is securely in place, close the kickstand.
5. Power On the Console: Turn on your Nintendo Switch by pressing the power button.
Verifying the Installation

After installing the microSD card, you need to verify that the console recognizes it. Here’s how:
1. Access System Settings: From the Home menu, select the gear icon to open System Settings.
2. Navigate to Data Management: Scroll down and select “Data Management.”
3. Check microSD Card Storage: You should see the available storage space on your microSD card listed under “microSD Card.” If the card is not recognized, ensure it is properly inserted and formatted correctly.
Transferring Data to the microSD Card
If you already have games and data stored on your Nintendo Switch’s internal memory, you may want to transfer them to the microSD card to free up space. Here’s how:
1. Access Data Management: Go to System Settings > Data Management.
2. Move Data Between System / microSD Card: Select “Move Data Between System / microSD Card.”
3. Select the Data to Move: Choose the data you want to transfer and follow the on-screen instructions to complete the process.
Troubleshooting Common Issues
Sometimes, you may encounter issues when installing or using a microSD card with your Nintendo Switch. Here are some common problems and their solutions:
1. Card Not Recognized: Ensure the card is properly inserted and formatted. Try reinserting the card or using a different card to see if the issue persists.
2. Slow Performance: If games are loading slowly, it may be due to the speed class of the microSD card. Consider upgrading to a faster card.
3. Corrupted Data: If you experience data corruption, back up your data and reformat the card. Avoid removing the card while the console is on to prevent corruption.
4. Insufficient Storage: If you run out of space, consider deleting unused games or upgrading to a higher-capacity microSD card.
Best Practices for microSD Card Usage
To ensure the longevity and performance of your microSD card, follow these best practices:
1. Regular Backups: Periodically back up your data to avoid losing important information in case of card failure.
2. Safe Removal: Always power off your console before removing the microSD card to prevent data corruption.
3. Avoid Physical Damage: Handle the microSD card with care to avoid bending or damaging it.
4. Keep Software Updated: Ensure your Nintendo Switch firmware is up to date to maintain compatibility with the latest microSD cards.
Installing a microSD card in your Nintendo Switch is a simple yet effective way to expand your storage capacity and enhance your gaming experience. By following the steps outlined in this article, you can ensure a smooth installation process and avoid common pitfalls. Remember to choose a reliable microSD card, format it correctly, and handle it with care to enjoy seamless gaming on your Nintendo Switch. Whether you’re a casual gamer or a hardcore enthusiast, having ample storage space will allow you to download and enjoy more games without worrying about running out of space.





There are no comments for this blog.