How To Install Sd Card In Android Phone?
Installing an SD card in an Android phone is a common task that many users need to perform to expand their device's storage capacity. Whether you're looking to store more photos, videos, apps, or other data, an SD card can be a valuable addition to your smartphone. In this article, we will walk you through the process of installing an SD card in your Android phone, covering everything from choosing the right SD card to formatting it for use. By the end of this guide, you'll have a clear understanding of how to effectively install and use an SD card in your Android device.
Choosing the Right SD Card

Before you begin the installation process, it's important to choose the right SD card for your needs. Here are some factors to consider:
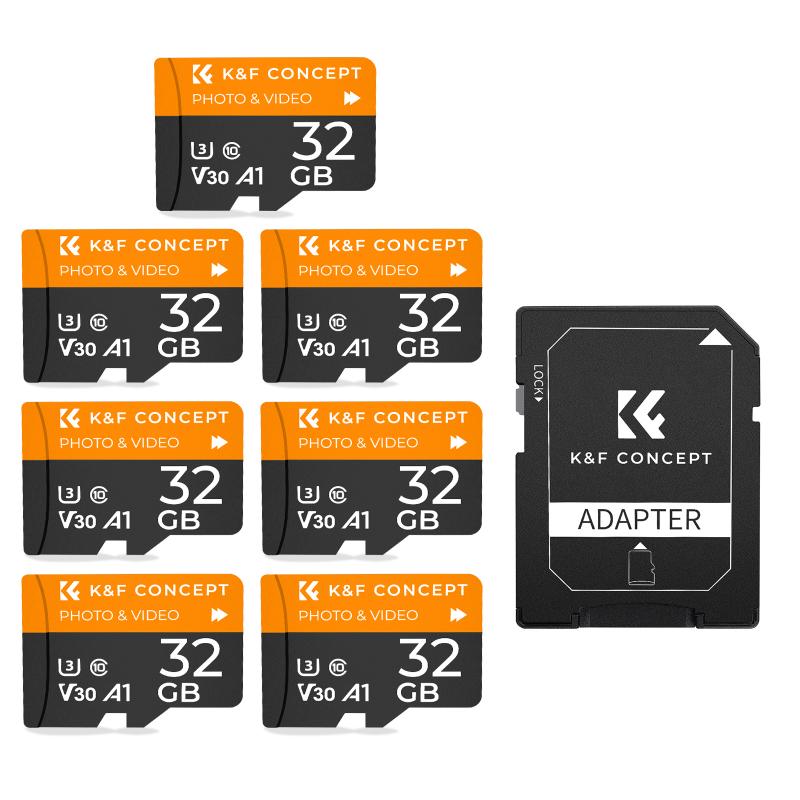
1. Capacity: SD cards come in various capacities, ranging from a few gigabytes (GB) to several terabytes (TB). Consider how much additional storage you need. For most users, a 32GB or 64GB card is sufficient, but if you plan to store a lot of media files, you might want to opt for a 128GB or larger card.
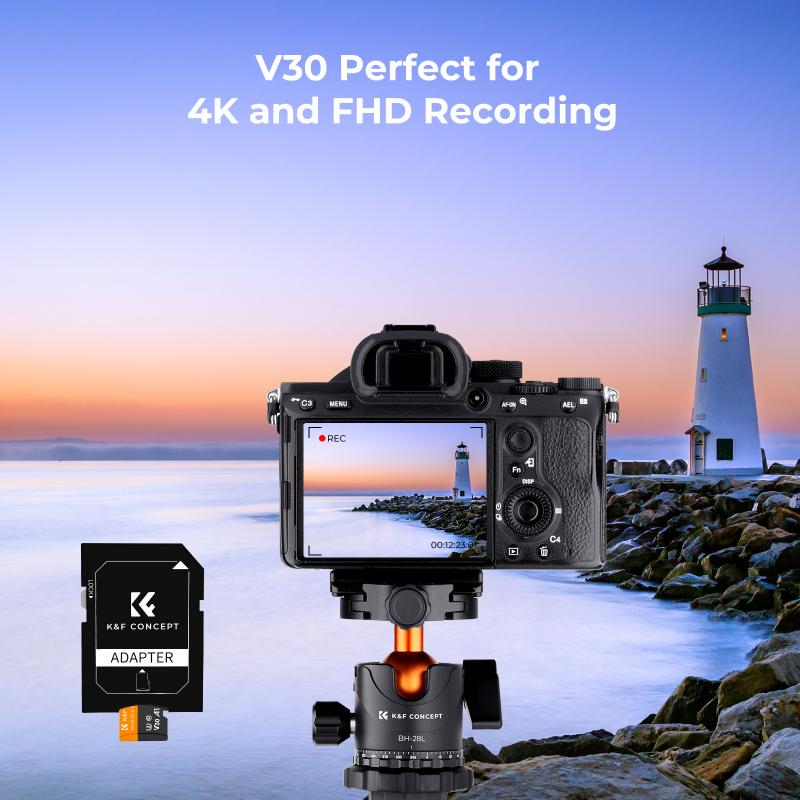
2. Speed Class: SD cards have different speed classes, which indicate how quickly data can be read from and written to the card. The speed class is especially important if you plan to use the SD card for tasks that require fast data transfer, such as recording high-definition video. Look for cards with a Class 10 or UHS (Ultra High Speed) rating for optimal performance.
3. Compatibility: Ensure that the SD card you choose is compatible with your Android phone. Most modern Android devices support microSD cards, but it's always a good idea to check your phone's specifications to confirm compatibility.
Installing the SD Card

Once you have chosen the right SD card, follow these steps to install it in your Android phone:
1. Power Off Your Phone: Before inserting the SD card, power off your Android phone to prevent any potential damage to the device or the card.
2. Locate the SD Card Slot: The location of the SD card slot varies depending on the phone model. In most cases, the slot is located on the side of the phone, often combined with the SIM card tray. Use a SIM card ejector tool or a small paperclip to open the tray.
3. Insert the SD Card: Carefully place the SD card into the designated slot. Make sure the card is properly aligned with the contacts facing down. Gently push the card into the slot until it clicks into place.
4. Close the Tray: Once the SD card is securely in place, close the tray and ensure it is properly sealed.
5. Power On Your Phone: Turn your phone back on. The device should automatically detect the new SD card and prompt you to set it up.
Setting Up the SD Card

After installing the SD card, you need to set it up for use. Here are the steps to follow:
1. Format the SD Card: When you first insert the SD card, your phone may prompt you to format it. Formatting the card will erase all data on it, so make sure to back up any important files before proceeding. To format the card, go to "Settings" > "Storage" > "SD Card" > "Format."
2. Choose Storage Option: Android phones offer two storage options for SD cards: "Portable Storage" and "Internal Storage."
- Portable Storage: This option allows you to use the SD card to store media files such as photos, videos, and music. The card can be removed and used in other devices.
- Internal Storage: This option integrates the SD card with your phone's internal storage, allowing you to install apps and store app data on the card. However, the card cannot be removed without affecting the phone's functionality.
3. Move Data to SD Card: If you choose to use the SD card as internal storage, you can move existing data and apps to the card. Go to "Settings" > "Storage" > "SD Card" > "Migrate Data" to transfer files.
Managing SD Card Storage

Once the SD card is set up, you can manage its storage to optimize performance and ensure you have enough space for your needs. Here are some tips:
1. Move Apps to SD Card: If you have chosen to use the SD card as internal storage, you can move apps to the card to free up space on your phone's internal storage. Go to "Settings" > "Apps" > select the app > "Storage" > "Change" > "SD Card."
2. Store Media Files on SD Card: To save space on your phone's internal storage, set your camera and other media apps to save files directly to the SD card. Open the camera app, go to "Settings," and select "Storage Location" > "SD Card."
3. Regularly Back Up Data: To prevent data loss, regularly back up important files stored on the SD card. You can use cloud storage services or transfer files to a computer for safekeeping.
4. Monitor Storage Usage: Keep an eye on your SD card's storage usage to ensure you don't run out of space. Go to "Settings" > "Storage" to view the available space and manage files.
Troubleshooting Common Issues
While installing and using an SD card in an Android phone is generally straightforward, you may encounter some common issues. Here are solutions to a few potential problems:
1. SD Card Not Detected: If your phone does not detect the SD card, try reinserting the card and restarting your phone. If the issue persists, the card may be faulty or incompatible with your device.
2. Slow Performance: If you experience slow performance when using the SD card, it may be due to a low-speed card. Consider upgrading to a higher-speed card for better performance.
3. Corrupted Data: If you encounter corrupted data on the SD card, try formatting the card and restoring data from a backup. Regularly backing up your data can help prevent data loss.
4. Insufficient Storage: If you run out of storage space on the SD card, consider deleting unnecessary files or upgrading to a larger capacity card.
Installing an SD card in your Android phone is a simple and effective way to expand your device's storage capacity. By following the steps outlined in this guide, you can choose the right SD card, install it correctly, and set it up for optimal use. Additionally, managing your SD card storage and troubleshooting common issues will ensure a smooth and efficient experience. With the added storage, you can enjoy more apps, media files, and data without worrying about running out of space.
