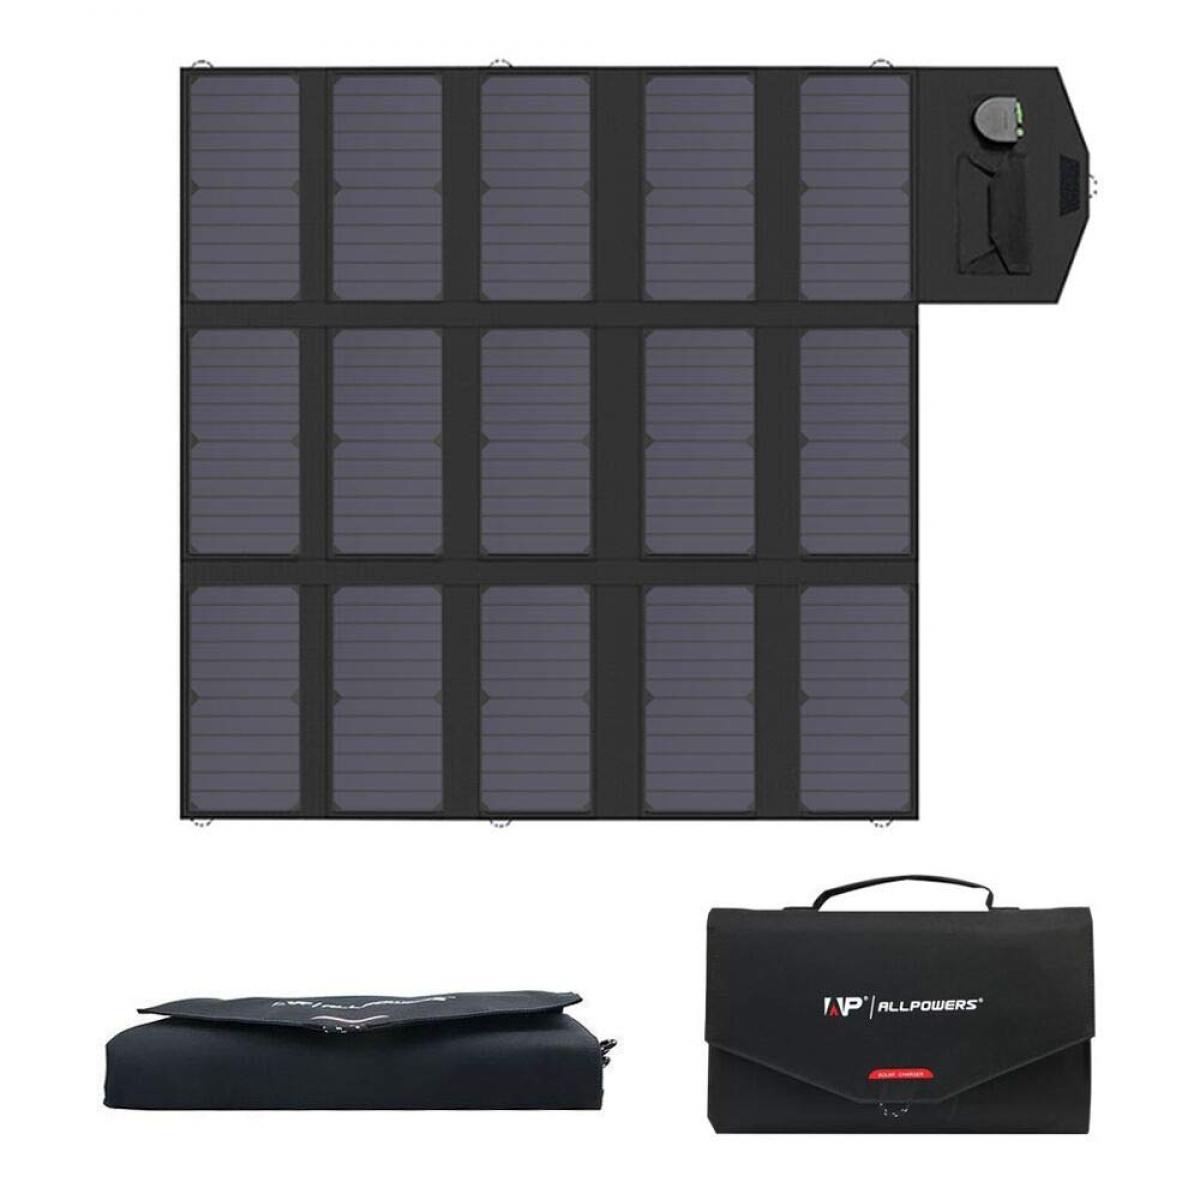
How To Install Solar Panels On Roof?
Installing solar panels on your roof is a significant step towards reducing your carbon footprint and lowering your energy bills. However, the process can be complex and requires careful planning and execution. This article will guide you through the essential steps and considerations for installing solar panels on your roof, ensuring a successful and efficient setup.

Understanding Solar Panel Installation
Before diving into the installation process, it's crucial to understand the basics of solar panel systems. Solar panels convert sunlight into electricity using photovoltaic (PV) cells. This electricity can then be used to power your home, reducing your reliance on the grid. The key components of a solar panel system include:
1. Solar Panels: These capture sunlight and convert it into direct current (DC) electricity.
2. Inverter: This device converts DC electricity into alternating current (AC), which is used by most household appliances.
3. Mounting System: This secures the panels to your roof.
4. Battery Storage (Optional): Stores excess energy for use when sunlight is not available.
5. Monitoring System: Tracks the performance of your solar panel system.
Step-by-Step Guide to Installing Solar Panels
1. Assess Your Roof's Suitability
The first step is to determine if your roof is suitable for solar panel installation. Consider the following factors:
- Roof Condition: Ensure your roof is in good condition and can support the weight of the solar panels. If your roof needs repairs or replacement, address these issues before installation.
- Orientation and Tilt: The ideal roof orientation for solar panels is south-facing in the northern hemisphere and north-facing in the southern hemisphere. The tilt angle should be equal to your latitude for optimal energy production.
- Shading: Check for any obstructions like trees, chimneys, or neighboring buildings that could cast shadows on your panels, reducing their efficiency.
2. Calculate Your Energy Needs
Determine how much electricity your household consumes on average. This information can be found on your utility bills. Knowing your energy needs will help you decide the number and size of solar panels required to meet your consumption.
3. Obtain Necessary Permits and Approvals
Before installing solar panels, you need to obtain the necessary permits and approvals from your local government and utility company. This process can vary depending on your location, so check with your local authorities for specific requirements.
4. Choose the Right Solar Panels and Inverter
Select high-quality solar panels and an inverter that suits your energy needs and budget. There are different types of solar panels, including monocrystalline, polycrystalline, and thin-film panels. Monocrystalline panels are the most efficient but also the most expensive. Polycrystalline panels are less efficient but more affordable, while thin-film panels are lightweight and flexible but have lower efficiency.
5. Install the Mounting System
The mounting system is crucial for securing the solar panels to your roof. There are different types of mounting systems, including:
- Roof-Mounted Racks: These are the most common and are attached directly to your roof.
- Ballasted Mounts: These are used for flat roofs and do not require drilling into the roof structure.
- Building-Integrated Photovoltaics (BIPV): These are integrated into the building materials, such as solar shingles.
Ensure the mounting system is installed correctly to withstand various weather conditions and provide adequate ventilation for the panels.
6. Install the Solar Panels
Once the mounting system is in place, the solar panels can be installed. Follow these steps:
- Position the Panels: Place the panels on the mounting system, ensuring they are aligned correctly and securely fastened.
- Connect the Panels: Connect the panels to each other using the provided wiring. Ensure all connections are secure and weatherproof.
- Ground the System: Proper grounding is essential for safety. Follow the manufacturer's instructions for grounding the system.
7. Install the Inverter and Electrical Components
The inverter is typically installed near your main electrical panel. Follow these steps:
- Mount the Inverter: Secure the inverter to the wall, ensuring it is in a well-ventilated area to prevent overheating.
- Connect the Inverter: Connect the solar panels to the inverter using the provided wiring. Ensure all connections are secure and follow the manufacturer's instructions.
- Connect to the Electrical Panel: Connect the inverter to your main electrical panel. This step may require a licensed electrician to ensure compliance with local electrical codes.
8. Set Up the Monitoring System
A monitoring system allows you to track the performance of your solar panel system. This can be a physical display or an online portal. Follow the manufacturer's instructions to set up the monitoring system and ensure it is working correctly.
9. Inspection and Activation
Once the installation is complete, schedule an inspection with your local government or utility company. They will verify that the system is installed correctly and meets all safety and code requirements. After passing the inspection, your utility company will grant permission to operate (PTO), allowing you to activate your solar panel system.
Maintenance and Troubleshooting
Regular maintenance is essential to ensure your solar panel system operates efficiently. Here are some maintenance tips:
- Clean the Panels: Keep the panels clean and free of debris. Use a soft brush or a hose to remove dirt and dust.
- Inspect the System: Regularly inspect the system for any signs of damage or wear. Check the wiring, connections, and mounting system.
- Monitor Performance: Use the monitoring system to track the performance of your solar panels. If you notice a significant drop in energy production, investigate the cause and address any issues.
Installing solar panels on your roof is a rewarding investment that can significantly reduce your energy bills and environmental impact. By following the steps outlined in this guide, you can ensure a successful and efficient installation. Remember to assess your roof's suitability, calculate your energy needs, obtain necessary permits, choose the right components, and follow proper installation procedures. With regular maintenance and monitoring, your solar panel system will provide clean, renewable energy for years to come.
