How To Install Wired Security Camera?
Installing a wired security camera system can seem like a daunting task for those who are not familiar with technical installations. However, with careful planning and a systematic approach, installing a wired security camera system can be simple and rewarding. This process ensures your home or business is protected, and that you have peace of mind regarding your property's security. This guide will walk you through each step of the installation process, from planning and setup to successful operation.
Planning Your Security Camera System
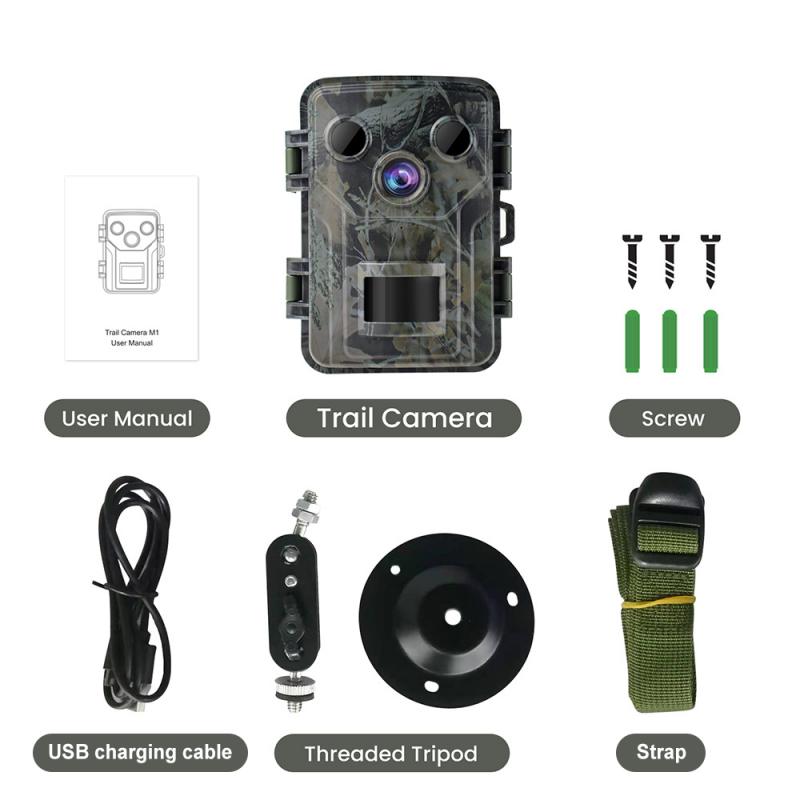
Before jumping into the physical setup, planning is crucial. This involves selecting the right type of camera system, understanding your needs, and choosing the locations where each camera will be installed.
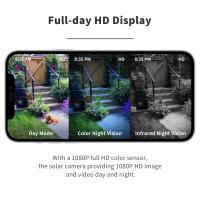
1. Assess Your Needs: Determine what you want out of your security system. Is it for indoor or outdoor use? Do you need high-resolution recordings or night vision capabilities? Make a checklist of these features to narrow down your choices.
2. Survey the Installation Area: Walk around your property and identify strategic locations for the cameras. Consider areas such as entry points, driveways, and blind spots that can be monitored for suspicious activities.
3. Plan the Wiring Route: Wired security cameras necessitate running cables from each camera back to the central recording device often a Digital Video Recorder (DVR). This requires planning a wiring route that’s both efficient and unobtrusive.
4. Gather Tools and Equipment: Typically, you’ll need a drill, screwdriver, fish tape for pulling wires through walls, and possibly a ladder. Make sure you have everything on hand to avoid unnecessary interruptions during installation.
Choosing the Right Wired Security Camera System
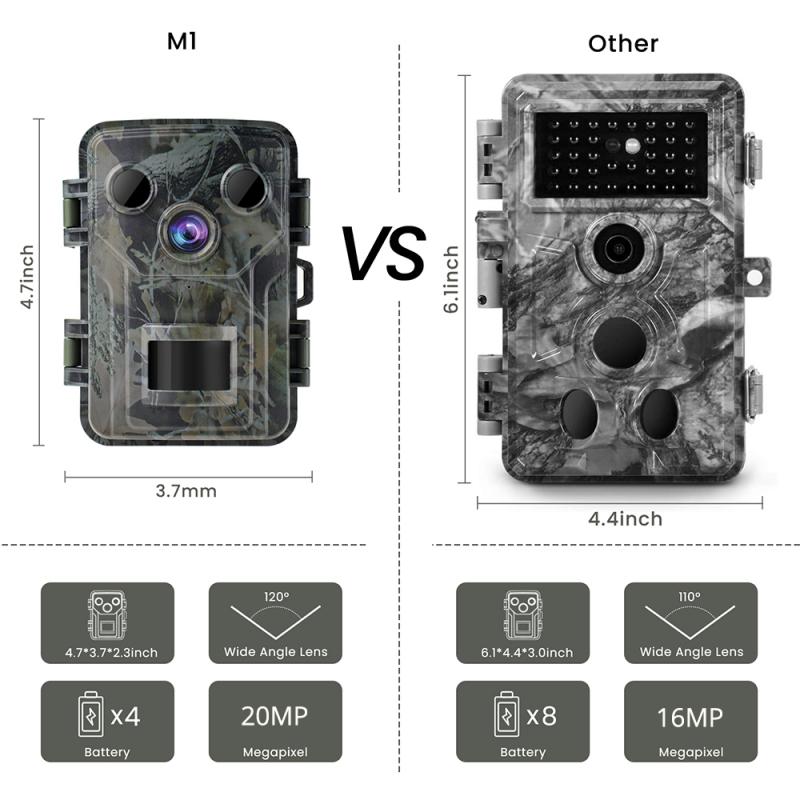
When selecting a system, it’s important to consider:
- Resolution and Quality: Higher resolution cameras (1080p or above) provide clearer images, which can be crucial for identifying faces or details in case of an incident.
- Field of View: Cameras with a wide-angle lens capture more area. Consider this feature especially for indoor settings where space is limited.
- Connectivity and Compatibility: Ensure that your cameras are compatible with the recording system. Most systems will have an accompanying app for real-time viewing and notification alerts.
Installing the Cameras

With your system and tools ready, these steps will guide you through the installation process:
1. Mounting the Cameras:
- Choose Mounting Locations: Follow your plan for mounting locations. When possible, install cameras at a height of 8-10 feet to avoid tampering and provide a wide field of vision.
- Secure the Mount: Use appropriate screws and anchors. Outdoor installations require waterproof fittings to withstand weather conditions.
- Adjust the Camera Angle: Point the camera toward the area you wish to cover. Avoid facing direct sunlight or reflective surfaces, which can wash out the footage.
2. Running the Cables:
- Route the Cable: Use fish tape to pull cables through walls if needed. Secure the cable along walls and ceilings using cable clips. Try to run cables in less trafficked areas to protect them from wear and tear.
- Connect to Power: Wired systems usually require a separate power cable for each camera. Ensure you have access to power outlets near camera locations. Some cameras might have PoE (Power over Ethernet), which combines power and data into a single cable.
3. Connecting to the Recording Device/DVR:
- Attach Cables: Connect each camera’s BNC cables to the DVR. Ensure that each connection is secure to prevent signal loss.
- Configure the DVR: Attach the DVR to a monitor for setup. Follow the provided on-screen instructions to configure settings such as date/time, recording preferences, and remote access.
Testing and Adjusting Your System
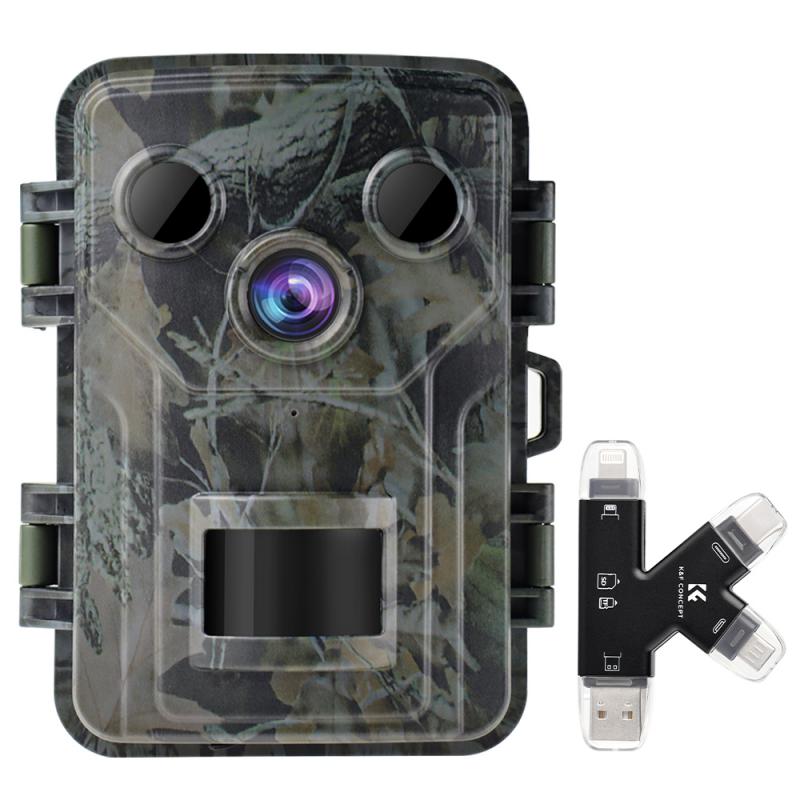
Once installed, it's important to test each camera to ensure functionality and coverage:
1. Check the Video Feed: Confirm that each camera is transmitting a clear video feed to the DVR. Adjust the camera angles if necessary.
2. Test the System Software: Familiarize yourself with the system’s software or app. Test features such as live streaming, motion alerts, and recording playback.
3. Adjust Settings: Customize settings for recording schedules, motion detection sensitivity, and notification alerts based on your preferences.
4. Secure Cable Connections: Ensure all cable connections are stable by testing camera views at different times. Inspect the physical condition of cables regularly.
Maintaining Your Security Camera System
Regular maintenance is key to ensuring the longevity and performance of your security system:
- Clean Camera Lenses: Dirt or condensation can impact the quality of the footage, so regularly clean lenses with a microfiber cloth.
- Check for Obstructions: Regularly inspect the area in view of the cameras for new obstructions, such as growing foliage or construction sites.
- Review Footage Periodically: It’s wise to periodically review footage not only to ensure the system is working but also to be aware of ongoing activity around your premises.
- Update System Software: Keep the recording system’s firmware and any associated apps up to date to help secure the system from vulnerabilities and to access new features.
Installing a wired security camera system provides a robust security measure for homes and businesses. Although the initial setup requires meticulous planning and careful execution, the rewards in terms of safety and peace of mind are invaluable. By following this comprehensive guide, you can ensure a smooth installation process, effective monitoring of your designated areas, and prolonged efficiency of the security system. Remember that a well-maintained system is crucial for optimal operation. Don't hesitate to consult with professionals if the process feels overwhelming, as professional installation can ensure precision and save time. But with the right preparation and diligence, a DIY wired security camera installation is entirely within reach.


