
How To Make A Telescope For Kids?
Building a telescope can be a fascinating and educational experience for kids, introducing them to the wonders of astronomy and the science behind optics. Crafting a simple yet effective telescope can inspire curiosity and a love for space exploration, allowing children to literally and metaphorically broaden their horizons. Here’s a comprehensive guide on how to make a telescope for kids that’s both easy to follow and insightful for budding young astronomers.
Understanding the Basics
Before diving into construction, it’s essential to understand how a telescope works. A telescope magnifies distant objects, making them appear closer and more detailed. At its simplest, a telescope consists of two lenses: an objective lens, which collects light from a distant object, and an eyepiece lens, which magnifies the image made by the objective.
Different designs exist, but for a children's telescope, a refracting telescope – which uses lenses to bend light – is typically the easiest to construct.
Gathering Materials
To create a basic refracting telescope, you’ll need the following materials:
1. Two lenses: You'll need an objective lens with a long focal length and an eyepiece lens with a shorter focal length. You can purchase these from a science supply store, or take apart an old pair of binoculars to salvage lenses.
2. Cardboard tubes: These can be from a paper towel roll or a mailing tube. One needs to fit inside the other for focusing.
3. Duct tape or electrical tape: For securing parts together.
4. Ruler and Scissors: For measuring and cutting.
5. Markers or Paint: To decorate the telescope if desired.
Building the Telescope
Step 1: Mount the Objective Lens
Choose the larger, longer focal length lens to be the objective lens. Secure this lens to the end of the larger cardboard tube using duct tape. Make sure it's centered and taped firmly to avoid any wobbles or misalignment during use.
Step 2: Prepare the Eyepiece Lens
Take the eyepiece lens, which has a shorter focal length, and attach it to one end of the smaller tube. Unlike the objective, the eyepiece lens should fit comfortably against your eye when you look through the telescope.
Step 3: Fit the Tubes
Insert the smaller tube with the eyepiece lens into the larger tube containing the objective lens. These tubes should be able to slide over each other smoothly. This sliding feature allows for focusing – moving the eyepiece closer to or further from the objective lens to bring images into focus.
Step 4: Adjust for Focus
To focus your telescope, point it at a distant object and slowly adjust the tubes’ lengths until the object comes into view clearly. Focus might need readjustments each time you switch targets.
Step 5: Decorate
This step is optional but fun—let kids personalize their telescope with paints or markers. Encourage them to name their telescope or draw constellations on it!
Teaching Opportunities
Constructing a telescope provides ample opportunities to delve into academic discussions about:
- Light and Optics: Discuss how lenses bend (refract) light and why the size and curvature of a lens affect how much it can magnify an object.
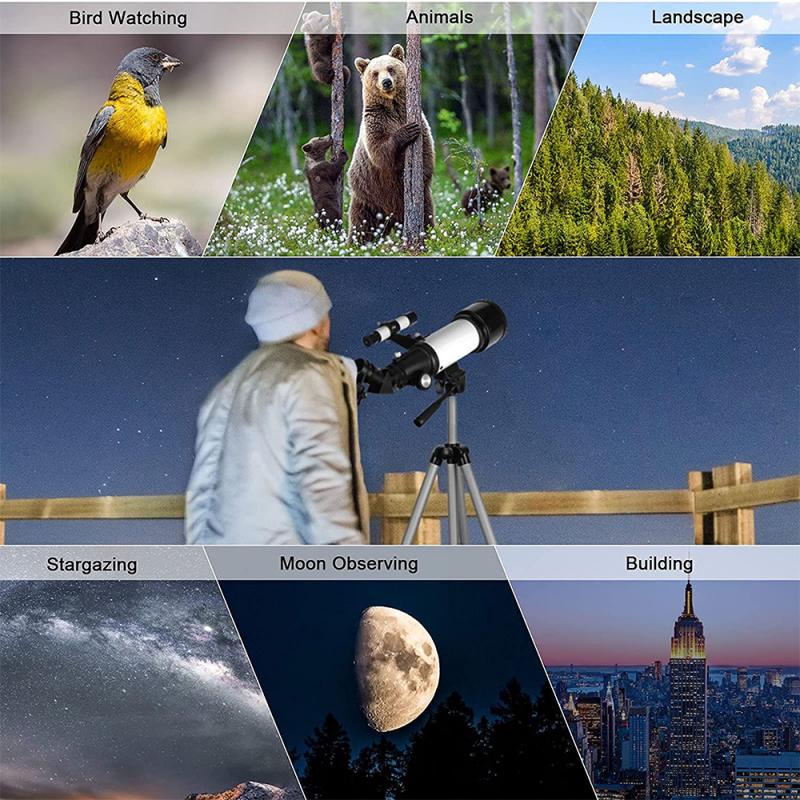
- Astronomy Basics: Talk about what they can expect to see through a telescope and introduce basic astronomy concepts like planets, the moon, stars, and constellations.
- History: Share stories of how Galileo and other astronomers have historically used telescopes to make groundbreaking discoveries.
Choosing the First Observations
Once the telescope is complete, the real learning begins with observing the night sky. Depending on where you live and what equipment you have, suggest targets like:
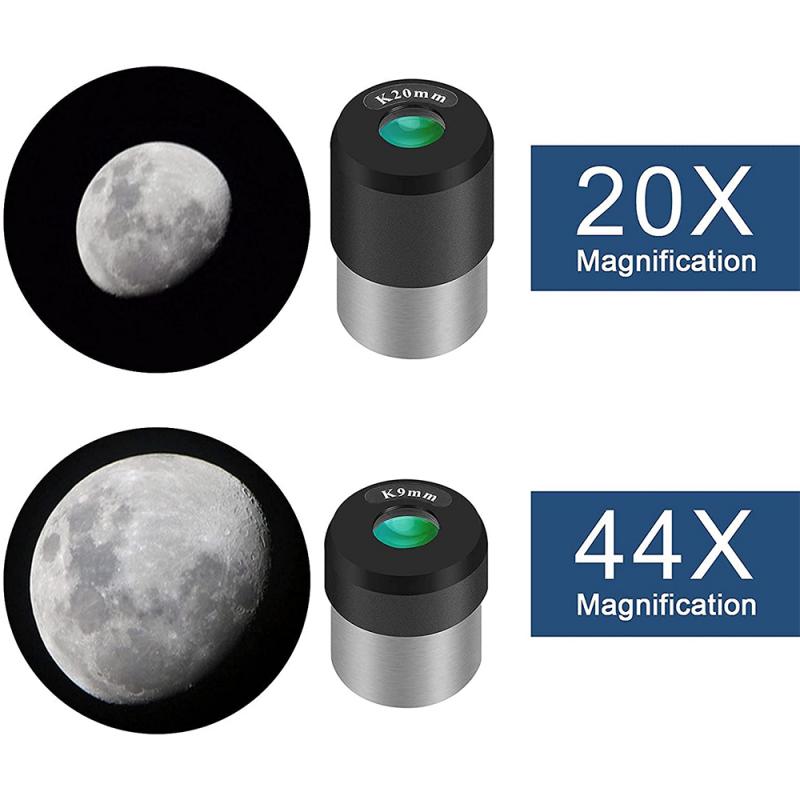
- The Moon: Its craters and phases make it an excellent and easy first object to observe.
- Planets: Jupiter and its moons or Saturn’s rings may be visible on clear nights.
- Constellations: Help them pick out and name various star formations.
Handling Expectations
While crafting a telescope at home offers fantastic educational value, it's important to manage expectations regarding the visibility of distant cosmic objects. Inform kids that homemade telescopes may not offer the same clarity or magnification as professional or even commercially available telescopes. However, seeing the moon's surface or a bright planet through a self-made telescope can be incredibly rewarding.
Safety Considerations
It's vital to teach children safety while using telescopes. The most significant caution is to never look at the sun through the telescope. Even brief exposure can cause serious eye damage.
Consider this project as a supervised activity, ensuring that all lens handling and cutting are done safely.
Extending the Learning
To further the exploration, encourage children to keep an astronomy journal where they can record their observations, draw what they see, and note any questions that arise about the cosmos. This exercise not only enhances writing and drawing skills but also encourages reflective and scientific thinking.
Creating a telescope at home can be a wonderfully enriching experience that combines science, craftsmanship, and creativity. It's an exciting project that can ignite a passion for science and astronomy in young minds. While the level of technical sophistication is basic, the joy and wonder it can spark in children—as they glimpse the night sky's wonders—make it all worthwhile. As they point their self-made instruments to the stars, they not only view celestial bodies, they also embark on a journey of discovery, learning, and perhaps a lifelong love for exploring the universe around them.
There are no comments for this blog.