How To Make A Tripod For?
In the world of photography and videography, a tripod is an essential tool that provides stability and allows for precise control over your shots. However, purchasing a high-quality tripod can be expensive. Fortunately, making your own tripod is a feasible and cost-effective alternative. This guide will walk you through the process of creating a sturdy and functional tripod for your camera using readily available materials.

## Understanding the Basics of a Tripod
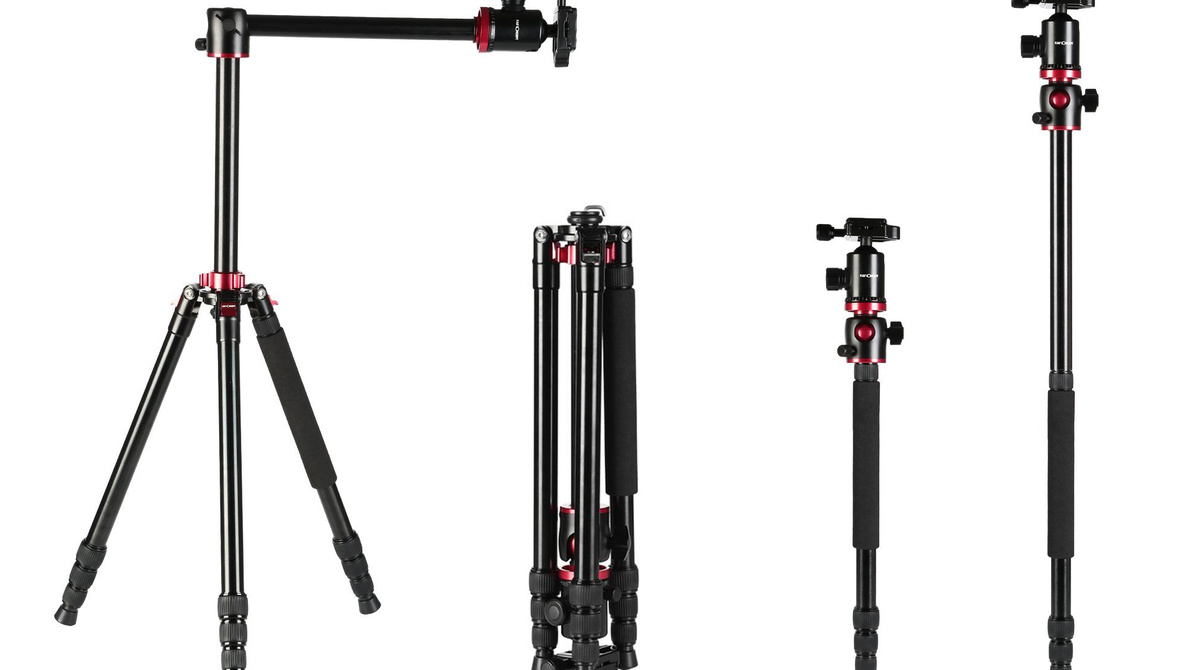
Before diving into the construction process, it’s important to understand the basic components and functionality of a tripod. A standard tripod consists of three main parts:
1. Legs: These provide the primary support and stability. They are usually adjustable to allow for different heights and angles.
2. Head: This is where the camera is mounted. It often includes a mechanism for tilting and rotating the camera.
3. Center Column: This is an optional component that can be adjusted to raise or lower the camera without changing the leg height.
## Materials Needed
To make a simple yet effective tripod, you will need the following materials:
- Three wooden dowels or metal rods (approximately 1-2 meters in length)
- A small piece of plywood or a metal plate (for the tripod head)
- A 1/4-inch bolt and nut (to attach the camera to the tripod head)
- Hinges or flexible joints (to connect the legs to the head)
- Screws and a screwdriver
- A saw (if you need to cut the dowels or rods to size)
- Sandpaper (to smooth any rough edges)
- Paint or varnish (optional, for finishing)
## Step-by-Step Construction
Step 1: Preparing the Legs
1. Cut the Dowels/Rods: If your dowels or rods are too long, cut them to the desired length. A typical tripod height ranges from 1 to 1.5 meters.
2. Smooth the Edges: Use sandpaper to smooth any rough edges on the dowels or rods. This will prevent splinters and ensure a clean finish.
Step 2: Constructing the Tripod Head
1. Cut the Plywood/Metal Plate: Cut a small piece of plywood or metal plate to serve as the tripod head. A 10x10 cm square should suffice.
2. Drill a Hole: Drill a hole in the center of the plate that is slightly larger than the diameter of the 1/4-inch bolt.
3. Attach the Bolt: Insert the bolt through the hole and secure it with a nut on the underside of the plate. This bolt will screw into the camera’s tripod mount.
Step 3: Attaching the Legs to the Head
1. Position the Hinges: Place the hinges or flexible joints at the corners of the tripod head. Ensure they are evenly spaced and aligned.
2. Attach the Legs: Secure the legs to the hinges using screws. Make sure the legs can move freely and are firmly attached to the head.
Step 4: Adding Stability
1. Test the Stability: Set up the tripod and test its stability. Adjust the hinges or joints if necessary to ensure the legs are evenly spaced and the tripod stands firmly.
2. Reinforce the Joints: If the tripod feels wobbly, reinforce the joints with additional screws or brackets.
Step 5: Finishing Touches
1. Smooth the Surfaces: Sand any rough surfaces or edges to ensure a smooth finish.
2. Paint or Varnish: If desired, paint or varnish the tripod to protect the wood and give it a polished look.
## Tips for Using Your DIY Tripod
- Weight Distribution: Ensure that the weight of your camera is evenly distributed to prevent the tripod from tipping over.
- Adjusting the Height: If you need to adjust the height frequently, consider adding adjustable leg sections using telescoping tubes or additional hinges.
- Adding a Center Column: For more flexibility, you can add a center column using a smaller dowel or rod that can be raised or lowered independently of the legs.
## Troubleshooting Common Issues
- Wobbly Legs: If the legs are wobbly, check the hinges and screws to ensure they are tight. You may need to add additional support or reinforcement.
- Uneven Legs: If the legs are uneven, adjust the hinges or trim the dowels/rods to ensure they are the same length.
- Camera Stability: If the camera is not stable on the tripod head, ensure the bolt is securely fastened and consider adding a rubber washer between the camera and the plate for added grip.
## Conclusion
Creating your own tripod can be a rewarding and cost-effective project. By following the steps outlined in this guide, you can build a sturdy and functional tripod that meets your photography and videography needs. Not only will you save money, but you’ll also gain a deeper understanding of the mechanics behind this essential tool. Whether you’re a hobbyist or a professional, a DIY tripod can be a valuable addition to your gear. Happy shooting!
