How To Make Audio Recording On Macbook Pro?
In the digital age, content creation has become a versatile and varied field. Among the many forms of content, audio recording stands out due to its relevance in podcasts, voice overs, music production, and more. If you are a MacBook Pro user, understanding the tools at your disposal is crucial for quality audio production. This guide is intended to walk you through the process of making audio recordings on a MacBook Pro, leveraging different applications and techniques that can help you achieve professional results.
Understanding Built-in Applications
Voice Memos
Voice Memos is one of the simplest ways to record audio on a MacBook Pro. Preinstalled as part of macOS, it's primarily used for quick captures and note-taking but has the features required for basic recording tasks.
To record using Voice Memos:
1. Open the Voice Memos application, which can be found using Spotlight Search (Cmd + Space).
2. Click the large red record button to start your recording.
3. Click the pause button if you need to take a break and resume when ready.
4. Once you’ve finished recording, hit the stop button. Your recording is automatically saved and can be named or edited within the app.
Voice Memos is perfect for personal memos, interviews, or capturing ideas quickly without the complexity of more advanced software.
GarageBand
For more sophisticated recording needs, GarageBand is a robust option. This DAW (Digital Audio Workstation) is also included with macOS and supports multi-track recording, instruments, and a variety of effects.
To record in GarageBand:
1. Open GarageBand and select "Empty Project" to start a new session.
2. Choose the "Audio" option to record with a microphone or line input.
3. Plug in your microphone or interface, then select the correct input in the track controls.
4. Press the record button in the control bar to begin recording.
5. Use the timeline to edit, add effects, and refine your audio track post-recording.
GarageBand is ideal for musicians, podcasters, and anyone seeking a more detailed and layered recording solution.
Exploring Third-party Applications
Audacity
Audacity is a free, open-source audio editor widely praised for its versatile feature set that rivals some premium applications. It runs on macOS and provides comprehensive editing tools.
To record with Audacity:
1. Download and install Audacity from its official website.
2. Launch Audacity and select the appropriate audio source from the dropdown menu beside the microphone icon.
3. Click the record button to start capturing audio.
4. Once finished, use the stop button. Audacity allows you to apply effects, cut, duplicate and modify audio easily.
Audacity is recommended for more extensive editing and is a great option for those needing detailed audio manipulation while maintaining a budget-friendly approach.
Logic Pro X
For professionals seeking the highest capabilities in audio recording on a MacBook Pro, Logic Pro X is Apple's flagship DAW. It offers a wide array of features suitable for both recording and mixing.
To use Logic Pro X:
1. Purchase and install Logic Pro X from the App Store.
2. Open a new project and lay down your track structure.
3. Set up your audio input device, configure track settings, and begin recording with precise control over sound.
4. The software provides advanced editing tools, MIDI support, and a huge library of sounds and plugins.
Logic Pro X is highly suited for professional musicians, producers, and audio engineers who require extensive functionality.
Using External Microphones and Audio Interfaces
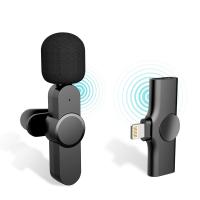
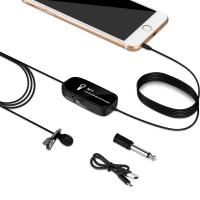
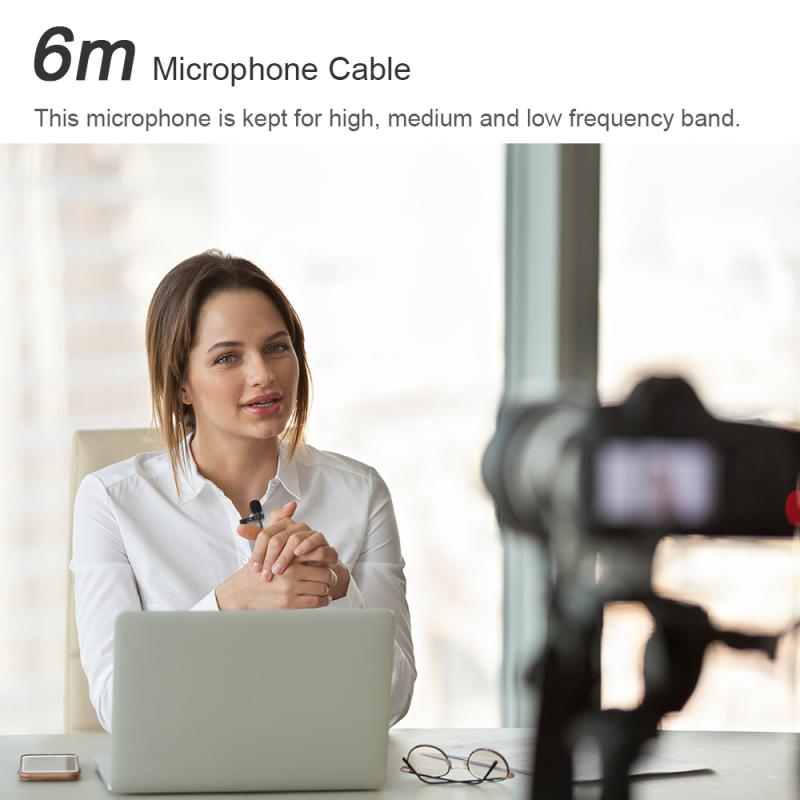
While MacBook Pros have built-in microphones, using an external mic is crucial for higher quality recordings. USB microphones provide a plug-and-play solution, while more advanced setups might use XLR microphones connected through an audio interface.
USB Microphones
These are straightforward and compatible with most recording software. They offer superior audio quality compared to the built-in mic.
Audio Interfaces
For those requiring several inputs or ultra-high audio fidelity, a USB or Thunderbolt audio interface is advisable. Brands like Focusrite, PreSonus, and Universal Audio provide models suitable for any range of professional needs.
Tips for Better Audio Quality
1. Room Acoustics: Choose a quiet space and consider adding soundproofing elements like foam or blankets to reduce echo.
2. Microphone Positioning: Ensure your microphone is at an appropriate distance to prevent clipping or excess ambient noise.
3. Gain and Levels: Adjust gain properly to avoid distortion, and monitor levels throughout the recording.
4. Post-processing: Utilize EQ, compression, and noise reduction tools to polish your recording.
Recording audio on a MacBook Pro can be as simple or as complex as required by your project. The built-in applications like Voice Memos and GarageBand offer straightforward solutions for beginners or those with simple recording needs. More advanced or professional projects might benefit from third-party applications like Audacity or Logic Pro X, especially when paired with external microphones and audio interfaces for improved quality.
By understanding and utilizing these tools correctly, you can effectively produce high-quality audio suitable for a wide range of digital content. Whether you’re capturing a podcast episode, music session, or voiceover project, your MacBook Pro provides a capable platform for delivering crisp, professional sound.

