
How To Make Solar Power Panels?
Solar power panels, also known as photovoltaic (PV) panels, are an increasingly popular way to harness renewable energy from the sun. As more people become environmentally conscious and seek sustainable energy solutions, the demand for solar panels has surged. This article will guide you through the process of making your own solar power panels, covering everything from the basic components to the assembly and installation. Whether you're a DIY enthusiast or someone looking to reduce your carbon footprint, this comprehensive guide will provide you with the knowledge you need to get started.
Understanding Solar Power Panels
Before diving into the construction process, it's essential to understand how solar power panels work. Solar panels convert sunlight into electricity using photovoltaic cells. These cells are made from semiconductor materials, typically silicon, which generate an electric current when exposed to sunlight. The electricity produced is direct current (DC), which can be converted to alternating current (AC) using an inverter, making it suitable for household use.
Components Needed
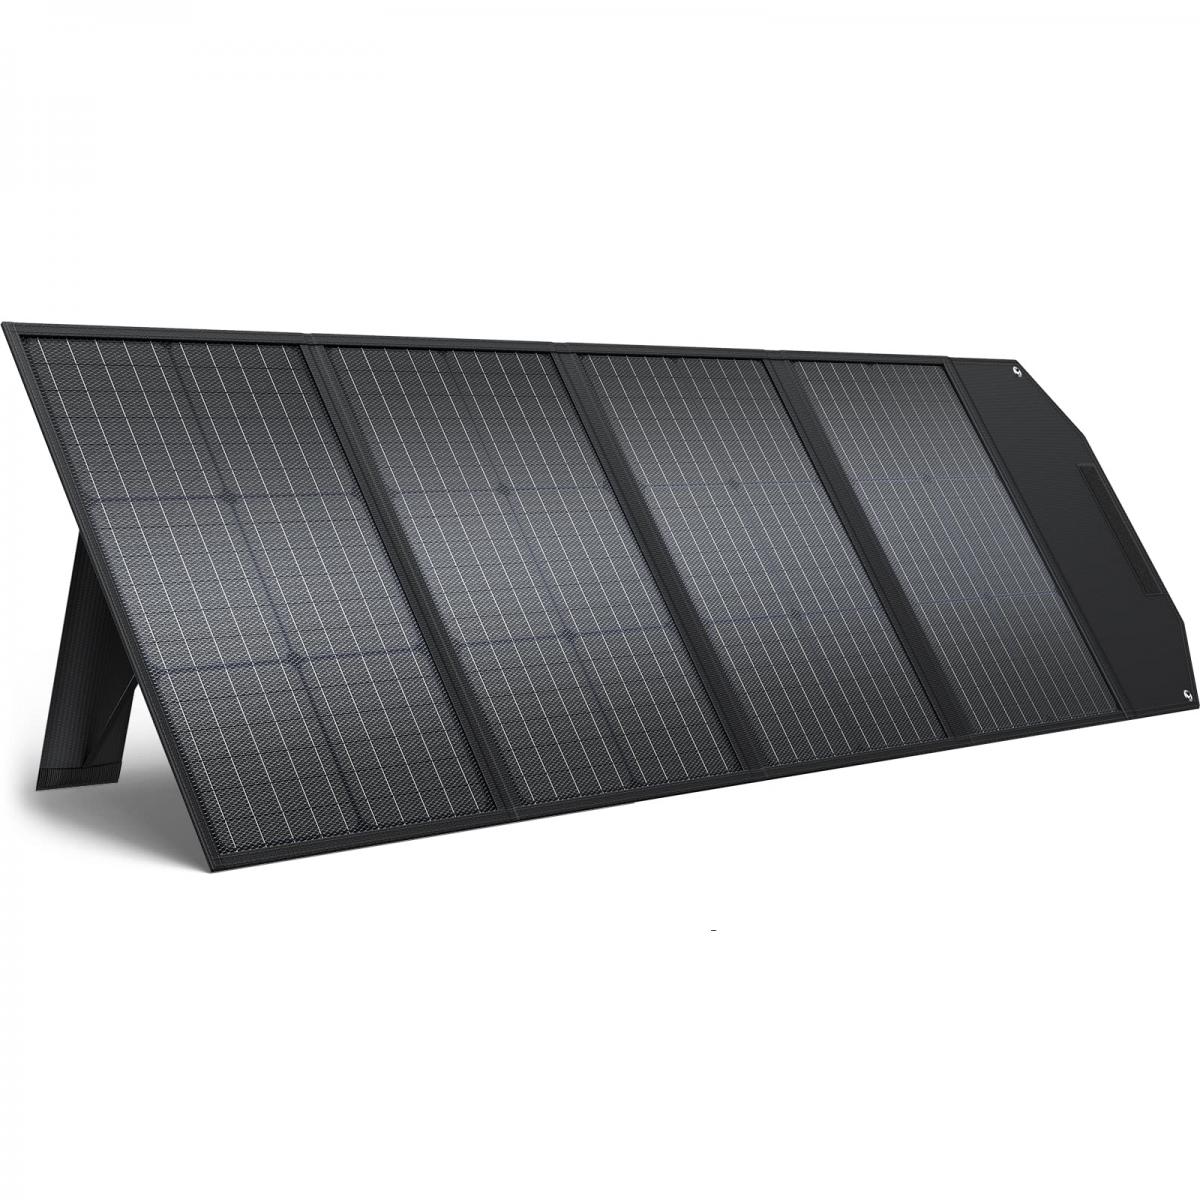
To make your own solar power panels, you'll need the following components:
1. Photovoltaic Cells: These are the heart of your solar panel. You can purchase them individually or in pre-assembled sheets.
2. Glass or Plexiglass: This will serve as the protective cover for your solar cells.
3. Frame: Typically made from aluminum or wood, the frame holds the entire panel together.
4. Encapsulant: This material protects the cells from moisture and physical damage.
5. Backsheet: A protective layer on the back of the panel.
6. Junction Box: This houses the electrical connections and provides a point for external wiring.
7. Soldering Equipment: For connecting the cells together.
8. Bus Wire and Tabbing Wire: These are used to connect the cells in series and parallel configurations.
9. Silicone Sealant: To seal the edges and protect against moisture.
Step-by-Step Guide to Making Solar Panels
Step 1: Designing Your Panel
The first step is to design your solar panel. Determine the size and power output you need. This will depend on the number of cells you use and their efficiency. For example, a typical solar cell produces about 0.5 volts and 5-6 amps. To create a 12-volt panel, you'll need 24 cells connected in series.
Step 2: Preparing the Frame
Construct the frame using aluminum or wood. Ensure it is sturdy and can support the weight of the glass and cells. The frame should have a groove or lip to hold the glass securely.
Step 3: Arranging the Cells
Lay out the photovoltaic cells on a flat surface in the configuration you designed. Ensure they are evenly spaced and aligned. Use a template or guide to maintain consistency.
Step 4: Soldering the Cells
Using tabbing wire, solder the cells together. Connect the positive terminal of one cell to the negative terminal of the next. This series connection increases the voltage. Be careful not to overheat the cells, as this can damage them.
Step 5: Encapsulating the Cells
Once the cells are soldered together, place them on the encapsulant material. This will protect the cells from moisture and physical damage. Cover the cells with another layer of encapsulant and then place the glass or plexiglass on top.
Step 6: Sealing the Panel
Seal the edges of the panel with silicone sealant to prevent moisture from entering. Ensure the seal is watertight.
Step 7: Installing the Backsheet
Attach the backsheet to the frame, covering the back of the cells. This provides additional protection and insulation.
Step 8: Wiring the Junction Box
Connect the bus wires from the cells to the junction box. This box will house the electrical connections and provide a point for external wiring. Ensure all connections are secure and insulated.
Step 9: Testing the Panel
Before installing the panel, test it to ensure it produces the expected voltage and current. Use a multimeter to measure the output. Place the panel in direct sunlight and check the readings.
Step 10: Installing the Panel
Once tested, install the panel in a location that receives maximum sunlight. Mount it securely on a roof or a ground-mounted frame. Connect the panel to an inverter to convert the DC output to AC for household use.
Maintenance and Troubleshooting
Regular maintenance is essential to ensure the longevity and efficiency of your solar panels. Clean the surface of the panels periodically to remove dust and debris. Inspect the connections and seals for any signs of wear or damage. If you notice a drop in performance, check the cells and wiring for any issues.
Benefits of DIY Solar Panels
Making your own solar panels can be a rewarding experience. It allows you to customize the size and power output to meet your specific needs. Additionally, it can be more cost-effective than purchasing pre-made panels. By building your own panels, you gain a deeper understanding of how solar energy works and contribute to a more sustainable future.
Creating your own solar power panels is a feasible and rewarding project that can provide long-term benefits. By following the steps outlined in this guide, you can harness the power of the sun and reduce your reliance on non-renewable energy sources. Whether you're looking to save on energy costs or reduce your carbon footprint, DIY solar panels offer a practical and sustainable solution. Remember to prioritize safety and quality throughout the process to ensure your panels are efficient and durable. Happy building!