How To Mount Baby Monitor On Wall?
Mounting a baby monitor on the wall can be a practical solution for ensuring your baby’s safety while keeping your living space organized. This article will guide you through the process, providing detailed steps and tips to help you achieve the best results. Whether you are a first-time parent or looking to upgrade your current setup, this guide will cover everything you need to know.
Why Mount a Baby Monitor on the Wall?
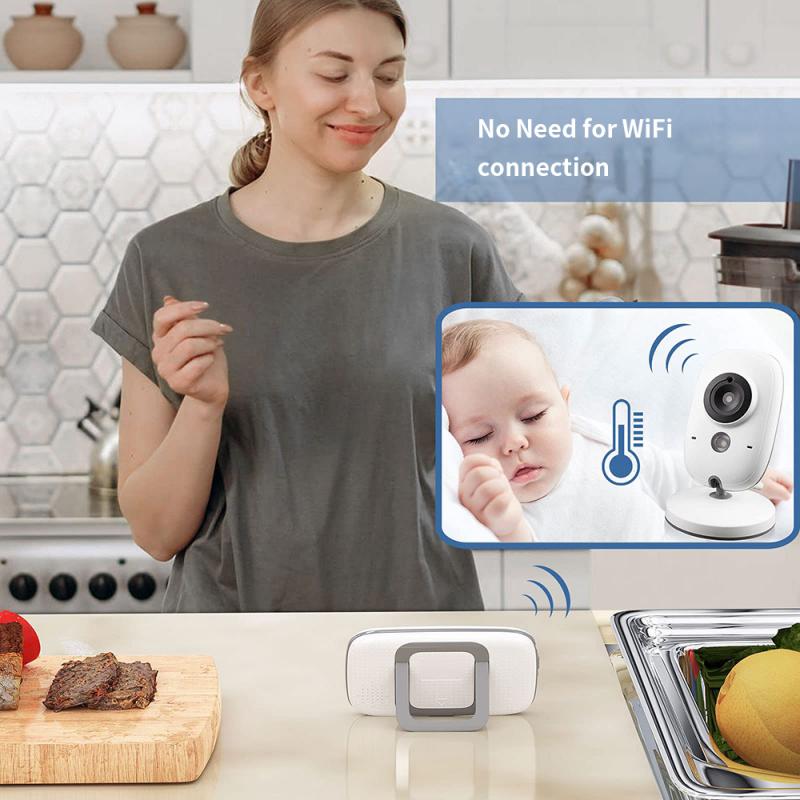
Mounting a baby monitor on the wall offers several advantages:
1. Better View: A wall-mounted monitor provides a bird’s-eye view of the crib, allowing you to see your baby clearly.
2. Safety: Keeping the monitor out of reach prevents your baby from tampering with it.
3. Space-Saving: Wall mounting frees up valuable surface space in the nursery.
4. Aesthetics: A neatly mounted monitor can blend seamlessly with your nursery decor.
Tools and Materials Needed
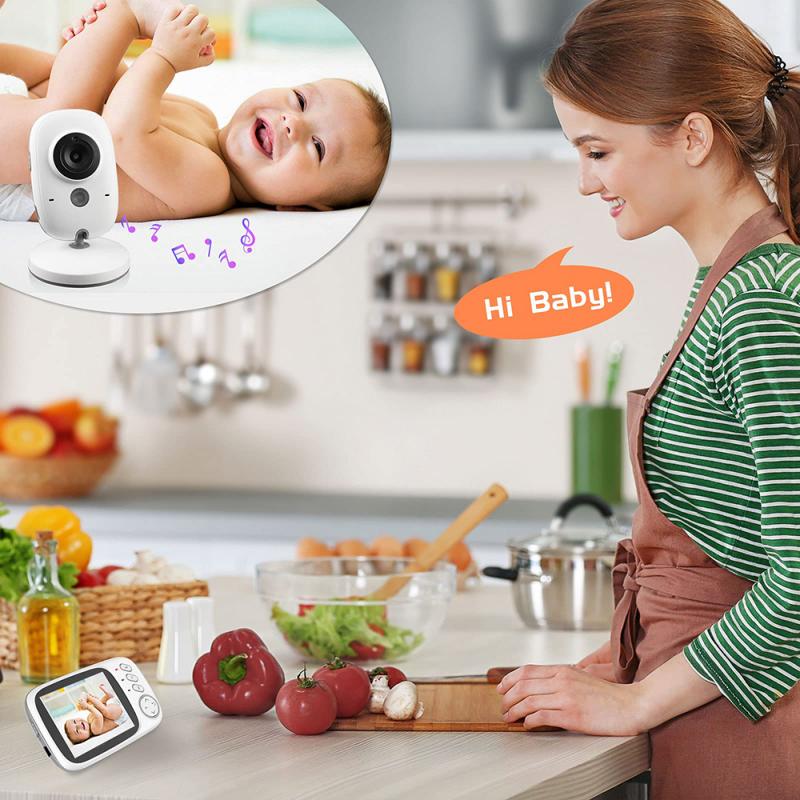
Before you start, gather the following tools and materials:
- Baby monitor with wall-mounting capability
- Wall mount bracket (usually included with the monitor)
- Screws and anchors (appropriate for your wall type)
- Drill and drill bits
- Screwdriver
- Level
- Measuring tape
- Pencil
Step-by-Step Guide to Mounting a Baby Monitor on the Wall

Step 1: Choose the Right Location
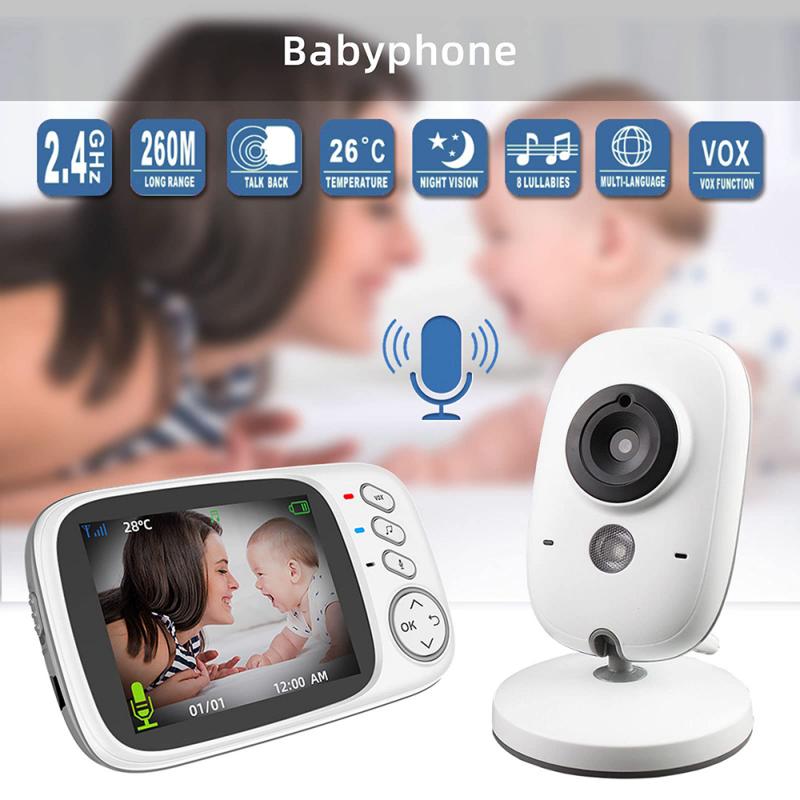
Selecting the optimal location is crucial for effective monitoring. Consider the following factors:
- View of the Crib: Ensure the monitor has a clear, unobstructed view of the crib.
- Distance from the Crib: Position the monitor at a safe distance to avoid any potential hazards but close enough to capture clear audio and video.
- Power Source: Ensure the monitor can be plugged into a power outlet without the cord becoming a tripping hazard.
Step 2: Mark the Mounting Spot
Once you’ve chosen the location, use a pencil to mark the spots where you will drill holes for the mounting bracket. Use a level to ensure the marks are straight.
Step 3: Drill Holes
Using the appropriate drill bit for your wall type (e.g., masonry bit for brick walls, wood bit for wooden walls), drill holes at the marked spots. If you’re drilling into drywall, use wall anchors to ensure the screws hold securely.
Step 4: Attach the Mounting Bracket
Align the mounting bracket with the drilled holes and use a screwdriver to secure it to the wall with screws. Ensure the bracket is firmly attached and level.
Step 5: Mount the Baby Monitor
Attach the baby monitor to the mounting bracket according to the manufacturer’s instructions. Ensure it is securely fastened and adjust the angle to get the best view of the crib.
Step 6: Manage Cables
Use cable clips or a cable management system to keep the power cord neatly organized and out of reach of your baby. This not only improves safety but also keeps the nursery looking tidy.
Tips for Optimal Placement and Use
- Test the View: Before finalizing the installation, test the monitor’s view to ensure it covers the desired area. Make adjustments as needed.
- Check Signal Strength: Ensure the monitor has a strong signal from its location. If the signal is weak, consider moving the monitor or using a range extender.
- Night Vision: If your monitor has night vision, test it in low-light conditions to ensure it provides a clear view of your baby at night.
- Sound Sensitivity: Adjust the sound sensitivity settings to ensure you can hear your baby without being disturbed by background noise.
Common Mistakes to Avoid
- Incorrect Height: Mounting the monitor too high or too low can result in a poor view of the crib. Aim for a height that provides a clear, comprehensive view.
- Ignoring Safety: Ensure the monitor and cables are out of reach of your baby to prevent any potential hazards.
- Overlooking Signal Issues: A weak signal can compromise the monitor’s effectiveness. Test the signal strength before finalizing the installation.
Troubleshooting
If you encounter issues during the installation process, consider the following solutions:
- Loose Bracket: If the bracket feels loose, ensure the screws are tightened properly and use wall anchors if necessary.
- Poor View: Adjust the angle of the monitor or reposition it to get a better view of the crib.
- Signal Problems: Move the monitor closer to the receiver or use a range extender to improve signal strength.
Mounting a baby monitor on the wall is a straightforward process that can significantly enhance your ability to monitor your baby’s safety. By following the steps outlined in this guide, you can achieve a secure and effective setup. Remember to choose the right location, use the appropriate tools, and test the monitor’s functionality to ensure the best results. With a properly mounted baby monitor, you can have peace of mind knowing that your baby is safe and sound.











-200x200.png)






There are no comments for this blog.