How To Put Memory Card In Camera?
In the realm of photography, understanding the basic operations of your camera is crucial. One such fundamental skill is knowing how to correctly insert a memory card into your camera. Despite the simplicity of the task, it can sometimes confuse beginners or those transitioning to new camera models due to variations in design and technology. Ensuring that your memory card is properly inserted is essential to capture and store your photographic moments effectively. In this article, we will discuss the step-by-step process of inserting a memory card into a camera, common pitfalls, and how to choose the right memory card for your needs.
Why Is the Memory Card Important?

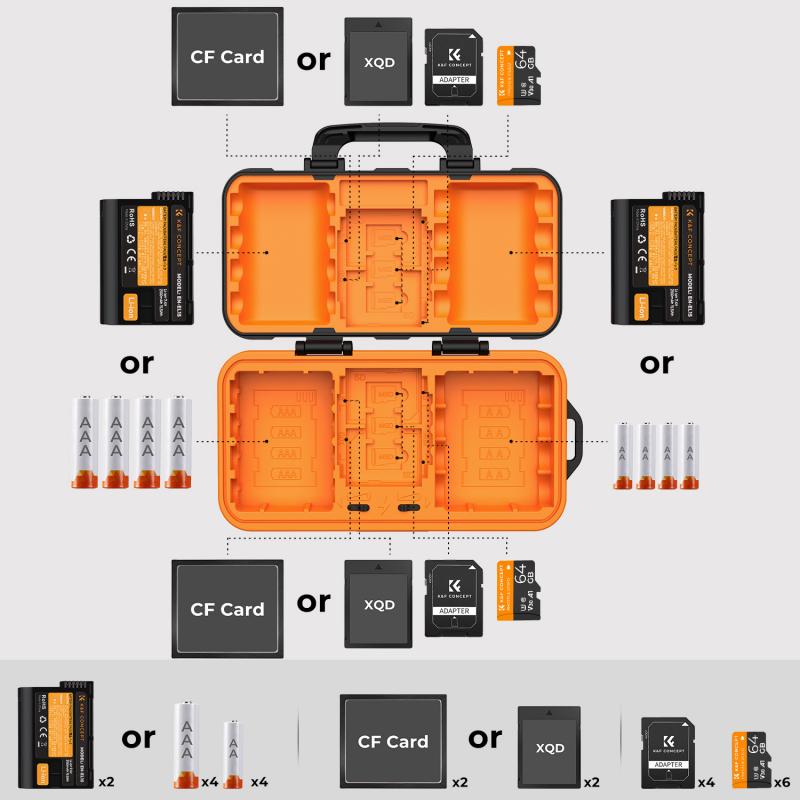
Before delving into the practical steps, it's essential to understand the role of a memory card in your camera. A memory card serves as the storage medium for your images and videos. Without one, any photos or videos you capture would not be saved. Memory cards come in different types, such as SD (Secure Digital), CF (CompactFlash), and microSD, and each type varies in speed, capacity, and physical size. The correct choice often depends on your camera's requirements and your specific usage needs.
Step-by-Step Guide to Inserting a Memory Card

1. Power Off Your Camera:
- Before you start, ensure that your camera is turned off. This action prevents any data corruption or damage to the electrical components of the camera and memory card during the insertion process.
2. Locate the Memory Card Slot:
- The memory card slot is usually found on the side, bottom, or back of the camera. On some models, especially higher-end DSLRs, the slot might be behind a cover or door that you need to slide or flip open.
3. Open the Memory Card Compartment:
- Gently open the compartment either by sliding or hinging it open, as per your camera model's design. Avoid forcing the compartment open as this can damage the camera.
4. Insert the Memory Card:
- Hold the memory card with the label facing in the direction specified by the camera. Typically, the contacts on the card should be facing inward, but this can vary by model. Gently push the card into the slot until it clicks into place. Do not force the card as it should slide in easily if aligned correctly.
5. Close the Compartment:
- Carefully close the memory card compartment, ensuring it is sealed to protect the card from dust and damage. Confirm that it is securely locked in place.
6. Turn On Your Camera:
- Power on your camera and check if it recognizes the memory card. A successful insertion is often indicated by a routine message or symbol on the camera’s display screen.
Common Mistakes and How to Avoid Them

- Wrong Orientation: Make sure to insert the memory card in the correct orientation. Forcing it wrongly can damage both the card and the camera’s slot.
- Not Formatting the Card: Sometimes a camera may require you to format a new card before use. This process can usually be done within the camera’s settings menu. Remember, formatting will erase all existing data on the card.
- Incompatible Card Type: Ensure that the memory card type is compatible with your camera. Refer to your camera’s manual to confirm the supported card types and formats.
- Ejecting the Card Improperly: Always turn off the camera before removing the card. Rapid data transfer operations can be interrupted, leading to data corruption if the card is pulled out abruptly.
Selecting the Right Memory Card

Choosing the right memory card involves considering several factors, including:
- Capacity: Determine how much storage capacity you need. If you take a lot of high-resolution images or shoot videos in 4K, opt for a card with higher capacity, such as 64GB or even 128GB.
- Write Speed: If you shoot in burst mode or capture high-definition video, a memory card with a higher write speed is beneficial. Look for cards that specify 'UHS-I' or 'UHS-II' for fast performance.
- Brand and Quality: Opt for reputable brands known for reliability and durability. Brands like SanDisk, Lexar, and Sony are well-regarded in the photography industry.
- Price vs. Performance: Balance your need for speed and capacity with your budget. Often, there are cost-effective options that provide a good compromise between performance and price.
Troubleshooting Tips
In case of issues with your memory card or its insertion:
- Reinsert the Card: Gently reinsert the card to ensure it is seated correctly in the slot.
- Try Another Card: Rule out card-specific issues by testing with a different card.
- Check for Damage: Inspect both the card and the camera slot for any visible damage or debris.
- Camera Firmware: Ensure your camera’s firmware is up to date, as sometimes compatibility issues can be resolved with software updates.
Correctly inserting a memory card into your camera is a fundamental skill for any photographer. It ensures that you can confidently capture and store your photographic endeavors without worrying about data integrity or storage issues. By understanding the steps to insert, the common issues that could arise, and knowing how to choose the right card, you are better prepared to focus on what truly matters—your photography. As you familiarize yourself with your camera's operations, these processes become second nature, enabling you to concentrate on creating stunning images seamlessly.

There are no comments for this blog.