How To Put On Camera Lens?
When it comes to photography, one of the most crucial skills to master is how to properly attach a camera lens. Whether you're a budding photographer or a seasoned professional, understanding the correct way to handle and mount your lenses can make a significant difference in the quality of your images and the longevity of your equipment. In this article, we will delve into the step-by-step process of attaching a camera lens, common mistakes to avoid, and tips for maintaining your lenses.
Step-by-Step Guide to Attaching a Camera Lens
1. Prepare Your Workspace
Before you even touch your camera or lens, ensure that you have a clean and stable workspace. Dust and debris can easily get into your camera body or lens, potentially causing damage or affecting image quality. A clean, flat surface is ideal for this task.
2. Turn Off Your Camera
Always turn off your camera before changing lenses. This helps to prevent any electrical issues and reduces the risk of dust being attracted to the sensor due to static electricity.
3. Remove the Rear Lens Cap and Body Cap
Both your camera body and lens will have protective caps. Remove the rear lens cap from the lens and the body cap from the camera. Keep these caps in a safe place as you will need them when you detach the lens.
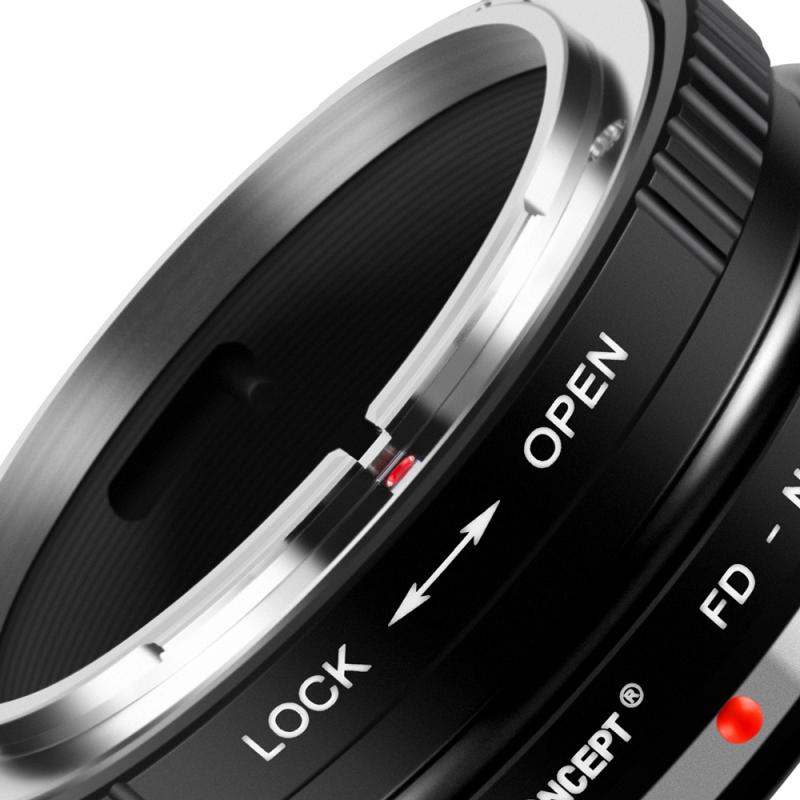
4. Align the Mounting Indexes
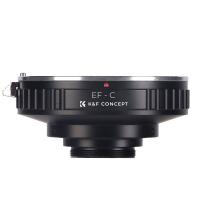
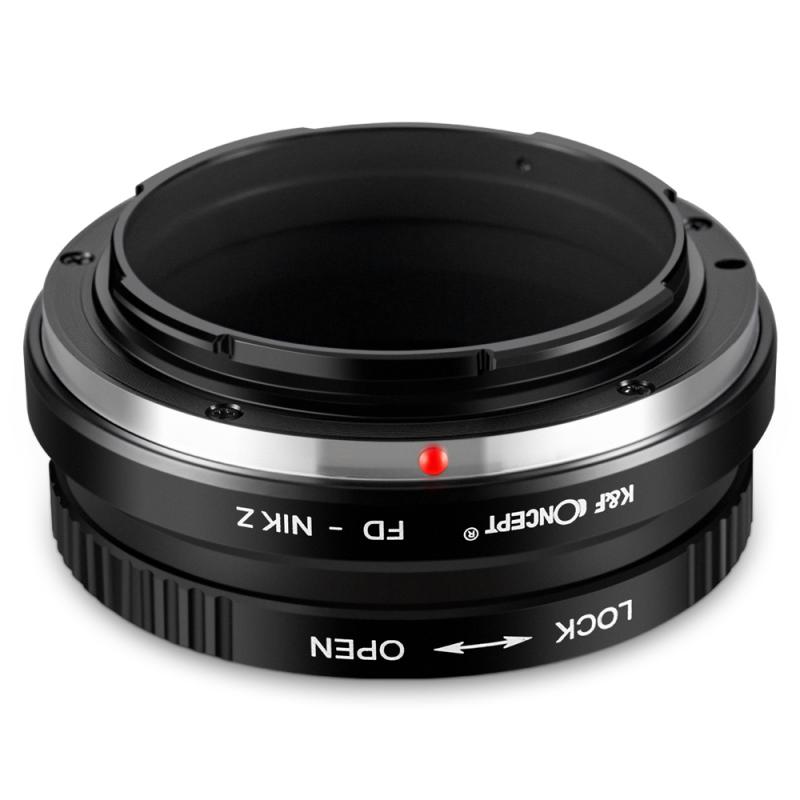
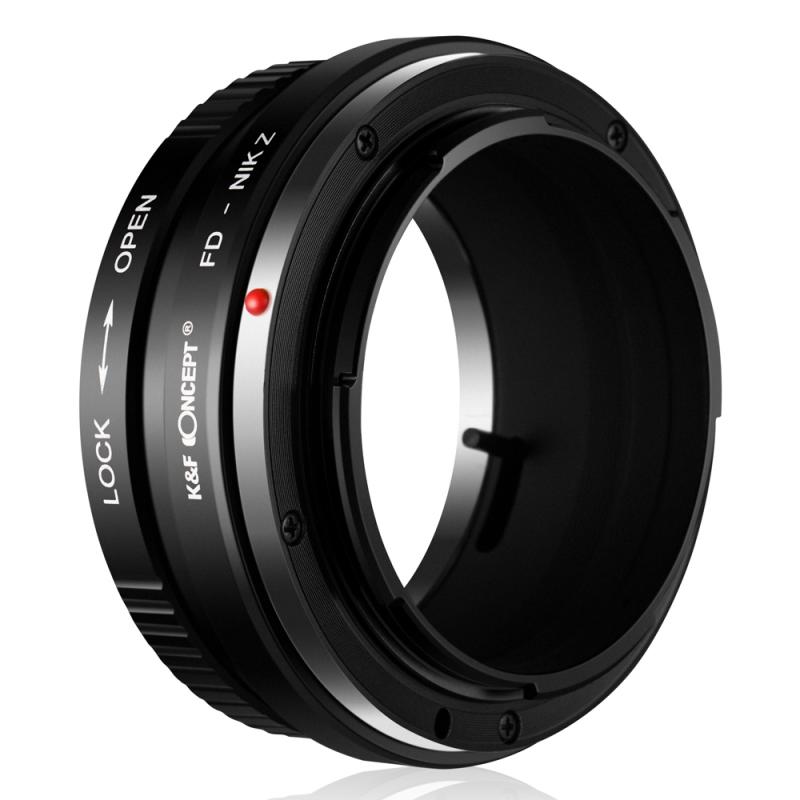
Most cameras and lenses have alignment marks, often colored dots or lines. Align these marks to ensure that the lens is positioned correctly for mounting. For example, Canon lenses typically have a red or white dot that aligns with a corresponding mark on the camera body.
5. Attach the Lens
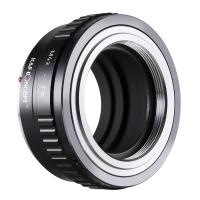
Gently insert the lens into the camera body, keeping the alignment marks matched. Once the lens is in place, rotate it clockwise (or counterclockwise, depending on your camera model) until you hear a click. This click indicates that the lens is securely attached.
6. Check the Connection
After attaching the lens, give it a gentle twist to ensure it is securely locked in place. The lens should not wobble or feel loose. If it does, remove it and try again, ensuring that the alignment marks are properly matched.
Common Mistakes to Avoid
1. Forcing the Lens
Never force a lens onto the camera body. If it doesn't fit easily, double-check the alignment marks. Forcing the lens can damage both the lens and the camera mount.
2. Changing Lenses in Dusty Environments
Avoid changing lenses in dusty or windy environments. If you must change lenses outdoors, try to find a sheltered spot and keep the camera body facing downward to minimize the risk of dust entering the sensor area.
3. Touching the Lens Elements
Avoid touching the glass elements of the lens. Fingerprints, smudges, and oils from your skin can affect image quality and are difficult to clean off.
Tips for Maintaining Your Lenses
1. Regular Cleaning
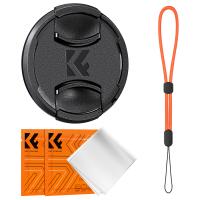
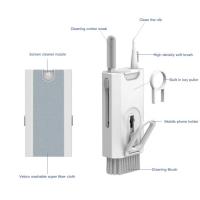
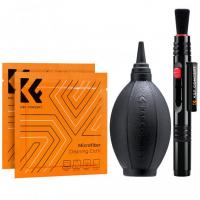
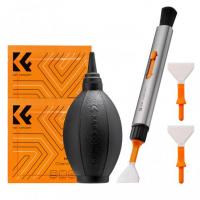
Regularly clean your lenses using a soft, lint-free cloth or a specialized lens cleaning kit. Avoid using household cleaners or rough materials that can scratch the lens.
2. Use Lens Caps
Always use lens caps when the lens is not in use. This protects the lens from dust, scratches, and other potential damage.
3. Store Properly
Store your lenses in a cool, dry place. Consider using a camera bag with padded compartments to protect your lenses from physical damage.
4. Check for Firmware Updates
Some modern lenses come with firmware that can be updated to improve performance or compatibility with new camera models. Check the manufacturer's website for any available updates.
Attaching a camera lens may seem like a simple task, but doing it correctly is essential for maintaining the quality and longevity of your photography equipment. By following the steps outlined in this article, you can ensure that your lenses are securely attached and ready for use. Remember to avoid common mistakes and take good care of your lenses to keep them in optimal condition. Happy shooting!

