How To Put Sd Card In Gopro?
When it comes to capturing high-quality videos and photos, GoPro cameras are among the most popular choices for adventurers, vloggers, and hobbyists alike. One of the essential components of using a GoPro is the SD card, which stores all your captured media. However, for many users, especially those new to GoPro, inserting the SD card correctly can be a bit confusing. This article will guide you through the process of inserting an SD card into your GoPro, ensuring you can start recording your adventures without any hassle.
Understanding the Importance of the SD Card

Before diving into the step-by-step process, it's crucial to understand why the SD card is so important. The SD card is the primary storage medium for your GoPro. Without it, your camera won't be able to save any photos or videos. Additionally, the type and quality of the SD card can significantly impact the performance of your GoPro. High-speed SD cards are recommended to ensure smooth recording, especially when capturing high-resolution videos or using advanced features like burst mode.
Choosing the Right SD Card

Not all SD cards are created equal, and using the wrong type can lead to performance issues or even damage your GoPro. Here are some key factors to consider when choosing an SD card for your GoPro:
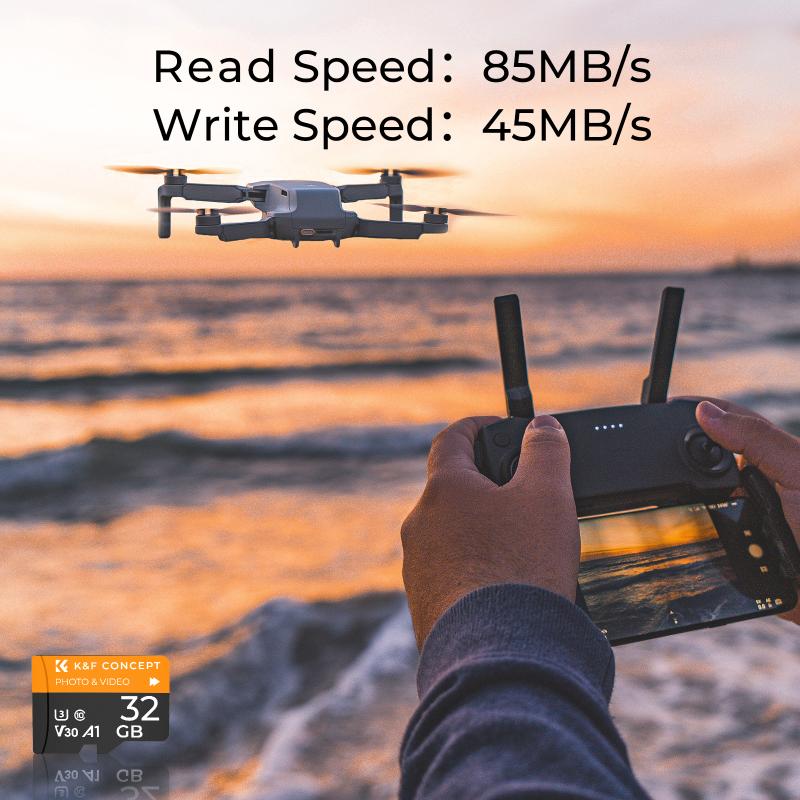
1. Capacity: GoPro cameras support SD cards with varying capacities, typically ranging from 32GB to 256GB. Choose a capacity based on your recording needs. For extended recording sessions, a higher capacity card is advisable.
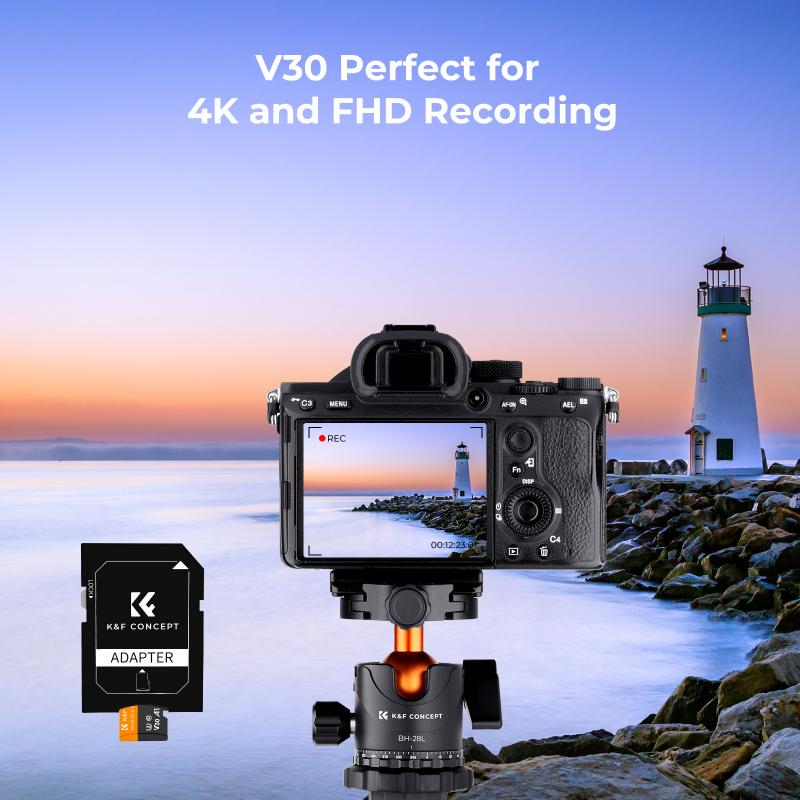
2. Speed Class: The speed class of an SD card determines how quickly data can be written to it. For GoPro cameras, a minimum of Class 10 or UHS-I (U3) is recommended to ensure smooth recording, especially for 4K videos.
3. Brand and Reliability: Stick to reputable brands like SanDisk, Lexar, or Samsung. These brands are known for their reliability and performance, reducing the risk of data corruption or loss.
Step-by-Step Guide to Inserting the SD Card

Now that you have the right SD card, let's go through the process of inserting it into your GoPro. The steps may vary slightly depending on the GoPro model, but the general process remains the same.
Step 1: Power Off Your GoPro

Before inserting or removing the SD card, always ensure that your GoPro is powered off. This prevents any potential data corruption or damage to the card or camera.
Step 2: Locate the SD Card Slot
The SD card slot is typically located on the side or bottom of the GoPro, depending on the model. For most models, you will need to open a small compartment to access the slot. This compartment is usually secured with a latch or a sliding mechanism.
Step 3: Open the Compartment
Carefully open the compartment by sliding the latch or pressing the release button. Be gentle to avoid damaging the compartment door or the latch mechanism.
Step 4: Insert the SD Card
Take your SD card and hold it with the label facing up (the metal contacts should be facing down). Gently insert the card into the slot until you feel it click into place. Ensure that the card is fully inserted and seated properly.
Step 5: Close the Compartment
Once the SD card is securely in place, close the compartment door and ensure it is latched or locked properly. This helps protect the SD card from dust, water, and other elements.
Step 6: Power On Your GoPro
With the SD card inserted, power on your GoPro. The camera should recognize the card, and you may be prompted to format it if it's a new card or if it was previously used in another device. Follow the on-screen instructions to format the card if necessary.
Troubleshooting Common Issues
Even with the best preparation, you might encounter some issues when inserting or using an SD card in your GoPro. Here are some common problems and their solutions:
1. SD Card Not Recognized: If your GoPro doesn't recognize the SD card, try removing and reinserting it. Ensure that the card is compatible with your GoPro model and that it is properly seated in the slot.
2. Formatting Errors: If you receive a formatting error, try formatting the SD card using your computer before reinserting it into the GoPro. Make sure to use the FAT32 or exFAT file system, as these are compatible with GoPro cameras.
3. Slow Performance: If your GoPro is experiencing slow performance or recording issues, it might be due to a slow SD card. Ensure that you are using a high-speed card (Class 10 or UHS-I U3) to avoid these problems.
4. Card Ejection Issues: If you have trouble ejecting the SD card, make sure the camera is powered off and gently press the card inwards to release it. Avoid using excessive force to prevent damage to the card or slot.
Maintaining Your SD Card
To ensure the longevity and reliability of your SD card, follow these maintenance tips:
1. Regular Formatting: Periodically format your SD card to keep it in optimal condition. This helps prevent file corruption and maintains the card's performance.
2. Avoid Physical Damage: Handle your SD card with care to avoid bending or breaking it. Store it in a protective case when not in use.
3. Keep It Clean: Ensure that the SD card and the slot are free from dust and debris. Use a soft brush or compressed air to clean the slot if necessary.
4. Backup Your Data: Regularly transfer your photos and videos to a computer or external storage device to prevent data loss in case of card failure.
Inserting an SD card into your GoPro is a straightforward process, but it's essential to do it correctly to ensure optimal performance and avoid potential issues. By choosing the right SD card, following the proper insertion steps, and maintaining the card, you can enjoy seamless recording and capture all your adventures without any hassle. Whether you're a seasoned GoPro user or a beginner, these tips will help you make the most of your camera and ensure that your memories are safely stored.
