How To Record An Audio Clip?
Recording an audio clip might seem like a simple task, but it encompasses a variety of considerations and steps to produce a high-quality result. Whether you are a budding podcaster, musician, or someone just looking to record personal memos, understanding the essentials of audio recording can vastly improve the quality and clarity of your audio clips.
Understanding the Basics of Audio Recording

Before delving into the equipment and software needed for recording, it's essential to understand what makes an audio recording sound good. The quality of an audio clip is primarily influenced by three factors: the environment, the equipment, and the technique.
1. Environment:
The recording environment plays a key role in the overall sound quality. Ideally, you should find a quiet location with minimal echo or background noise. Rooms with soft furnishings, like carpets or curtains, can help absorb sound, thus reducing echo and improving audio clarity. You can also use portable sound panels or even clothing items like blankets to help improve the acoustics of your recording space temporarily.
2. Equipment:
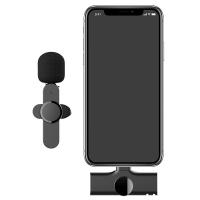
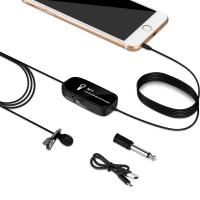
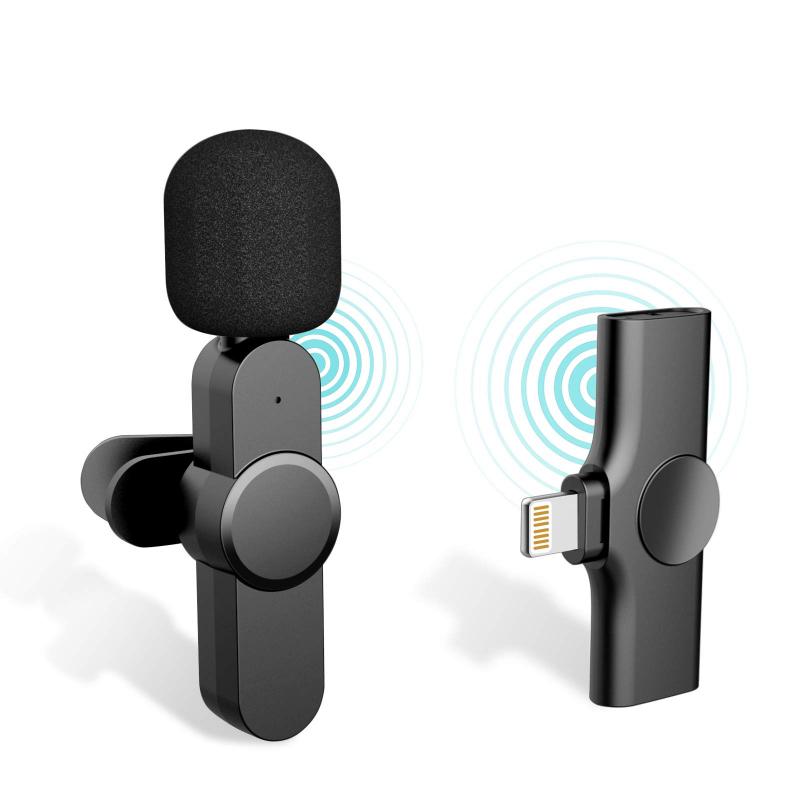
The right equipment can make a significant difference. At its core, you need a microphone to capture sound. Microphones come in various types, such as dynamic, condenser, and ribbon, each suited to different recording scenarios. A USB microphone is a good starting point for beginners due to its ease of use and decent sound quality. For more advanced users, an XLR mic paired with an audio interface provides greater control over the recording process.
3. Technique:
How you handle the microphone and how close you are to it can affect your recording’s quality. Typically, for speech or vocals, you should be about 6-12 inches away from the microphone. Experimenting with microphone placement helps minimize plosives and sibilance and can help find the ideal tonal quality. Moreover, using a pop filter can significantly reduce unwanted popping sounds caused by explosive consonants.
Selecting the Right Software
Once you've set up your recording environment and equipment, the next step is to choose the right recording software, also known as a Digital Audio Workstation (DAW). There are many options available catering to different needs and budgets:
- Audacity: A popular free software that is user-friendly and supports various plugins for enhanced functionality. It's excellent for beginners looking to record, edit, and mix audio tracks without a financial commitment.
- GarageBand: Available on Mac, GarageBand is another free option that provides a more robust suite of tools for music recording and editing, suitable for novices and intermediate users.
- Reaper and Adobe Audition: These are paid options that offer extensive features for more advanced users. Reaper provides a more budget-friendly option with a wide range of customizations, while Adobe Audition offers professional-grade audio editing tools with a comprehensive suite of features.
Steps to Record an Audio Clip
Step 1: Set Up Your Equipment
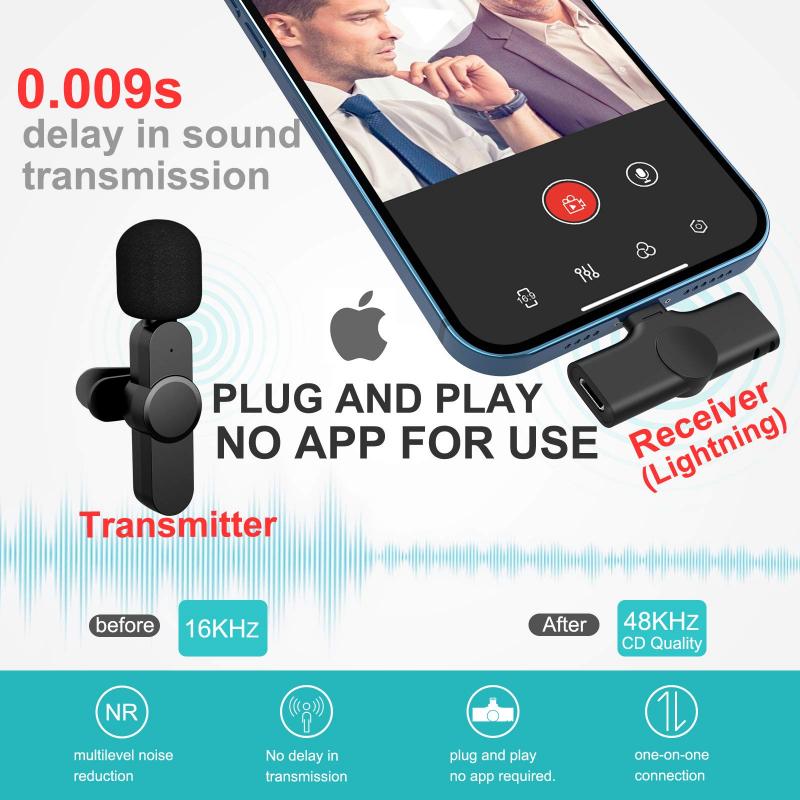
- Connect your microphone to your computer. For USB mics, it’s simply plugging it into a USB port. For XLR mics, connect the mic to an audio interface, and then connect the interface to your computer.
Step 2: Launch Your DAW
- Open your chosen software and create a new project. Familiarize yourself with the software interface; many DAWs have extensive online tutorials and documentation.
Step 3: Configure Audio Settings
- Ensure that your microphone is selected as the input device in your DAW’s audio settings.
- Set a suitable sample rate (44.1kHz is standard for most recordings) and bit depth (16 bit for standard, 24 bit for higher quality).
Step 4: Test Your Setup
- Do a test recording to check levels. Speak or sing at your intended volume while monitoring the input levels. Aim for levels to stay within the green area, avoiding red which indicates peaking and distortion.
Step 5: Record
- With everything ready, press the record button and begin your performance or speech. Stay consistent with your microphone technique to maintain uniform sound quality throughout the recording.
Step 6: Review and Edit
- Listen through your recording for mistakes or unwanted noise. Use the editing tools within your DAW to trim, cut, or adjust parts of your audio clip. Normalize audio levels, reduce noise using filters, and add effects if desired for creativity or clarity.
Enhancing Audio Quality

While the raw recording is essential, post-processing can enhance the audio to make it more polished and professional:
- Noise Reduction: Use noise reduction tools available within your DAW to eliminate background hiss and unwanted noise.
- Equalization (EQ): Apply EQ to balance the frequencies of your audio. You can increase clarity by slightly boosting the higher frequencies, while attenuating the lower frequencies to reduce muddiness.
- Compression: This tool evens out the dynamics of your recording, ensuring that the soft and loud parts are balanced, which is particularly useful for speech recordings.
- Reverb and Effects: Adding a touch of reverb can give your recording a sense of space and depth. Be cautious with effects—they should enhance, not overpower your audio.
Publishing and Sharing Your Recording
Once your audio clip is polished, you may want to share it with others. Consider the format and platform:
- Export your final audio in a compatible format like MP3 for smaller file sizes or WAV for higher quality.
- Use online platforms such as SoundCloud, Podbean, or even social media channels to share your recordings. Each platform often provides specific export settings recommendations.
Troubleshooting Common Issues
Even with careful preparation, issues may arise during recording:
- Pops and clicks: Ensure your computer’s resources aren't maxed out by closing unused applications. Pops can also be caused by loose connections, so check cables and ports.
- Background noise: Besides improving your environment, using directional microphones can help focus on your voice while minimizing ambient noise.
- Latency: If you experience delays, adjust your buffer size settings within your DAW. Lower settings reduce latency but may tax your CPU.
Recording an audio clip, while seemingly straightforward, demands attention to detail and understanding. By focusing on environment, equipment, and technique, and leveraging the capabilities of a good DAW, you can produce high-quality recordings with clarity and presence. Through continuous practice and experimentation, you'll acquire the skills needed to capture audio that communicates your message effectively and engagingly. Whether your end goal is to publish a podcast or simply to share personal notes, mastering the art of audio recording opens a world of creative possibilities.


