How To Record An Audio File?
Recording an audio file is a fundamental skill that can be useful for a variety of purposes, from creating podcasts and music to capturing lectures and meetings. Whether you are a beginner or someone looking to refine your technique, understanding the process and the tools involved is crucial. This article will guide you through the steps of recording an audio file, covering the necessary equipment, software options, and best practices to ensure high-quality results.
Understanding the Basics
Before diving into the recording process, it's essential to understand the basic components involved:
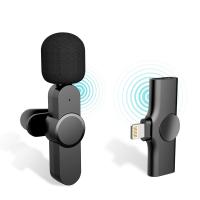
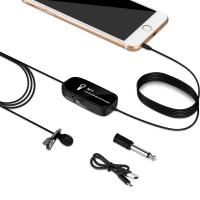
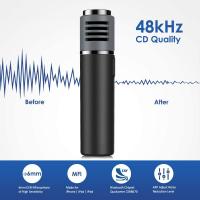
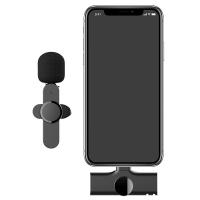
1. Microphone: The quality of your microphone significantly impacts the clarity and fidelity of your recording. There are various types of microphones, including dynamic, condenser, and ribbon microphones, each suited for different recording environments and purposes.
2. Audio Interface: This device connects your microphone to your computer, converting analog signals into digital data that your recording software can process. Some microphones, particularly USB microphones, have built-in audio interfaces.
3. Recording Software (DAW): Digital Audio Workstations (DAWs) are software applications used for recording, editing, and producing audio files. Popular DAWs include Audacity, GarageBand, Adobe Audition, and Pro Tools.
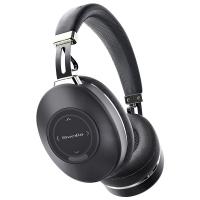
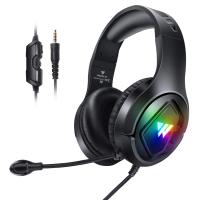
4. Headphones: High-quality headphones are essential for monitoring your recording in real-time and during the editing process.
Step-by-Step Guide to Recording an Audio File

Step 1: Set Up Your Equipment

1. Choose the Right Microphone: Select a microphone that suits your recording needs. For voice recordings, a condenser microphone is often preferred due to its sensitivity and accuracy.
2. Connect Your Microphone: If you are using an XLR microphone, connect it to your audio interface using an XLR cable. For USB microphones, simply plug it into your computer's USB port.
3. Configure Your Audio Interface: Ensure your audio interface is properly connected to your computer and that the necessary drivers are installed. Set the input levels to avoid clipping, which can distort your recording.
4. Position Your Microphone: Place the microphone at an appropriate distance from the sound source. For vocal recordings, a distance of 6-12 inches is typically ideal. Use a pop filter to minimize plosive sounds.
Step 2: Set Up Your Recording Environment

1. Choose a Quiet Space: Select a recording environment with minimal background noise. Consider using soundproofing materials or recording in a room with soft furnishings to reduce echo and reverb.
2. Monitor Your Levels: Use your headphones to monitor the input levels. Ensure the levels are neither too low (which can introduce noise) nor too high (which can cause distortion).
Step 3: Configure Your Recording Software
1. Select Your Input Device: In your DAW, select your microphone or audio interface as the input device. Configure the sample rate and bit depth (44.1 kHz and 16-bit are standard for most applications).
2. Create a New Project: Start a new project or session in your DAW. Create a new audio track and arm it for recording.
3. Set Up a Click Track (Optional): If you are recording music or need to keep time, set up a metronome or click track.
Step 4: Record Your Audio
1. Perform a Test Recording: Do a short test recording to check the levels and sound quality. Make any necessary adjustments to the microphone position, input levels, or recording environment.
2. Start Recording: Press the record button in your DAW and begin your performance or speech. Maintain a consistent distance from the microphone and speak or play clearly.
3. Monitor in Real-Time: Use your headphones to monitor the recording in real-time. This allows you to catch any issues immediately and make adjustments as needed.
Step 5: Edit and Export Your Recording
1. Review Your Recording: Listen to the entire recording and take note of any sections that need editing.
2. Edit Your Audio: Use your DAW's editing tools to trim unwanted sections, remove background noise, and apply effects such as equalization and compression. Be careful not to over-process the audio, as this can degrade the quality.
3. Normalize and Export: Normalize the audio to ensure consistent volume levels. Export the final recording in your desired format (e.g., WAV, MP3). Choose a high-quality format for the best results.
Best Practices for High-Quality Recordings
1. Maintain Consistent Levels: Keep an eye on your input levels throughout the recording process to avoid clipping and distortion.
2. Use a Pop Filter: A pop filter helps reduce plosive sounds (e.g., "p" and "b" sounds) that can cause distortion.
3. Minimize Background Noise: Record in a quiet environment and use noise reduction techniques during editing to minimize background noise.
4. Practice Good Microphone Technique: Maintain a consistent distance from the microphone and avoid sudden movements that can cause fluctuations in volume.
5. Monitor Your Recording: Use high-quality headphones to monitor your recording in real-time and during the editing process.
Troubleshooting Common Issues
1. Background Noise: If you notice background noise in your recording, try using noise reduction tools in your DAW. Additionally, consider using a noise gate to eliminate low-level background sounds.
2. Distortion: Distortion is often caused by input levels that are too high. Lower the input gain on your audio interface or microphone and ensure you are not too close to the microphone.
3. Latency: Latency is a delay between the input and output signals. To reduce latency, use an audio interface with low-latency drivers and adjust the buffer size in your DAW settings.
4. Echo and Reverb: Echo and reverb can be minimized by recording in a well-treated room. Use sound-absorbing materials such as foam panels, carpets, and curtains to reduce reflections.
Recording an audio file may seem daunting at first, but with the right equipment, software, and techniques, you can achieve professional-quality results. By following the steps outlined in this guide and adhering to best practices, you can create clear, high-fidelity recordings for any purpose. Whether you are recording a podcast, music, or a simple voice memo, the key is to practice and continually refine your skills. Happy recording!

