How To Record Audio From Desktop?
Recording audio directly from your desktop can come in handy for a variety of purposes—be it creating podcasts, capturing game sounds, recording voiceovers for video content, or even saving streaming music for later enjoyment. The good news is that achieving high-quality desktop audio recordings is fairly straightforward, even if you're not particularly tech-savvy. Let's delve into the basics of recording audio from your desktop, including hardware and software requirements, practical steps, and tips for optimizing your recordings.
Understanding the Basic Requirements:
1. Software:
To start recording audio from your desktop, you need suitable software. There are various programs, both free and paid, each offering different functionalities.
- Audacity: A popular, free, and open-source software that's great for beginners. Audacity is user-friendly and provides various editing features that can enhance your audio recordings.
- OBS Studio: Originally designed for video recording, OBS can also capture desktop audio. It’s free and widely used by gamers and streamers for its versatile features.
- Adobe Audition: This is a more professional and paid option that offers advanced editing tools. It’s suited for users who need more control over their audio productions.
- Streaming Audio Recorders: Apps like Apowersoft Streaming Audio Recorder or EaseUS RecExperts offer simplified interfaces for directly capturing sound from your desktop.
2. Hardware:
While most desktop recording tasks primarily rely on software, having good hardware can improve audio quality.
- A high-quality sound card, preferably one that supports 24-bit audio for better clarity.
- Decent headphones or monitors for playback.
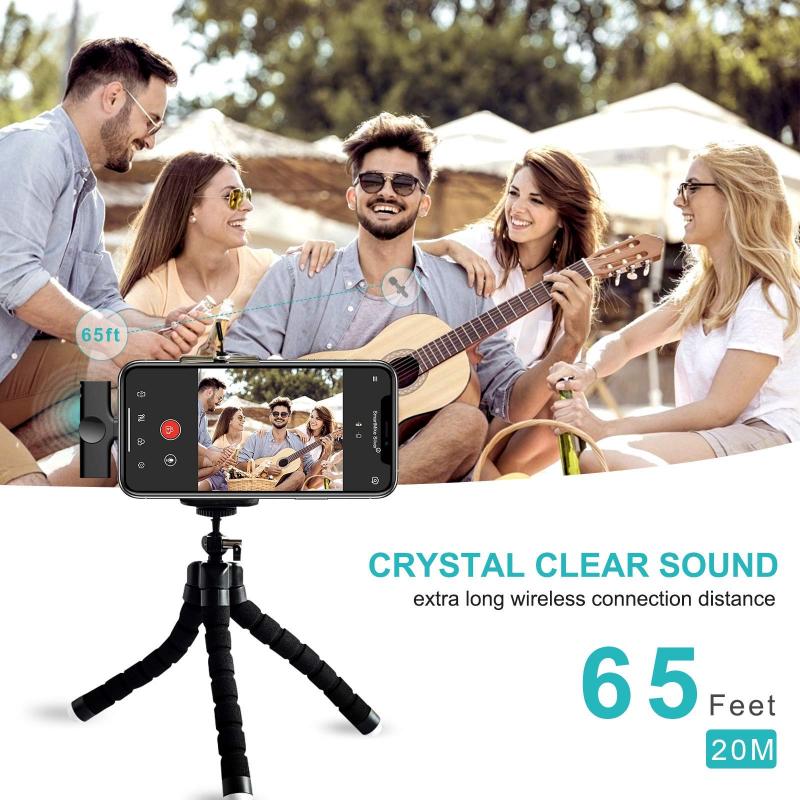
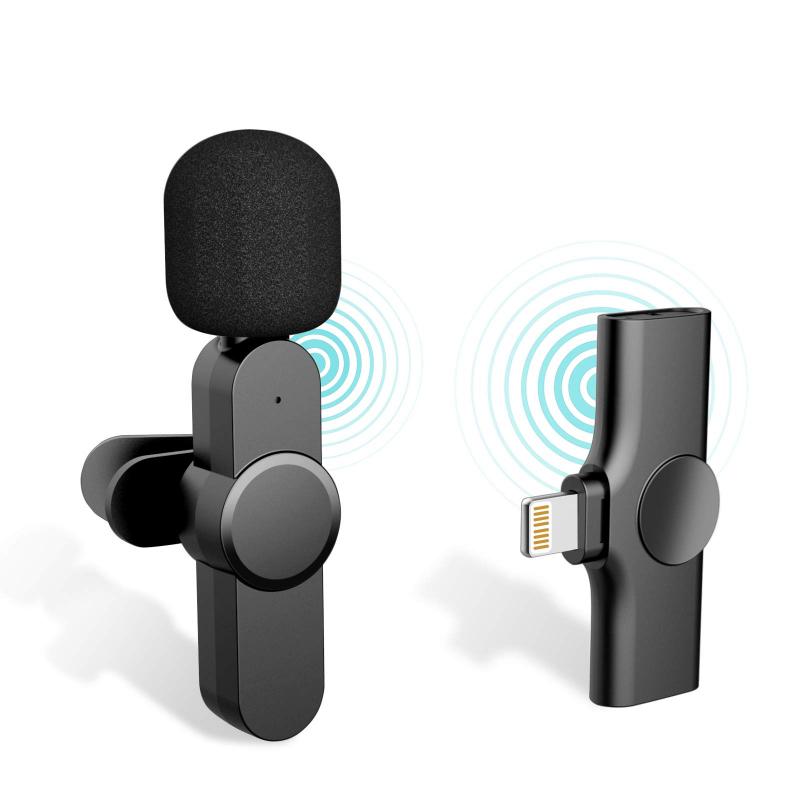
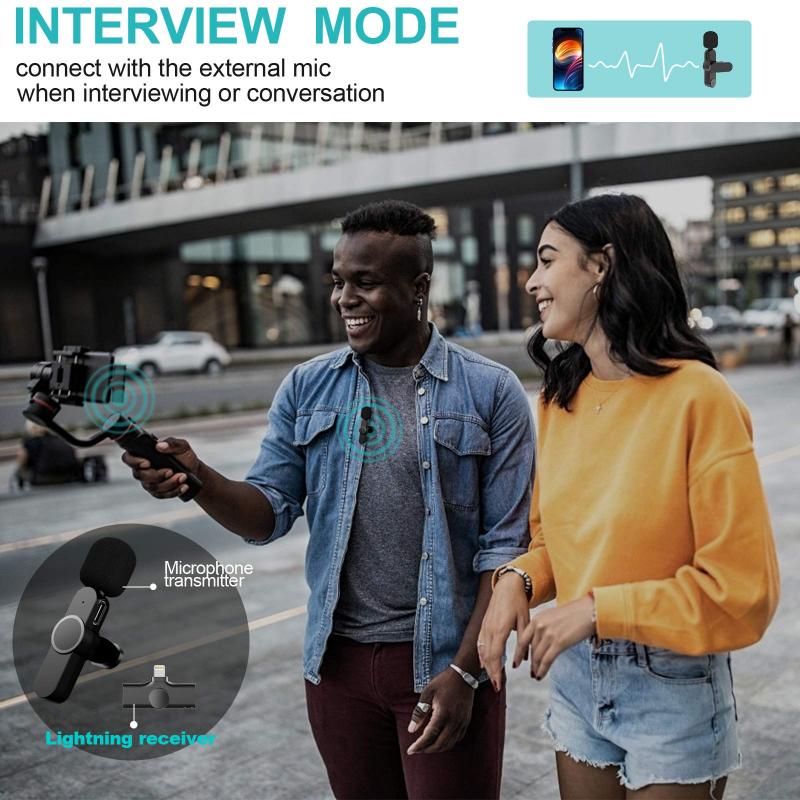
- An external microphone (optional), if you’re also recording voiceovers, to improve sound quality and reduce ambient noise.
Steps to Record Audio from Desktop:
Step 1: Install and Set Up Your Recording Software
- Download and install your chosen software. For example, if you’re using Audacity, make sure to also download the plugins if necessary for additional functionality.
Step 2: Configure Your Audio Preferences
- Open the settings for audio input and output and set them to work directly with your desktop audio source. In Windows, this could mean selecting 'Stereo Mix' as the input device. On a Mac, you might use an app like Soundflower to reroute audio.
- Ensure your volume levels are optimized — too loud could clip the audio, too soft might not capture enough detail.
Step 3: Test Your Setup
- Play a sample audio from your desktop and start recording to check if the software captures it correctly. Make adjustments as needed for optimal sound quality and volume levels.
Step 4: Recording Your Audio
- When ready, launch the recording process in your software. Make sure that any other sound notifications are disabled to avoid unwanted noise.
- Record in a quiet environment to minimize interference from external noises.
- Monitor the audio levels on the screen if your software permits it, ensuring they stay within acceptable ranges without peaking.
Step 5: Edit Your Recording
- Once the recording is complete, you can enhance it by adjusting different audio elements like noise reduction, equalization, or adding effects.
- Trim any unwanted sections of audio and use fades for smoother transitions.
Step 6: Save and Export Your File
- Choose the right format depending on your needs. Common formats include WAV for lossless quality or MP3 for a more compressed file suitable for general use.
- Save your file and double-check the playback to ensure everything sounds as expected.
Optimizing Your Audio Recordings:

1. Silence Background Noise: Use low-noise settings and position recording equipment in a quiet environment. Employ software noise reduction features post-recording if necessary.
2. Avoid Distortion: Check your levels to avoid distortion during peak sounds. Maintain a standardized distance between the microphone and the audio source if recording voice and desktop simultaneously.
3. Sync Sound: If your project involves combining multiple audio sources or syncing to video, ensure your timing is accurate. Software like Adobe Audition offers powerful tools for synchronizing audio.
4. Check for Legal Restrictions: When recording streaming audio, be aware of legal considerations and restrictions that might apply, especially concerning copyrighted materials.
5. Regular Software Updates: Keep your recording software up to date to make use of the latest features and bug fixes, providing better functionality and stability.
6. Backup Your Files: Regularly back up your recordings in multiple locations to prevent data loss.
Conclusion:
Recording audio from your desktop is an accessible skill that can be eagerly adopted with the right tools and some practice. Whether it’s a basic capture for personal use or an embryonic step into more complex audio projects, each recording journey can be smoother with proper preparation and execution. Desktop audio recording combines technical proficiency with creative flair, presenting limitless possibilities for digital expression. By mastering this balance, you'll be well-equipped to produce high-quality audio content that resonates with your intended audience.

