How To Record Audio From Ipad?
Recording audio on an iPad can be a straightforward process, but it can also vary depending on the specific needs and tools available to the user. Whether you are a student needing to record lectures, a musician capturing song ideas, or a podcaster creating content, understanding the different methods and tools available for recording audio on an iPad is essential. This article will guide you through various methods, from using built-in apps to leveraging external microphones and advanced recording software.
Using the Built-in Voice Memos App

The simplest way to record audio on an iPad is by using the built-in Voice Memos app. This app is pre-installed on all iPads and provides a user-friendly interface for basic audio recording.
1. Open the Voice Memos App: Locate the Voice Memos app on your iPad and open it.
2. Start Recording: Tap the red record button to start recording. You can pause and resume the recording as needed.
3. Save and Edit: Once you have finished recording, tap the stop button. You can then save your recording, rename it, and even make basic edits such as trimming the audio.
Using GarageBand for Advanced Recording

For users needing more advanced features, GarageBand is an excellent option. This app is also pre-installed on most iPads and offers a wide range of tools for music production and audio recording.
1. Open GarageBand: Launch the GarageBand app on your iPad.
2. Create a New Project: Tap the "+" icon to create a new project. Choose "Audio Recorder" from the available options.
3. Set Up Your Recording: You can choose different recording settings, such as voice or instrument, and adjust the input levels.
4. Record Your Audio: Tap the red record button to start recording. You can use the metronome and other tools to keep your recording in time.
5. Edit and Export: After recording, you can use GarageBand's extensive editing tools to refine your audio. Once satisfied, you can export your recording in various formats.
Using Third-Party Apps

There are numerous third-party apps available on the App Store that offer specialized features for audio recording. Some popular options include:
- Ferrite Recording Studio: Ideal for podcasters and journalists, Ferrite offers powerful editing tools and an intuitive interface.
- AudioShare: This app is great for musicians and sound designers, providing robust file management and sharing options.
- Notability: Perfect for students, Notability allows you to record audio while taking notes, syncing the audio with your written content.
Using External Microphones

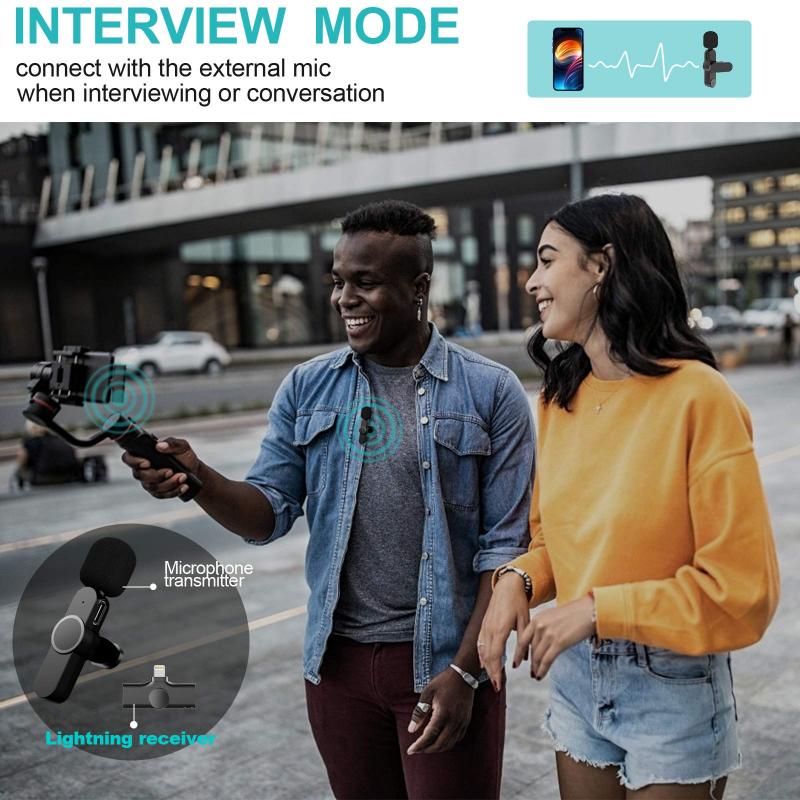
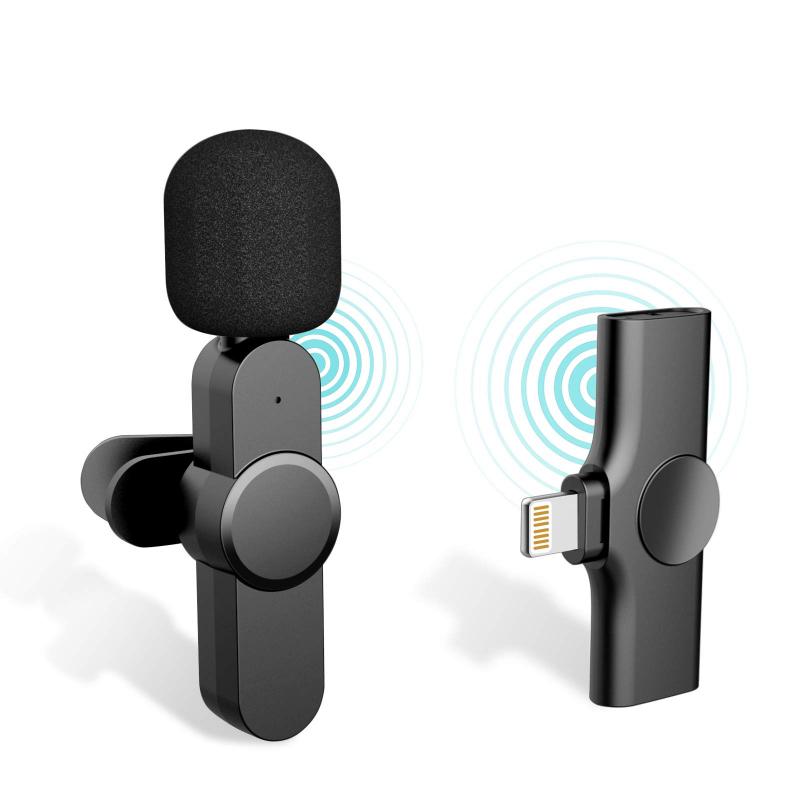
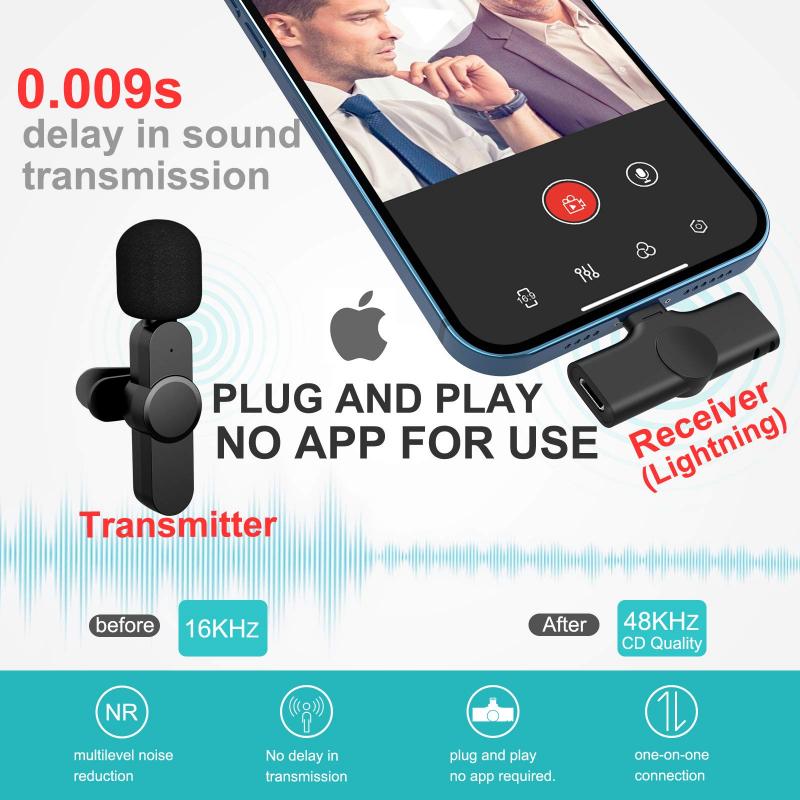
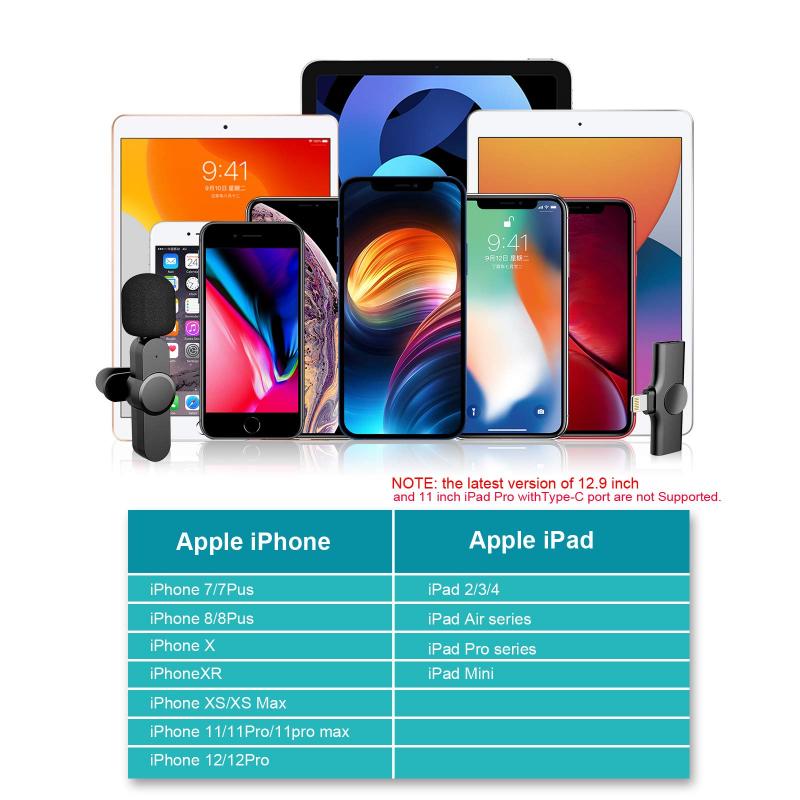
While the iPad's built-in microphone is sufficient for basic recordings, using an external microphone can significantly improve audio quality. Here are some options:
1. Lightning Microphones: These microphones connect directly to the iPad's Lightning port. Popular models include the Shure MV88 and the Apogee MiC+.
2. USB Microphones: With a USB adapter, you can connect a wide range of USB microphones to your iPad. The Blue Yeti and Audio-Technica ATR2100x-USB are excellent choices.
3. Wireless Microphones: Bluetooth microphones offer the convenience of wireless recording. The Rode Wireless GO is a popular option for its portability and sound quality.
Tips for High-Quality Recordings
Regardless of the method or tools you use, following these tips can help ensure high-quality audio recordings:
1. Choose a Quiet Environment: Background noise can significantly affect the quality of your recording. Choose a quiet location and minimize potential interruptions.
2. Use a Pop Filter: If you are recording vocals, a pop filter can help reduce plosive sounds (like "p" and "b" sounds) that can distort the audio.
3. Monitor Your Levels: Keep an eye on your input levels to avoid clipping, which can cause distortion. Aim for levels that peak around -6dB.
4. Use Headphones: When recording, use headphones to monitor the audio in real-time. This can help you catch issues early and make necessary adjustments.
Editing and Sharing Your Recordings
Once you have recorded your audio, you may need to edit and share it. Here are some steps to follow:
1. Edit Your Audio: Use the editing tools available in your chosen app to trim, cut, and enhance your recording. You can add effects, adjust levels, and remove unwanted noise.
2. Export Your File: Choose the appropriate file format for your needs. Common formats include MP3, WAV, and AAC.
3. Share Your Recording: You can share your audio file via email, cloud storage services like iCloud or Dropbox, or directly to social media platforms.
Recording audio on an iPad is a versatile and accessible process, thanks to the variety of built-in and third-party tools available. Whether you are using the simple Voice Memos app for quick recordings or leveraging the advanced features of GarageBand and external microphones, there is a solution to meet your needs. By following the tips and methods outlined in this article, you can achieve high-quality audio recordings suitable for any purpose.
