How To Record Audio In Macbook Pro?
Recording audio on a MacBook Pro is a common task that many users need to accomplish for various reasons, such as creating podcasts, recording music, capturing voice memos, or even conducting interviews. The MacBook Pro, with its built-in microphone and robust software ecosystem, makes this process relatively straightforward. In this article, we will explore different methods to record audio on a MacBook Pro, covering both built-in tools and third-party applications. By the end of this guide, you will have a comprehensive understanding of how to effectively record audio on your MacBook Pro.
Using QuickTime Player

QuickTime Player is a versatile media player that comes pre-installed on all MacBook Pros. It is not only useful for playing videos but also for recording audio. Here’s how you can use QuickTime Player to record audio:
1. Open QuickTime Player: You can find QuickTime Player in the Applications folder or by using Spotlight search.
2. Start a New Audio Recording: Click on "File" in the menu bar and select "New Audio Recording."
3. Adjust Settings: A small recording window will appear. Click on the arrow next to the record button to select your microphone (built-in or external) and adjust the quality settings.
4. Record: Click the red record button to start recording. Speak or play the audio you want to capture.
5. Stop Recording: Click the stop button when you are finished. You can then save the recording to your desired location.
Using Voice Memos

Voice Memos is another built-in application that is specifically designed for recording audio. It is simple to use and perfect for quick voice recordings.
1. Open Voice Memos: You can find Voice Memos in the Applications folder or by using Spotlight search.
2. Start Recording: Click the red record button to start recording.
3. Pause and Resume: You can pause the recording by clicking the pause button and resume by clicking the record button again.
4. Stop and Save: Click the done button to stop recording. The recording will be saved automatically, and you can rename it for easy identification.
Using GarageBand

GarageBand is a powerful audio recording and editing software that comes pre-installed on MacBook Pros. It is ideal for more complex audio projects, such as music production or podcasting.
1. Open GarageBand: You can find GarageBand in the Applications folder or by using Spotlight search.
2. Create a New Project: Click on "File" in the menu bar and select "New Project." Choose a template that suits your needs, such as "Voice" for simple recordings or "Empty Project" for more control.
3. Set Up Your Microphone: Select the track you want to record on and click on the track header to open the track settings. Choose your input source (built-in or external microphone).
4. Record: Click the red record button to start recording. You can monitor your levels and make adjustments as needed.
5. Stop and Edit: Click the stop button when you are finished. You can then edit your recording using GarageBand’s extensive editing tools.
Using Audacity

Audacity is a free, open-source audio recording and editing software that is popular among professionals and hobbyists alike. It offers a wide range of features and is highly customizable.
1. Download and Install Audacity: Visit the Audacity website and download the latest version for macOS. Follow the installation instructions.
2. Open Audacity: Launch Audacity from the Applications folder or by using Spotlight search.
3. Set Up Your Microphone: Go to the "Audacity" menu, select "Preferences," and then "Devices." Choose your input source (built-in or external microphone).
4. Record: Click the red record button to start recording. You can monitor your levels and make adjustments as needed.
5. Stop and Edit: Click the stop button when you are finished. You can then edit your recording using Audacity’s extensive editing tools.
Using External Microphones
While the built-in microphone on the MacBook Pro is sufficient for basic recordings, using an external microphone can significantly improve the audio quality. Here are some tips for using external microphones:
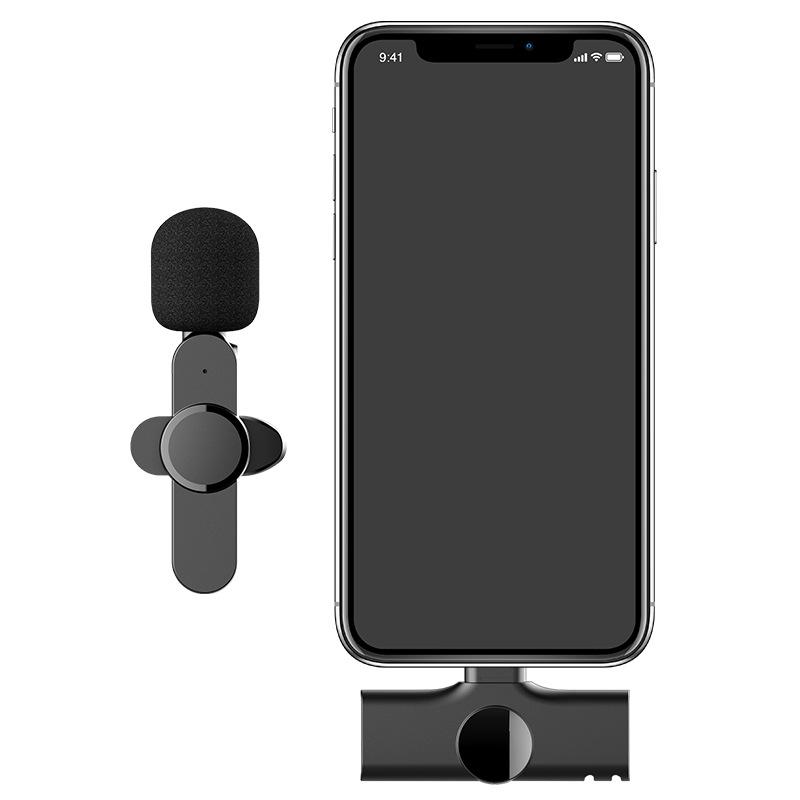
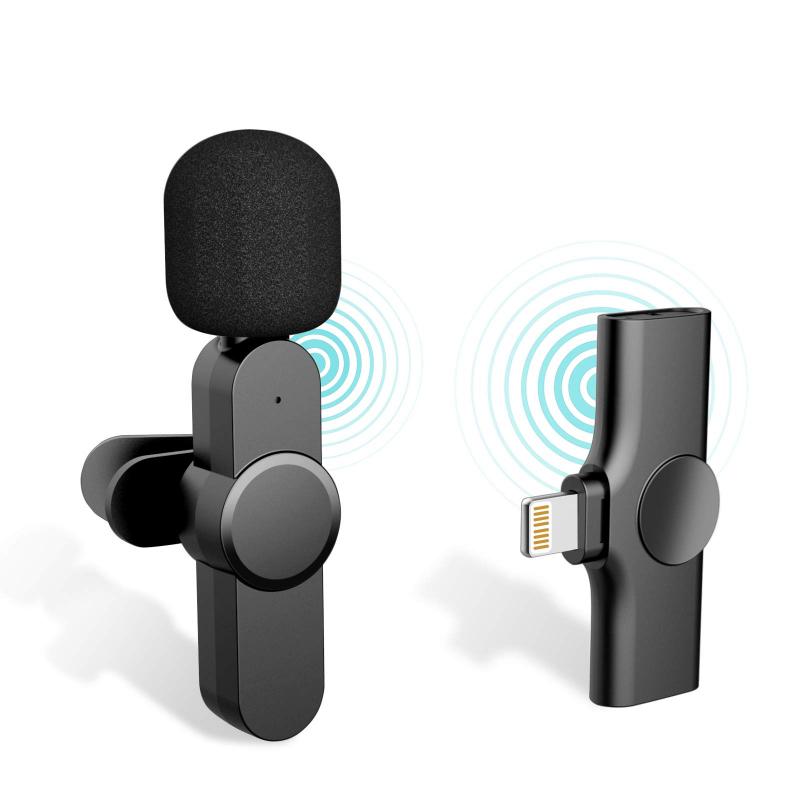
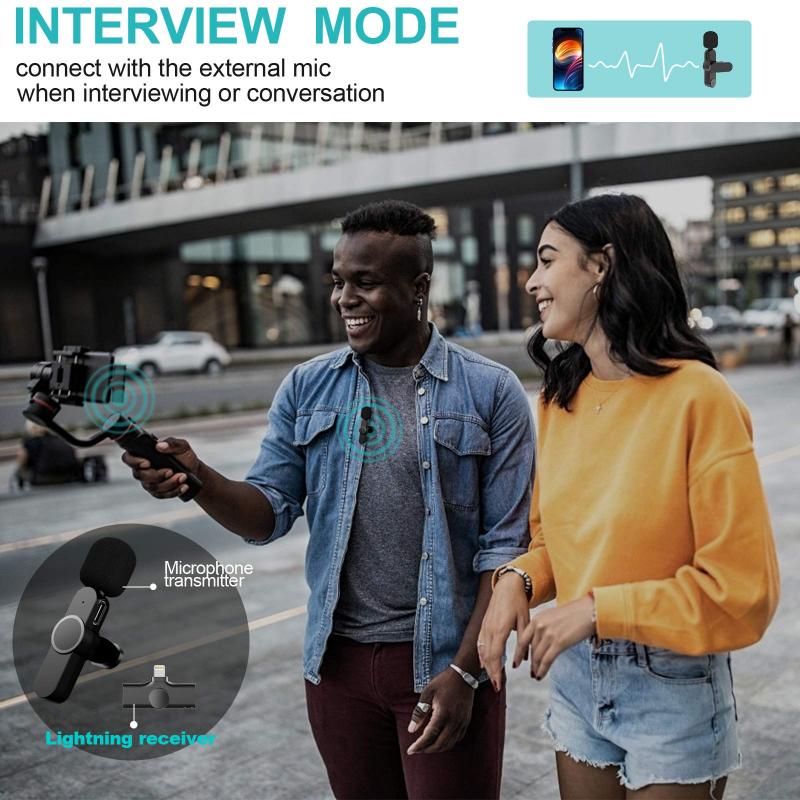
1. Choose the Right Microphone: Depending on your needs, you can choose from USB microphones, XLR microphones (with an audio interface), or lavalier microphones.
2. Connect the Microphone: Plug the microphone into your MacBook Pro using the appropriate port or adapter.
3. Select the Microphone in Your Recording Software: In your chosen recording software (QuickTime, Voice Memos, GarageBand, Audacity), make sure to select the external microphone as the input source.
4. Adjust Settings: Adjust the input levels and other settings to ensure optimal recording quality.
Tips for High-Quality Recordings
1. Choose a Quiet Environment: Background noise can significantly affect the quality of your recordings. Choose a quiet room and minimize any potential sources of noise.
2. Use Pop Filters and Windshields: These accessories can help reduce plosive sounds and wind noise, resulting in cleaner recordings.
3. Monitor Your Levels: Keep an eye on your input levels to avoid clipping and distortion. Aim for levels that peak around -6dB to -3dB.
4. Use Headphones: When recording, use headphones to monitor the audio in real-time. This can help you catch any issues early and make adjustments as needed.
Recording audio on a MacBook Pro is a versatile and accessible process, thanks to the variety of built-in tools and third-party applications available. Whether you are a beginner looking to capture simple voice memos or a professional working on complex audio projects, there is a solution that fits your needs. By following the methods outlined in this guide and implementing the tips for high-quality recordings, you can ensure that your audio recordings are clear, professional, and effective. Happy recording!
