How To Record Audio On Laptop?
Recording audio on a laptop is a common task that many users need to accomplish for various reasons, such as creating podcasts, recording lectures, or capturing voice memos. This article will guide you through the process of recording audio on a laptop, covering different methods, software options, and tips for achieving the best sound quality. Whether you are a beginner or someone looking to improve your audio recording skills, this comprehensive guide will provide you with the necessary knowledge to get started.

Understanding Your Laptop's Audio Capabilities
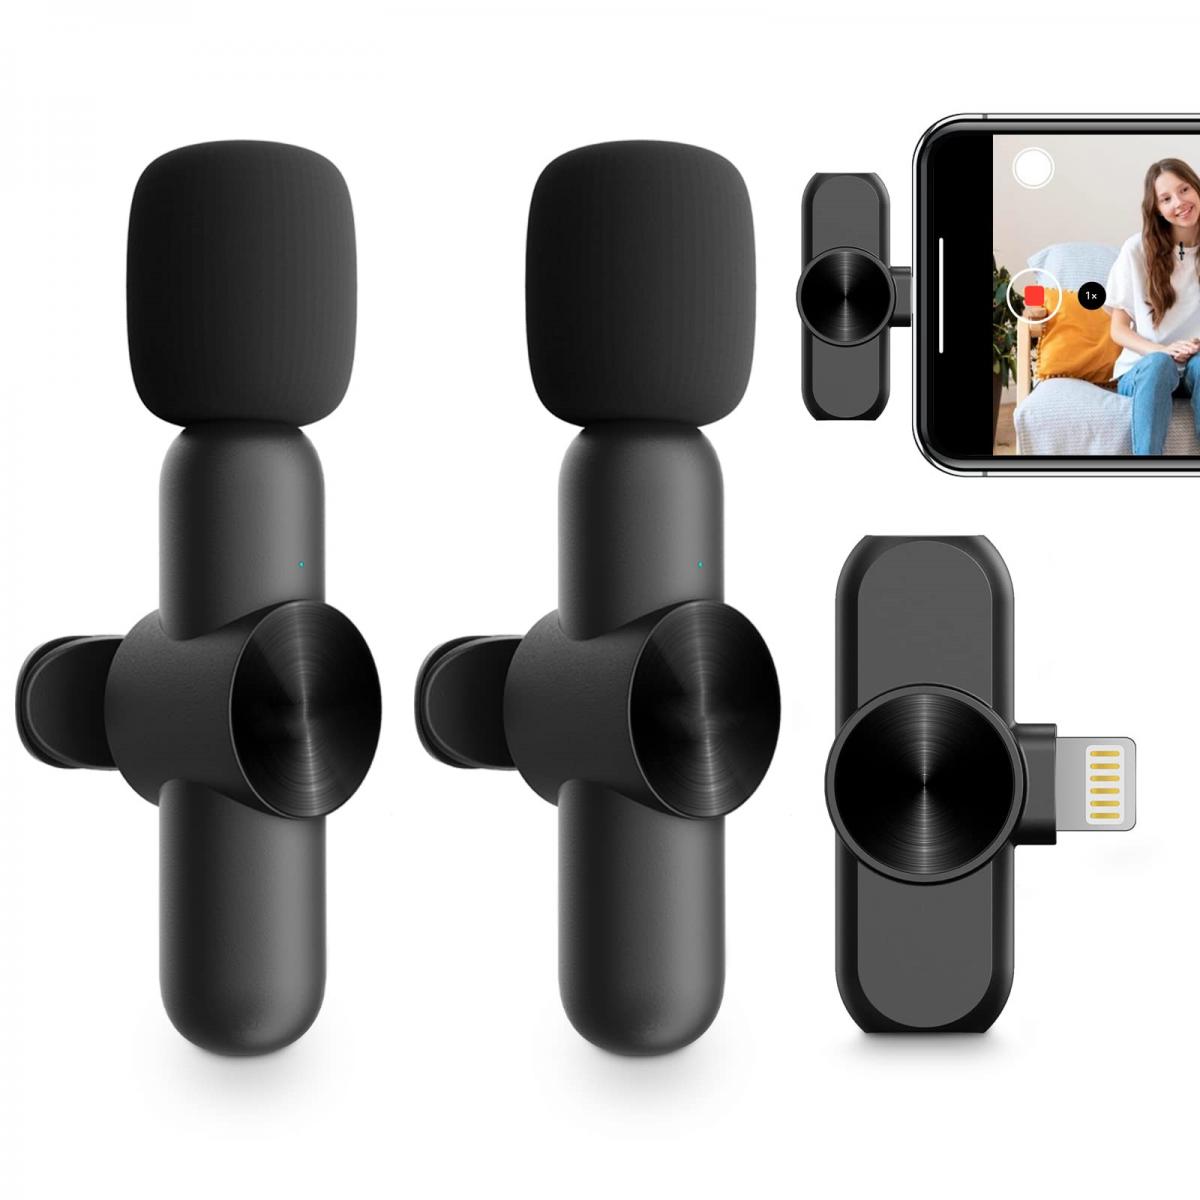
Before diving into the recording process, it's essential to understand your laptop's audio capabilities. Most modern laptops come equipped with built-in microphones, which are sufficient for basic recording tasks. However, for higher-quality recordings, you may want to consider using an external microphone. External microphones can significantly improve sound quality by reducing background noise and capturing clearer audio.
Built-in Microphone vs. External Microphone
Built-in Microphone:
- Convenient and easy to use.
- Suitable for basic recordings.
- Limited sound quality and may pick up background noise.
External Microphone:
- Offers superior sound quality.
- Reduces background noise.
- Ideal for professional recordings, podcasts, and music.
Choosing the Right Software
There are various software options available for recording audio on a laptop. Some are free, while others are paid and offer advanced features. Here are some popular choices:
Free Software:
- Audacity: A powerful, open-source audio recording and editing software. It is user-friendly and suitable for both beginners and advanced users.
- Windows Voice Recorder: A simple and straightforward recording tool that comes pre-installed on Windows laptops.
- GarageBand: Available on macOS, GarageBand is a versatile recording and editing software ideal for music production.
Paid Software:
- Adobe Audition: A professional-grade audio editing software with advanced features for recording, mixing, and mastering.
- Pro Tools: Widely used in the music industry, Pro Tools offers comprehensive tools for audio recording and production.
Step-by-Step Guide to Recording Audio
Using Built-in Microphone
1. Open Your Recording Software:
- For Windows users, open the Windows Voice Recorder by searching for it in the Start menu.
- For macOS users, open GarageBand or QuickTime Player.
2. Set Up Your Recording:
- Ensure your built-in microphone is selected as the input device in your software settings.
- Adjust the input volume to an appropriate level to avoid distortion.
3. Start Recording:
- Press the record button in your software to begin recording.
- Speak clearly and avoid background noise as much as possible.
4. Stop and Save:
- Press the stop button when you are finished recording.
- Save your recording to a desired location on your laptop.
Using External Microphone
1. Connect Your Microphone:
- Plug your external microphone into the appropriate port on your laptop (USB or audio jack).
- Ensure the microphone is securely connected and recognized by your laptop.
2. Open Your Recording Software:
- Launch your preferred recording software (e.g., Audacity, Adobe Audition).
3. Configure Your Microphone:
- In the software settings, select your external microphone as the input device.
- Adjust the input volume and other settings as needed.
4. Start Recording:
- Press the record button to begin capturing audio.
- Speak clearly into the microphone and maintain a consistent distance.
5. Stop and Save:
- Press the stop button when you are done.
- Save your recording to your laptop.
Tips for High-Quality Audio Recording
1. Choose a Quiet Environment:
- Record in a quiet room to minimize background noise.
- Use soundproofing materials if necessary.
2. Use a Pop Filter:
- A pop filter can reduce plosive sounds (e.g., "p" and "b" sounds) and improve audio clarity.
3. Maintain Consistent Distance:
- Keep a consistent distance from the microphone to ensure even sound levels.
4. Monitor Your Recording:
- Use headphones to monitor your recording in real-time and make adjustments as needed.
5. Edit and Enhance:
- Use audio editing software to remove background noise, adjust levels, and enhance the overall quality of your recording.
Troubleshooting Common Issues
1. No Sound:
- Ensure your microphone is properly connected and selected as the input device.
- Check the input volume settings in your recording software.
2. Background Noise:
- Use noise reduction features in your software to minimize background noise.
- Record in a quieter environment.
3. Distorted Audio:
- Lower the input volume to prevent distortion.
- Maintain a consistent distance from the microphone.
Recording audio on a laptop is a straightforward process that can be accomplished with the right tools and techniques. Whether you are using a built-in microphone or an external one, selecting the appropriate software and following best practices will help you achieve high-quality recordings. By understanding your laptop's audio capabilities, choosing the right equipment, and following the step-by-step guide provided in this article, you can confidently record audio for various purposes. Remember to experiment with different settings and techniques to find what works best for you, and don't hesitate to explore advanced software options if you require more features. Happy recording!
