How To Record Audio On Mobile?
In today's digital age, recording audio on mobile devices has become an essential skill for many users, from journalists conducting interviews to students attending lectures or individuals simply wishing to capture personal notes or memos. Mobile devices like smartphones and tablets offer a convenient and portable means of recording sound, eliminating the need for specialized recording equipment. This article aims to provide a comprehensive guide on how to effectively record audio on mobile devices, addressing various user needs and use-cases.
Choosing the Right App
The first step in recording audio on a mobile device is selecting the appropriate recording app. While most smartphones come with a built-in voice recorder app, there are several third-party apps available that offer more advanced features and customization options. Users should consider their specific needs when choosing an app:
1. Basic Recordings: For simple voice memos or reminders, the built-in Voice Memos app on iOS or the Voice Recorder app on Android might suffice. These apps are user-friendly and usually pre-installed on your device.
2. Professional Recordings: If you're looking for higher quality recordings or more features such as editing capabilities, noise reduction, or the ability to record in different audio formats, consider third-party apps like Voice Record Pro, Audio Memos, or Hi-Q MP3 Voice Recorder. These apps often offer both free and paid versions with additional features.
Preparing for High-Quality Audio Recording
Achieving high-quality audio recordings on mobile devices typically involves some preparation. Here are some tips to enhance your recording quality:
1. Environment: Choose a quiet place to minimize background noise. Close windows and doors, turn off fans and air conditioners, and remind others in the vicinity to keep noise to a minimum.
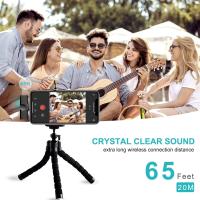
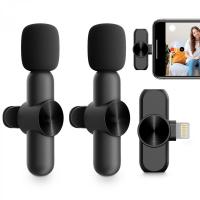
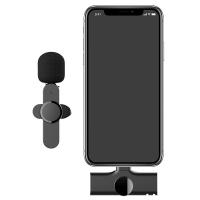
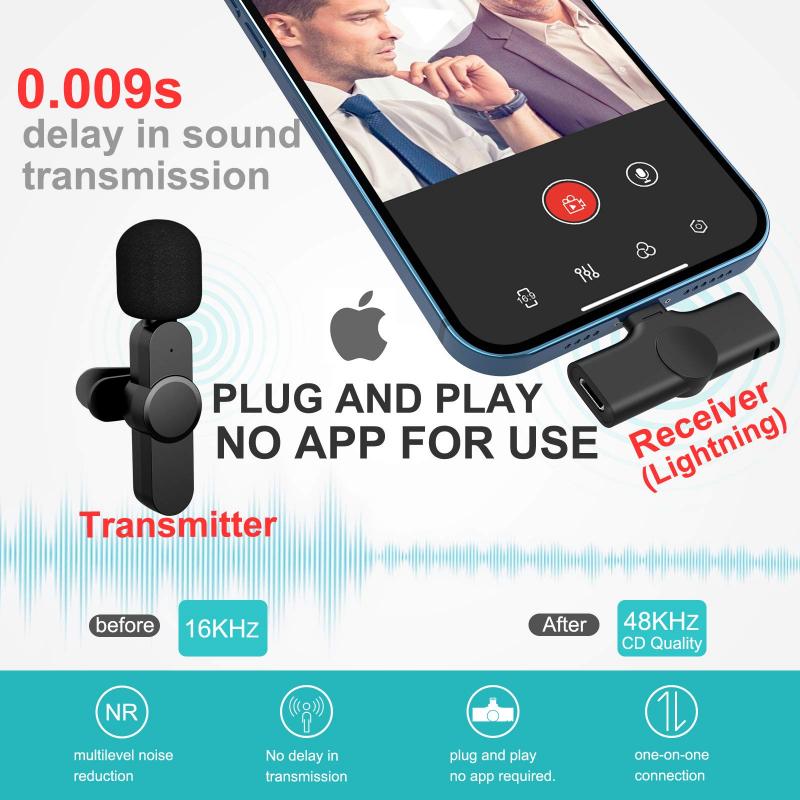
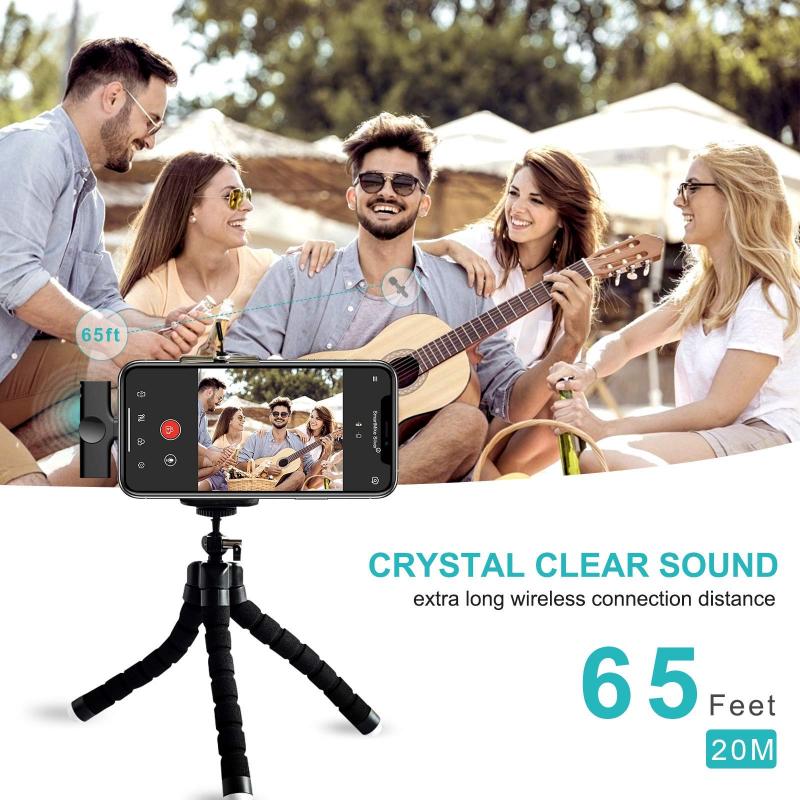
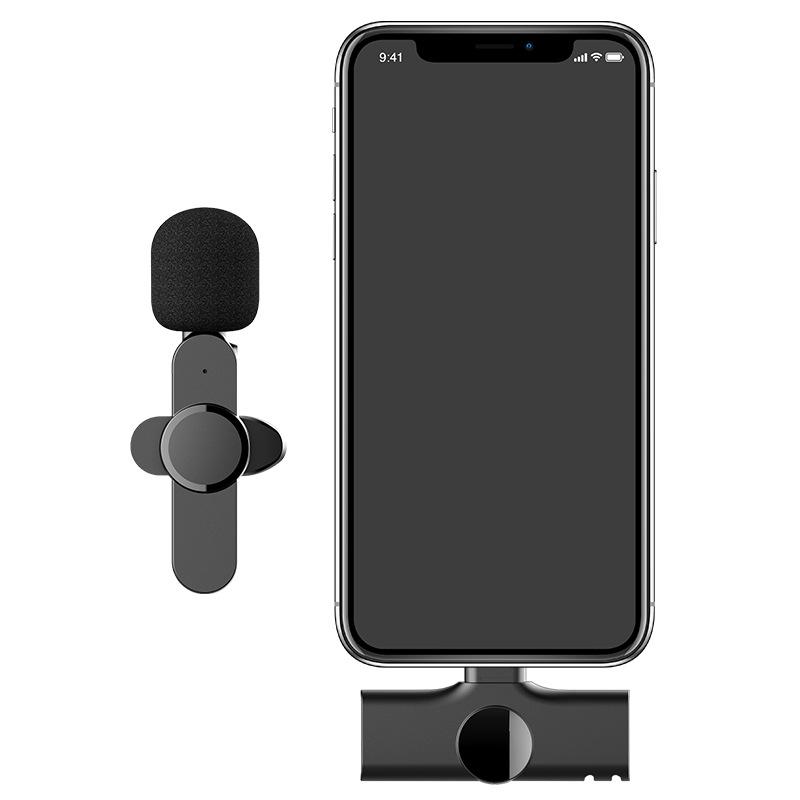
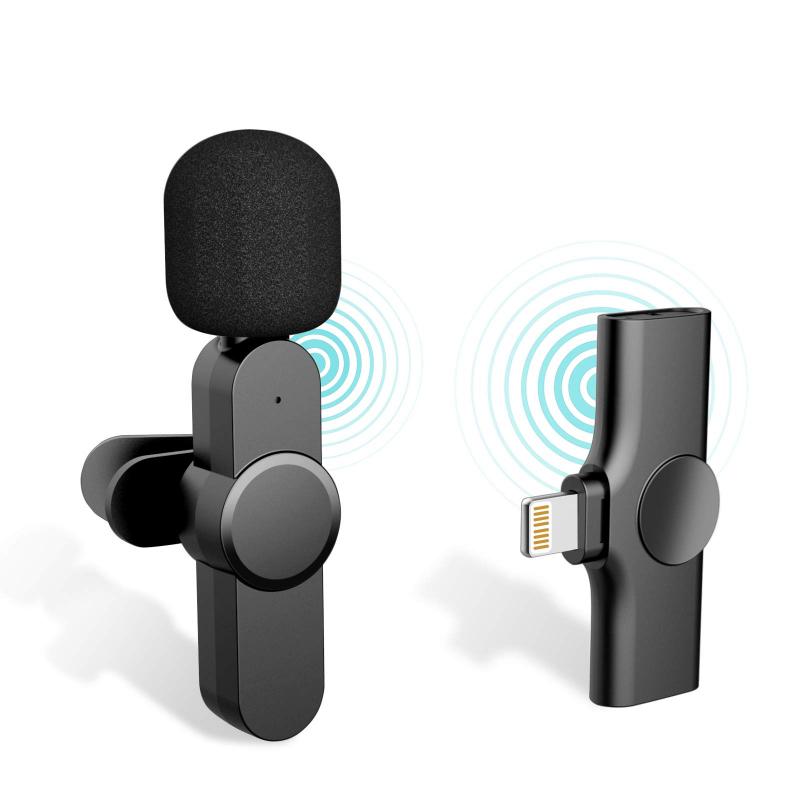
2. Equipment: Although smartphone microphones are quite advanced, using a dedicated external microphone can dramatically improve audio quality. There are many suitable and affordable external microphones that connect directly to smartphones via the headphone jack or lightning/USB-C port.
3. Settings: Before you start recording, check the app settings to ensure the best possible quality. This might include selecting a higher bit rate or choosing a lossless audio format if your device and app support it.
4. Testing: Do a test recording to check the quality. Listen back to ensure the volume is adequate and that there are no noticeable interferences.
The Recording Process
Once you have chosen an app and prepared your environment, it's time to start recording. Here's a step-by-step guide:
1. Open the App: Launch your chosen audio recording app.
2. Position the Device: Hold the phone or place it on a stable surface. If using an external microphone, ensure it's correctly connected and positioned towards the sound source.
3. Start Recording: Press the record button in the app to start capturing audio. Some apps offer features like pausing the recording without creating a new file, which can be useful for lengthy sessions.
4. Monitor: If your app offers it, monitor input levels to avoid distortion. Too high or too low input gain can result in poor-quality recordings.
5. Finish and Save: Stop the recording when you're done and save the file. Most apps give options to rename files immediately for easy identification.
Editing and Sharing Your Recordings
After recording, you might want to edit the audio file or share it with others.
1. Editing: Many advanced apps allow you to edit recordings directly on your mobile. Basic edits might include trimming silence from the beginning and end, adjusting volume levels, or applying noise reduction algorithms.
2. File Format: Choose an appropriate file format for saving. For sharing via email or messaging apps, a compressed format like MP3 or M4A is usually best. For professional use, consider lossless formats like WAV or FLAC.
3. Sharing: Use your app’s built-in sharing features to send files via email, cloud services (like Dropbox or Google Drive), or directly to social media.
Considerations for Different Use Cases
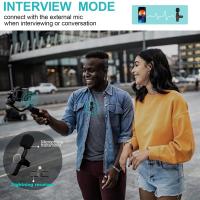
1. Interviews: Place the device between you and the interviewee to capture both voices clearly. Consider using a dual-mic setup for better quality.
2. Lectures/Conferences: Sit closer to the speaker if possible, and minimize background noise. While it's challenging to capture perfect audio in large halls, a directional microphone can help.
3. Music Recording: If recording music, ensure the environment is acoustically treated to some extent, even if using a mobile device. Apps like GarageBand can help layer tracks and add effects.
4. Field Recording: Ideal for capturing sounds in nature or cityscapes. Consider using a windscreen with your microphone to reduce wind noise and protect from environmental elements.
Troubleshooting Common Issues
1. Low Quality: Check microphone connections, ensure software and firmware are updated, and verify that app settings are properly configured for high-quality recording.
2. Background Noise: Use noise reduction features, recording in acoustically favorable environments, or investing in noise-cancelling microphones.
3. Volume Issues: Position the microphone correctly and adjust input levels. If multiple people are speaking, try to keep them at a consistent distance from the mic.
4. File Management: Regularly organize and back up recordings to prevent data loss and confusion.
Recording audio on a mobile device has become increasingly accessible due to advancements in mobile technology and the availability of sophisticated apps. By choosing the right tools, preparing adequately, and understanding the nuances of your recording environment, anyone can capture high-quality audio on a smartphone or tablet. Whether for personal use, professional projects, or creative endeavors, mastering audio recording on mobile devices opens up new possibilities for capturing and sharing the world of sound around you.

