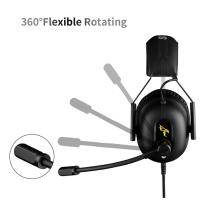
How To Record Audio On My Phone?
Recording audio on your phone can be a straightforward process, but it can also vary depending on the type of phone you have and the specific requirements you need for your recording. Whether you're a student needing to record lectures, a journalist capturing interviews, or a musician laying down a new track, understanding how to effectively use your phone for audio recording can be incredibly beneficial. In this article, we will explore the various methods and tools available for recording audio on both Android and iOS devices, as well as some tips and tricks to ensure you get the best possible sound quality.
Understanding Your Device's Capabilities
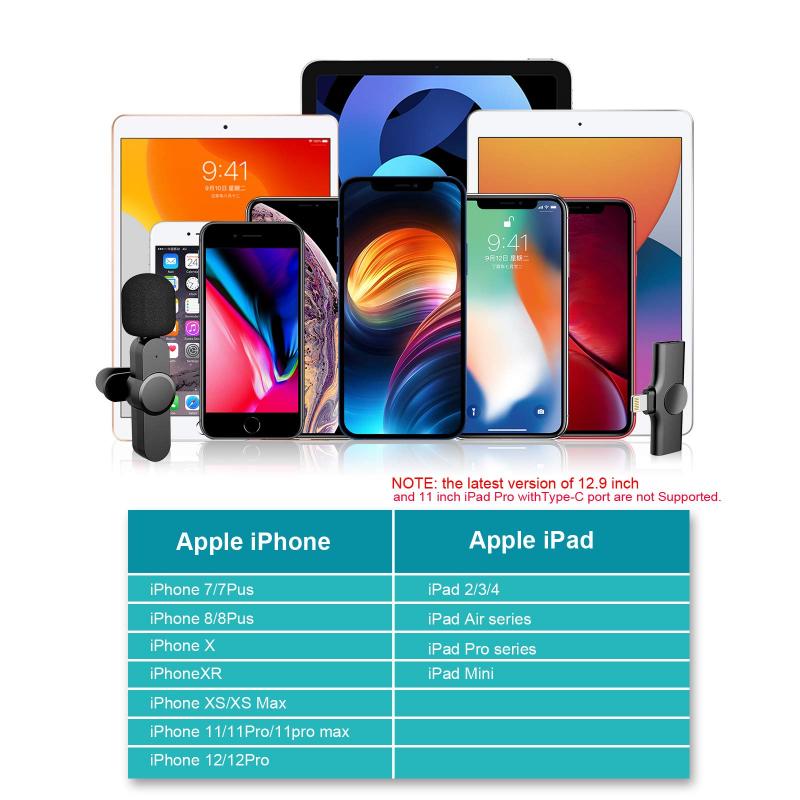
Before diving into the specifics, it's essential to understand the basic capabilities of your phone. Most modern smartphones come equipped with built-in microphones that are sufficient for casual recording. However, if you require higher audio quality, you might need to invest in an external microphone that can be connected to your phone.
Built-in Microphone
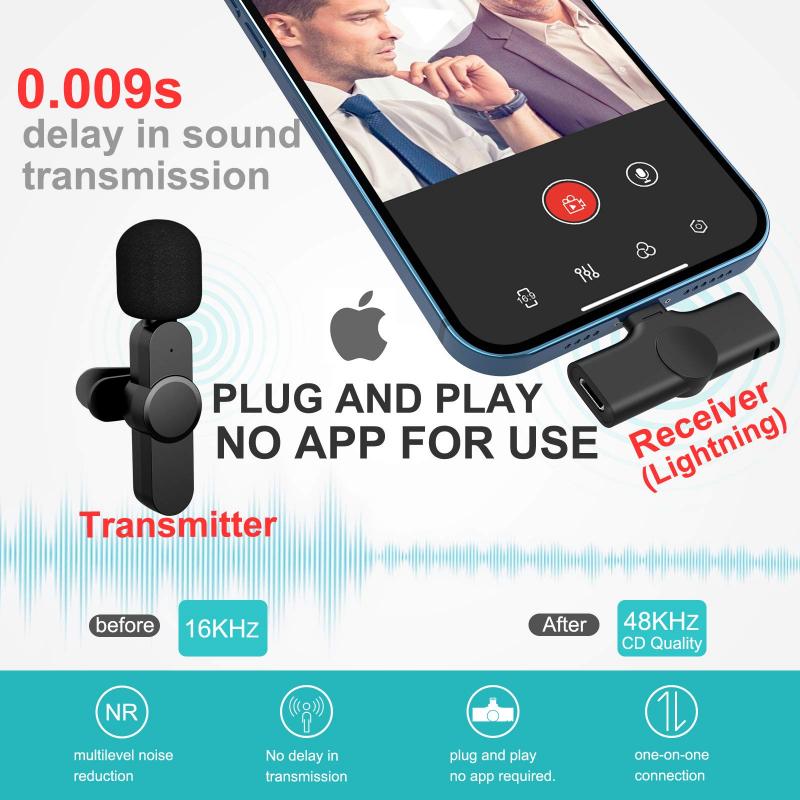
The built-in microphone on your phone is usually located near the bottom of the device. While it is convenient and always available, it may not provide the best sound quality, especially in noisy environments. For basic needs like voice memos or quick notes, the built-in microphone should suffice.
External Microphone
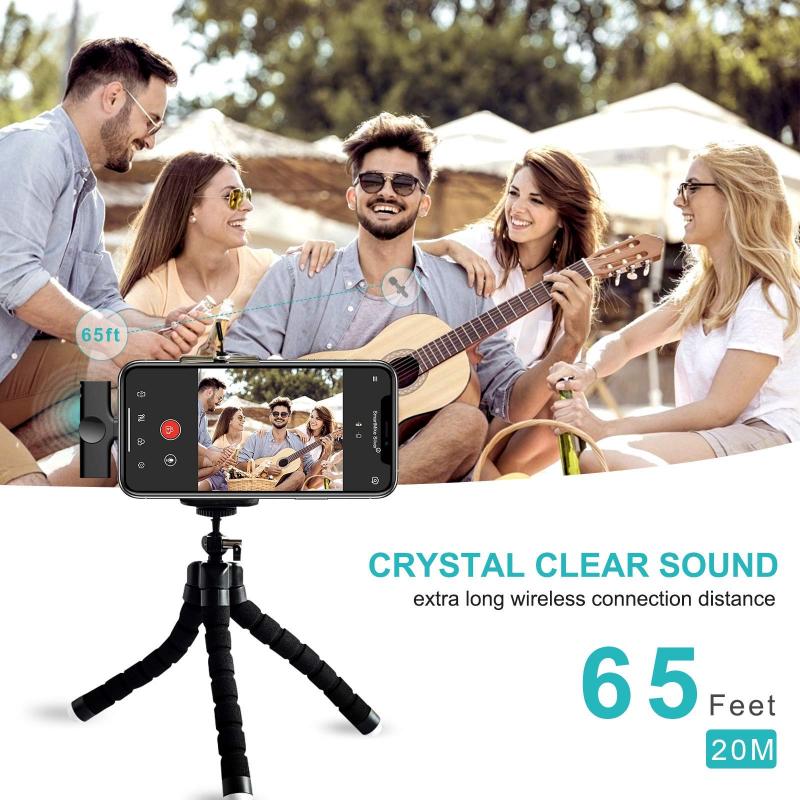
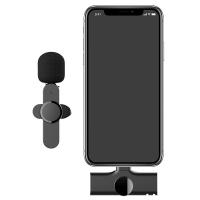
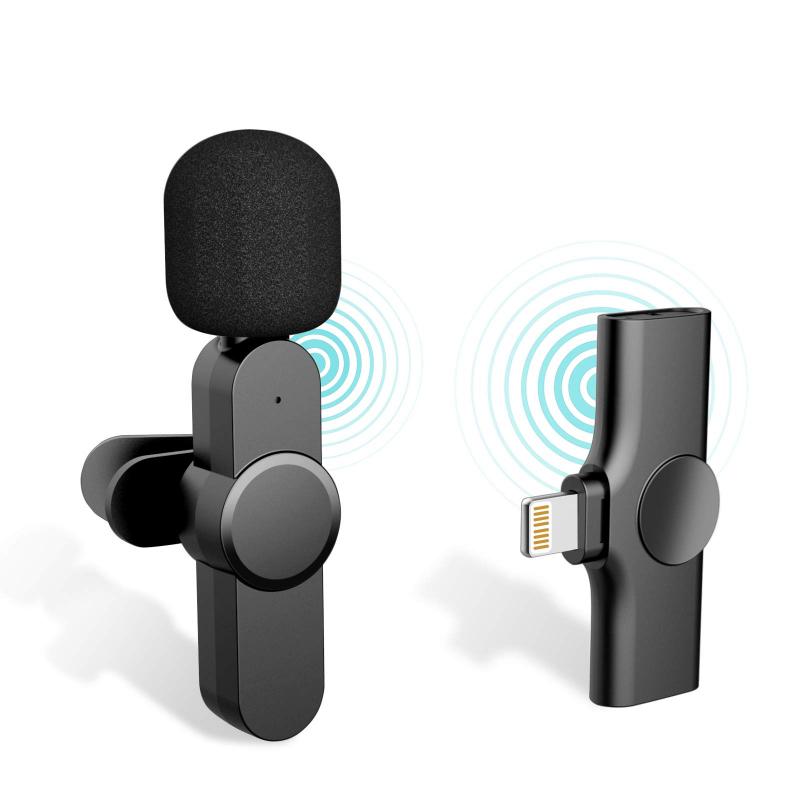
For higher-quality recordings, consider using an external microphone. There are various types available, including lavalier (lapel) mics, shotgun mics, and USB mics. These can be connected to your phone via the headphone jack, USB port, or Bluetooth, depending on the model.
Recording Audio on Android Devices
Android devices offer a variety of options for recording audio, from built-in apps to third-party applications. Here are some of the most common methods:
Using the Built-in Voice Recorder App
Most Android phones come with a built-in voice recorder app. Here’s how to use it:
1. Open the Voice Recorder App: Locate the app on your phone. It might be named "Voice Recorder," "Sound Recorder," or something similar.
2. Start Recording: Tap the record button to start recording. Speak clearly into the microphone.
3. Stop Recording: Tap the stop button when you’re done. The recording will be saved automatically.
4. Access Your Recordings: You can usually find your recordings in the app itself or in a designated folder in your file manager.
Using Third-Party Apps
If the built-in app doesn’t meet your needs, there are numerous third-party apps available on the Google Play Store. Some popular options include:
- Easy Voice Recorder: Offers high-quality recordings and various formats.
- Hi-Q MP3 Voice Recorder: Provides excellent sound quality and supports cloud storage.
- RecForge II: Ideal for musicians, offering advanced editing features.
Recording Audio on iOS Devices
iOS devices, such as iPhones and iPads, also come with built-in options for audio recording, as well as a plethora of third-party apps.
Using the Built-in Voice Memos App
The Voice Memos app is a powerful tool for recording audio on iOS devices. Here’s how to use it:
1. Open the Voice Memos App: Locate the app on your home screen.
2. Start Recording: Tap the red record button to begin. Speak clearly into the microphone.
3. Stop Recording: Tap the red stop button when you’re finished. The recording will be saved automatically.
4. Edit and Share: You can trim, rename, and share your recordings directly from the app.
Using Third-Party Apps
For more advanced features, consider using third-party apps available on the App Store. Some popular choices include:
- GarageBand: A versatile app for musicians, offering multi-track recording and editing.
- Voice Record Pro: Provides high-quality recordings and supports various formats.
- Ferrite Recording Studio: Ideal for podcasters, offering advanced editing tools.
Tips for High-Quality Recordings
Regardless of the device or app you use, there are several tips you can follow to ensure high-quality recordings:
Choose a Quiet Environment
Background noise can significantly affect the quality of your recording. Try to find a quiet space where you won’t be interrupted.
Use an External Microphone
As mentioned earlier, an external microphone can greatly improve sound quality. Choose one that suits your needs and budget.
Monitor Your Levels
Many recording apps allow you to monitor audio levels in real-time. Ensure that your levels are not too high (which can cause distortion) or too low (which can result in poor sound quality).
Keep the Microphone Steady
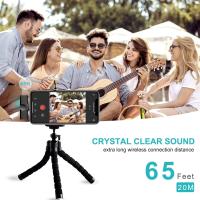
Holding the microphone steady can prevent unwanted noise. If possible, use a stand or mount to keep it in place.
Test Before Recording
Always do a test recording to check the sound quality and make any necessary adjustments before starting your actual recording.
Editing and Sharing Your Recordings
Once you’ve recorded your audio, you may need to edit it before sharing. Most recording apps offer basic editing features, such as trimming and adjusting volume levels. For more advanced editing, consider using dedicated audio editing software on your computer.
Sharing Your Recordings
Sharing your recordings is usually straightforward. Most apps allow you to share via email, messaging apps, or cloud storage services like Google Drive and Dropbox. Ensure that your file format is compatible with the platform you’re sharing it on.
Recording audio on your phone is a convenient and versatile way to capture sound for various purposes. Whether you’re using an Android or iOS device, there are plenty of options available to suit your needs. By understanding your device’s capabilities, choosing the right tools, and following best practices, you can achieve high-quality recordings with ease. So, the next time you need to record audio, you’ll be well-prepared to get the best possible results.


