How To Record Computer Screen And Audio?
Recording your computer screen and audio can be an essential skill for various purposes, such as creating tutorials, capturing gameplay, or documenting software issues. With the increasing demand for digital content, knowing how to effectively record your screen and audio can be incredibly beneficial. This article will guide you through the process, covering different methods and tools available for both Windows and Mac users. By the end of this article, you will have a comprehensive understanding of how to record your computer screen and audio seamlessly.

Understanding the Basics
Before diving into the specific tools and methods, it's important to understand the basic requirements for screen recording. The primary components you need are:
1. Screen Recording Software: This is the application that captures your screen activity.
2. Audio Recording Capability: This can be either built into the screen recording software or a separate application.
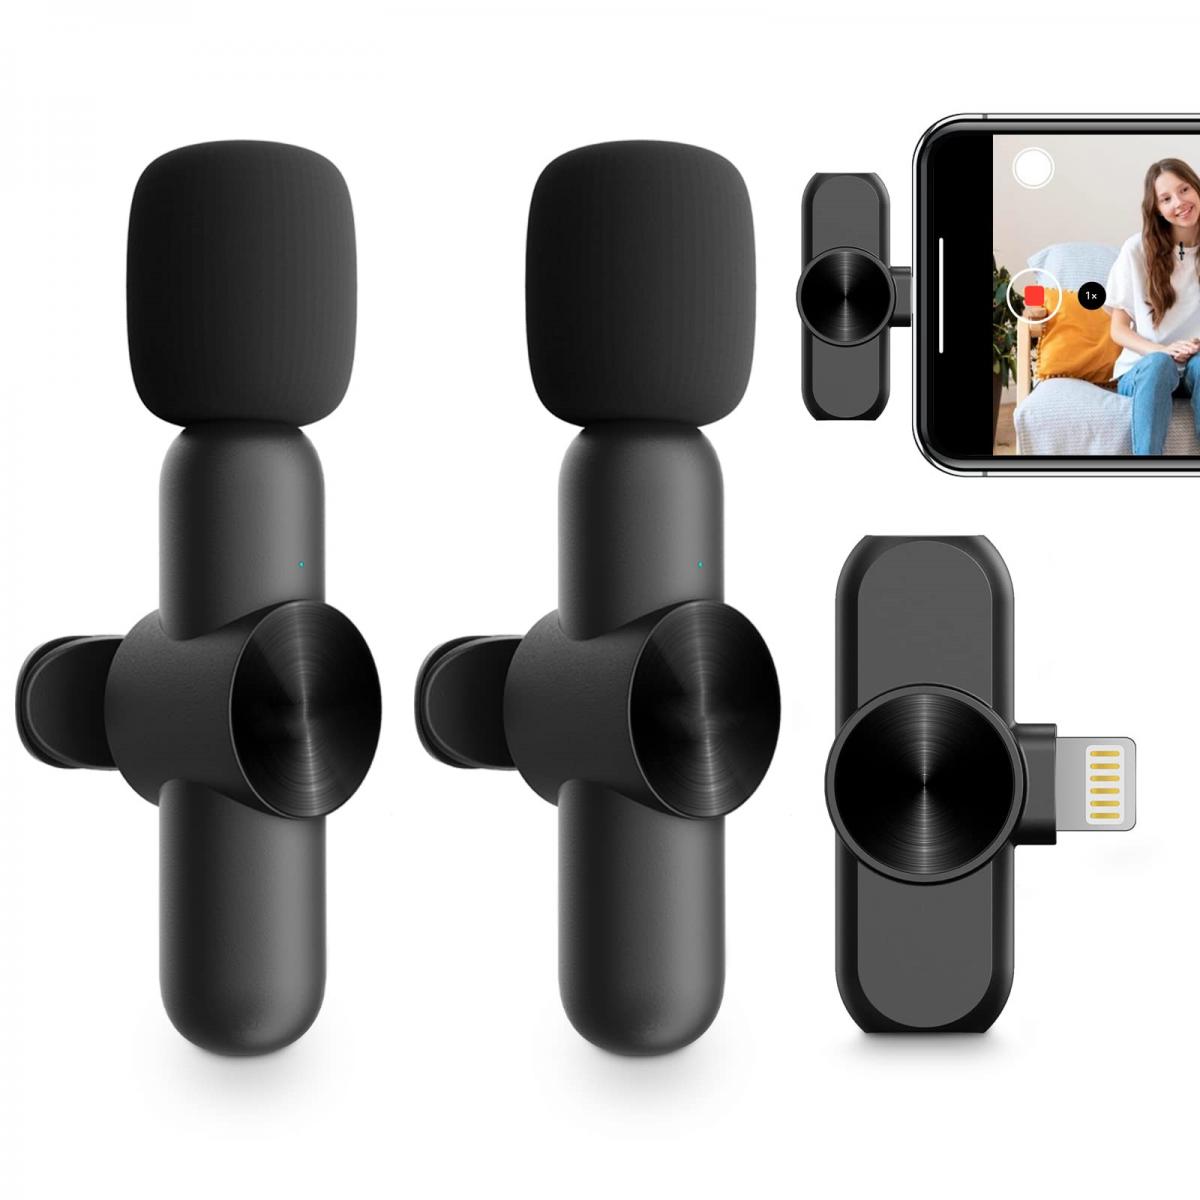
3. Microphone: If you plan to record voiceovers or external audio, a good quality microphone is essential.
Built-in Tools for Screen Recording
Windows 10: Xbox Game Bar
Windows 10 comes with a built-in screen recording tool called the Xbox Game Bar. Originally designed for recording gameplay, it can also be used for other screen recording purposes.
How to Use Xbox Game Bar:
1. Press `Win + G` to open the Xbox Game Bar.
2. Click on the "Capture" widget.
3. Press the record button (a circle icon) to start recording.
4. To stop recording, press the stop button (a square icon) or `Win + Alt + R`.
The recorded video will be saved in the "Captures" folder within the "Videos" library.
macOS: QuickTime Player
Mac users can utilize QuickTime Player, a versatile media player that also offers screen recording capabilities.
How to Use QuickTime Player:
1. Open QuickTime Player from the Applications folder.
2. Go to `File > New Screen Recording`.
3. Click the record button to start recording. You can choose to record the entire screen or a selected portion.
4. To stop recording, click the stop button in the menu bar or press `Command + Control + Esc`.
The recorded video will be saved in the location you specify.
Third-Party Screen Recording Software
While built-in tools are convenient, they may lack advanced features required for professional-quality recordings. Here are some popular third-party screen recording software options:
OBS Studio
OBS Studio (Open Broadcaster Software) is a free and open-source screen recording and live streaming tool. It is available for Windows, macOS, and Linux.
How to Use OBS Studio:
1. Download and install OBS Studio from the official website.
2. Open OBS Studio and configure your settings.
3. Add a new "Display Capture" source to capture your screen.
4. Add an "Audio Input Capture" source to record audio from your microphone.
5. Click "Start Recording" to begin.
6. Click "Stop Recording" to end the session.
OBS Studio offers extensive customization options, making it ideal for advanced users.
Camtasia
Camtasia is a premium screen recording and video editing software available for both Windows and macOS. It offers a user-friendly interface and a wide range of features.
How to Use Camtasia:
1. Download and install Camtasia from the official website.
2. Open Camtasia and click "New Recording".
3. Select the area of the screen you want to record.
4. Choose your audio input source.
5. Click the record button to start.
6. Click the stop button to end the recording.
Camtasia also includes powerful editing tools, allowing you to enhance your recordings with annotations, transitions, and effects.
Recording Audio
Recording high-quality audio is crucial for creating professional content. Here are some tips and tools to help you achieve the best audio quality:
Built-in Microphone vs. External Microphone
While built-in microphones are convenient, they often lack the quality required for professional recordings. Investing in a good external microphone can significantly improve your audio quality.
Audacity
Audacity is a free, open-source audio recording and editing software available for Windows, macOS, and Linux.
How to Use Audacity:
1. Download and install Audacity from the official website.
2. Open Audacity and select your microphone as the input source.
3. Click the record button to start recording.
4. Click the stop button to end the recording.
5. Use Audacity's editing tools to enhance your audio.
Audacity allows you to remove background noise, adjust levels, and apply various effects to improve your audio quality.
Synchronizing Audio and Video
If you record your screen and audio separately, you will need to synchronize them during the editing process. Most video editing software, including Camtasia and Adobe Premiere Pro, offer tools to help you align your audio and video tracks.
Steps to Synchronize Audio and Video:
1. Import your video and audio files into your video editing software.
2. Place the video and audio tracks on the timeline.
3. Use visual and audio cues to align the tracks. For example, a clap at the beginning of the recording can serve as a synchronization point.
4. Trim any excess footage or audio to ensure a seamless final product.
Tips for High-Quality Recordings
1. Plan Your Content: Outline what you want to cover in your recording to ensure a smooth flow.
2. Check Your Settings: Ensure your screen resolution and audio settings are optimized for the best quality.
3. Minimize Background Noise: Record in a quiet environment to reduce unwanted noise.
4. Use a Stable Setup: Ensure your computer and recording equipment are stable to avoid interruptions.
Recording your computer screen and audio is a valuable skill that can enhance your digital content creation. Whether you are using built-in tools like Xbox Game Bar and QuickTime Player or advanced software like OBS Studio and Camtasia, understanding the process and best practices will help you achieve professional-quality recordings. By following the tips and methods outlined in this article, you can create engaging and high-quality screen recordings for any purpose.
