How To Record Quality Audio At Home?
Recording quality audio at home can be a daunting prospect, especially if you're new to audio production. However, with the right knowledge and tools, achieving a professional sound is not only possible but also rewarding. In this guide, we'll explore key principles and practical tips to help you capture high-quality audio within the confines of your own home.
Understanding Your Environment
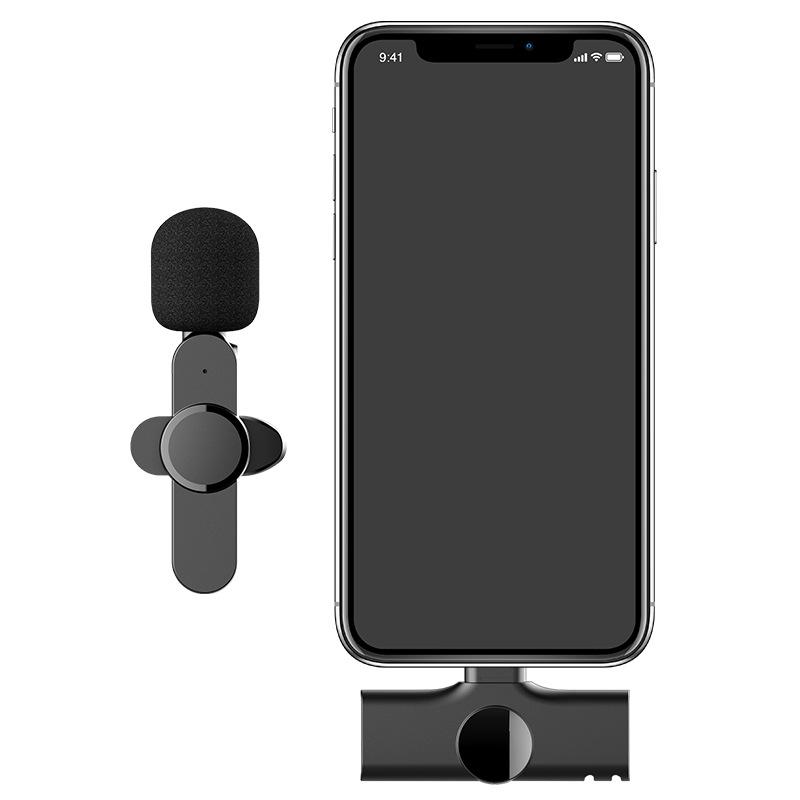
Your home environment is the first aspect to consider when recording audio. Before diving into equipment and techniques, assess the space where you'll be working. Sound behaves differently depending on the room's size, shape, and the materials it contains.
1. Room Acoustics:
- Reflections and Reverberations: Hard surfaces like tile and glass can cause echoes and reverberations which muddy your recordings. To mitigate this, choose a room with carpet or rugs, and even add curtains or bookcases to absorb sound.
- Soundproofing: Completely soundproofing a room is challenging and expensive, but you can reduce unwanted noise by sealing gaps under doors, closing windows, and using draft excluders.
- Ambient Noise: Everyday sounds from household appliances, traffic, or neighbors can interfere with your recordings. Aim for a time when your environment is as quiet as possible, and turn off devices like AC units or fans during recording sessions.
2. Treating the Space:
- Acoustic Panels: Installing acoustic panels can help manage sound reflections. Panels can be bought or homemade using thick fabrics or foam.
- Bass Traps: These are specifically designed to absorb lower frequencies and can be placed in corners where bass build-up often occurs.
Selecting the Right Equipment
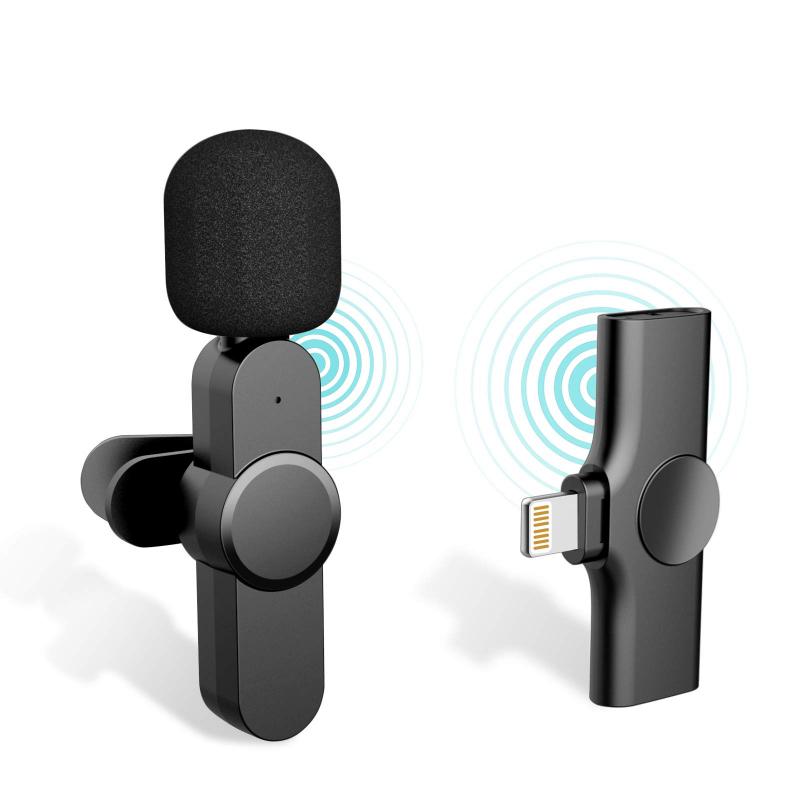
Now that your recording environment is optimized, let’s discuss the equipment you'll need.
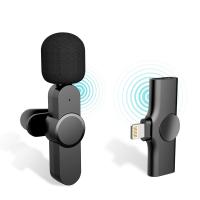
1. Microphones:
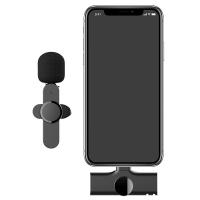
- Dynamic vs Condenser: Dynamic microphones are durable and handle high sound pressure well, making them suitable for loud environments. Condenser mics are more sensitive and ideal for capturing detailed audio, which is great for vocals and acoustic instruments.
- USB vs XLR: USB mics are convenient as they connect directly to your computer, while XLR mics offer greater quality and versatility but require an audio interface.
2. Audio Interfaces:
- An audio interface converts analog signals from your microphone into digital form for your computer. Look for interfaces with high-quality preamps and multiple input/output options if you plan to record multiple sources simultaneously.
3. Headphones:
- Invest in good-quality, closed-back headphones to accurately hear your recordings without bleeding sound into the microphone.
4. Pop Filters and Shock Mounts:
- Pop filters reduce plosive sounds from vocal recordings, and shock mounts minimize handling noise transferred to the microphone stand.
Recording Techniques

Now equipped with the right tools, focus on techniques that ensure the best possible recording.
1. Microphone Placement:
- Proximity Effect: Be aware of the proximity effect where the closer a source is to the microphone, the more bass-heavy the sound becomes. Experiment with distances to find the right balance.
- Angle and Position: Direct the microphone towards the sound source at an angle to avoid picking up pops and plosives directly.
2. Gain Staging:
- Set appropriate gain levels on your interface to avoid clipping, which occurs when the signal is too strong and causes distortion. Aim for a level where your peaks are between -12dB and -6dB.
3. Monitoring:
- Use headphones to monitor your performance in real-time. This can help you catch any unwanted noises or issues immediately.
4. Recording Takes:
- Record multiple takes for more options during the editing process. Sometimes the best takes are a composite of several different recordings.
Post-Production: Editing and Mixing

After recording, the next step is to edit and mix your audio to enhance its quality further.
1. Editing:
- Use digital audio workstations (DAW) like Audacity, Reaper, or Pro Tools to cut unwanted sections, align tracks, and organize your session.
2. Mixing:
- Equalization (EQ): Enhance or reduce specific frequencies to ensure clarity. For instance, cut low frequencies from vocal recordings to reduce rumble.
- Compression: Use compression to manage dynamic range, making sure softer parts are audible without loud sections being too overpowering.
- Reverb and Delay: Add these effects subtly to give your audio a sense of space and depth.
3. Exporting:
- Choose the appropriate file format for your purpose. For streaming and sharing, MP3 might be sufficient, while WAV files are preferable for higher quality needs, such as professional submissions.
Recording quality audio at home requires attention to several critical factors, from creating an acoustically favorable environment to selecting the right equipment and applying effective recording and post-processing techniques. By addressing these elements, you can achieve professional-sounding results suitable for music, podcasts, audiobooks, or any other audio project you embark on.
Remember, excellence in audio recording often comes from patience, practice, and a willingness to experiment. As you become more comfortable with the process, you'll find new ways to hone your craft and push the limits of what’s possible in a modest home setup.


![Carbon Monoxide Detectors Portable Temperature Detector/Humidity Sensor/Air Quality Meter Smoke CO Gas Monitor [3 in 1] Alarm for Home Bedroom Office in-car Camping Indoor Outdoor Carbon Monoxide Detectors Portable Temperature Detector/Humidity Sensor/Air Quality Meter Smoke CO Gas Monitor [3 in 1] Alarm for Home Bedroom Office in-car Camping Indoor Outdoor](https://img.kentfaith.com/cache/catalog/products/us/GW40.0007/GW40.0007-1-200x200.jpg)


