How To Record With Audio?
Recording audio is a fundamental skill in various fields, from music production and podcasting to filmmaking and journalism. Whether you're a beginner or looking to refine your technique, understanding the essentials of audio recording can significantly enhance the quality of your work. This article will guide you through the process of recording audio, covering the necessary equipment, setup, and techniques to achieve professional results.
Understanding the Basics of Audio Recording

Before diving into the specifics, it's crucial to grasp the basic concepts of audio recording. Audio recording involves capturing sound waves and converting them into a digital or analog format that can be stored, edited, and played back. The quality of your recording depends on several factors, including the environment, equipment, and your recording techniques.
Essential Equipment for Audio Recording

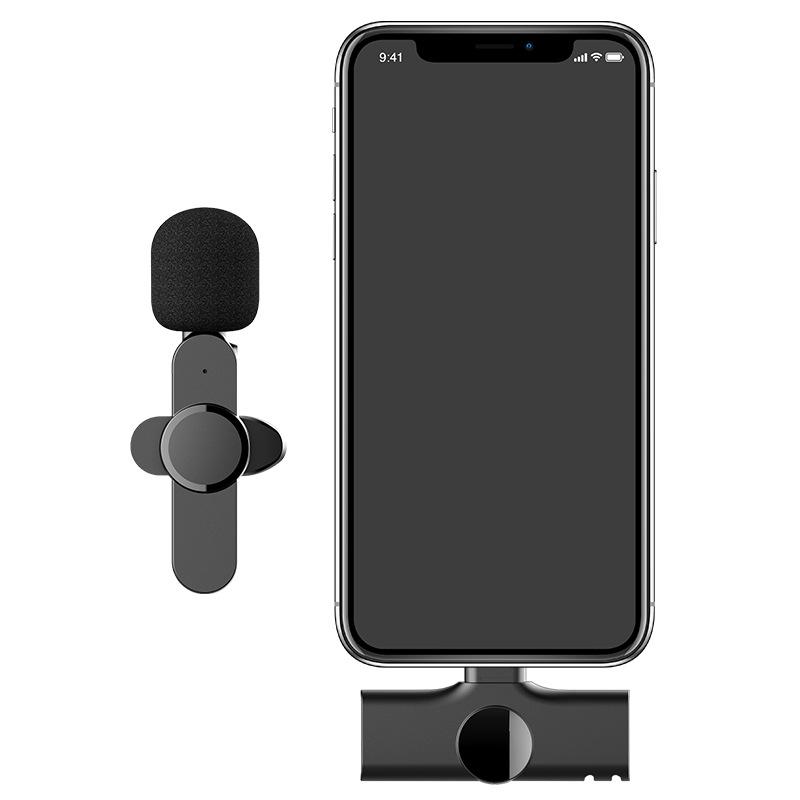
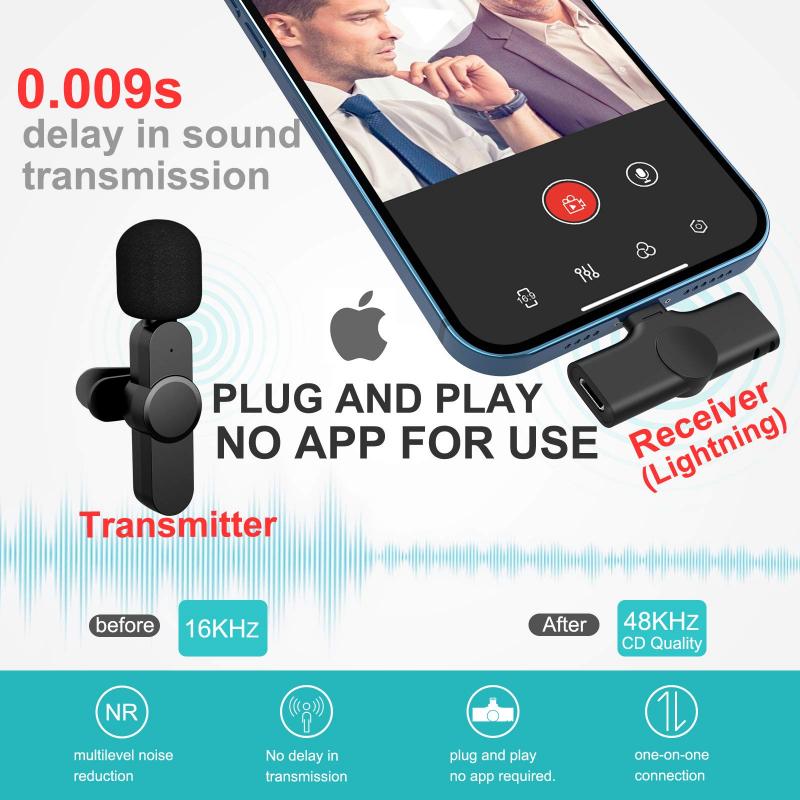
1. Microphone: The microphone is the most critical piece of equipment in audio recording. There are various types of microphones, each suited for different purposes:
- Dynamic Microphones: Durable and versatile, ideal for live performances and recording loud sound sources.
- Condenser Microphones: Sensitive and accurate, perfect for studio recordings, vocals, and acoustic instruments.
- Ribbon Microphones: Known for their warm sound, often used in studio settings for vocals and certain instruments.
2. Audio Interface: This device converts analog signals from your microphone into digital signals that your computer can process. It also often provides phantom power for condenser microphones.
3. Computer and Recording Software: A computer with sufficient processing power and storage is essential. Recording software (DAW - Digital Audio Workstation) like Pro Tools, Audacity, or GarageBand allows you to record, edit, and mix your audio.
4. Headphones and Monitors: High-quality headphones and studio monitors are crucial for accurately monitoring your recordings and making precise edits.
5. Cables and Stands: XLR cables for microphones and sturdy stands to position your microphones correctly.
Setting Up Your Recording Environment

The environment in which you record can significantly impact the quality of your audio. Here are some tips to optimize your recording space:
1. Choose a Quiet Location: Select a room with minimal background noise. Avoid areas with traffic noise, air conditioning, or other disturbances.
2. Acoustic Treatment: Use acoustic panels, foam, or blankets to reduce reflections and echoes. This helps in capturing a clean and dry sound.
3. Microphone Placement: Position your microphone correctly to capture the best sound. For vocals, place the microphone at mouth level, about 6-12 inches away, and use a pop filter to reduce plosive sounds.
Recording Techniques

1. Gain Staging: Set the input gain on your audio interface to ensure the signal is strong but not clipping. Aim for levels that peak around -6dB to -3dB.
2. Monitoring: Use headphones to monitor your recording in real-time. This helps in identifying issues like background noise or distortion immediately.
3. Multiple Takes: Record multiple takes to have options during editing. This is especially useful for vocals and complex instrument parts.
4. Layering and Overdubbing: For richer sound, record multiple layers of the same part and blend them together. Overdubbing allows you to add additional parts to an existing recording.
Editing and Mixing
Once you have your recordings, the next step is editing and mixing. This process involves refining your audio to achieve a polished final product.
1. Editing: Use your DAW to cut, trim, and arrange your recordings. Remove any unwanted noise or mistakes.
2. EQ (Equalization): Adjust the frequency balance of your recordings. Cut unwanted frequencies and boost those that enhance the sound.
3. Compression: Use compression to control the dynamic range of your recordings. This ensures that the volume levels are consistent.
4. Reverb and Delay: Add reverb and delay effects to create a sense of space and depth in your recordings.
5. Panning: Distribute your audio tracks across the stereo field to create a balanced mix.
6. Final Mix: Balance the levels of all your tracks, ensuring that no single element overpowers the others. Use automation to adjust levels and effects throughout the track.
Exporting and Sharing
After mixing, the final step is exporting your audio. Choose the appropriate format based on your needs:
1. WAV: High-quality, uncompressed format suitable for professional use.
2. MP3: Compressed format, ideal for sharing online due to smaller file size.
3. FLAC: Lossless compression, maintaining high quality with reduced file size.
Ensure that your export settings match the intended use of your recording, whether it's for streaming, broadcasting, or distribution.
Troubleshooting Common Issues
1. Background Noise: Use noise reduction plugins or re-record in a quieter environment.
2. Distortion: Check your gain levels and ensure they are not too high.
3. Latency: Reduce buffer size in your DAW settings or use direct monitoring.
Recording audio is both an art and a science. By understanding the equipment, setting up an optimal recording environment, and mastering essential techniques, you can achieve high-quality recordings that meet professional standards. Whether you're recording music, podcasts, or any other type of audio, the principles outlined in this article will help you produce clear, polished, and engaging sound. Keep experimenting and refining your skills, and you'll continue to improve with each recording session.
