How To Record Your Audio In Computer?
Recording audio on a computer is a fundamental task that's necessary across various fields, whether you're a content creator, a musician, a student, or someone who simply wants to capture audio notes or conversations. While it may sound straightforward, understanding the right methods and tools to use can significantly enhance the quality and ease of your recording process. This article will explore the various steps, tools, and considerations involved in recording audio on your computer.
Understanding Your Requirements
Before diving into the how-to, it’s essential to understand your specific needs. Are you looking to record simple voice notes, or do you need to create high-quality audio for a professional podcast or music production? Your requirements will determine the equipment and software you need.
Basic Equipment for Recording
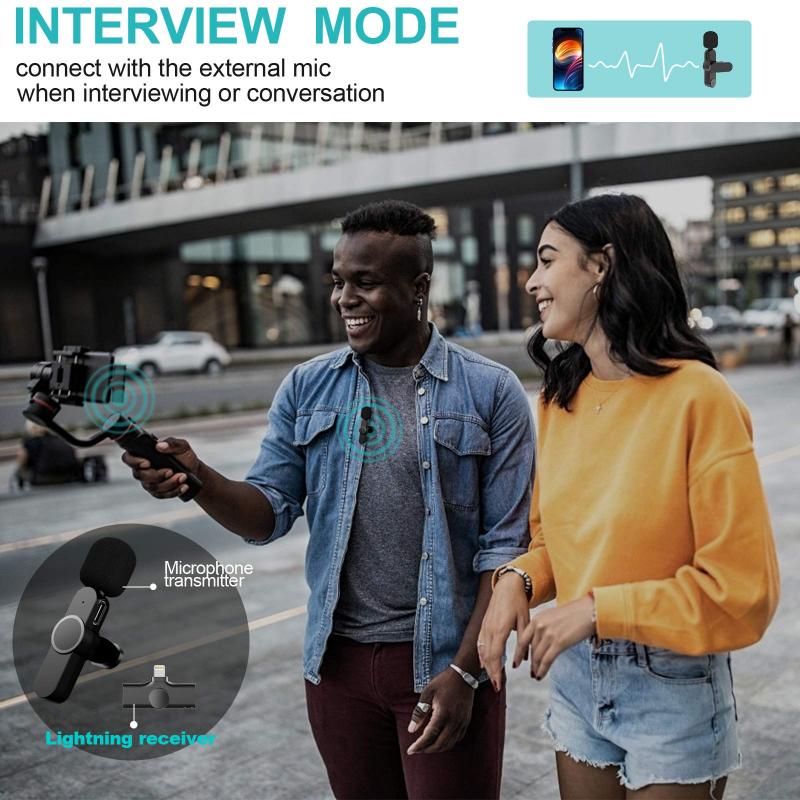
1. Microphone:
- Built-in Microphone: Most laptops and smartphones have built-in microphones that are suitable for basic recordings.
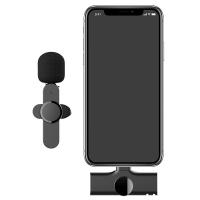
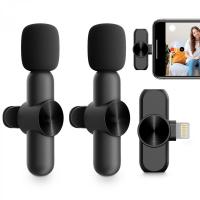
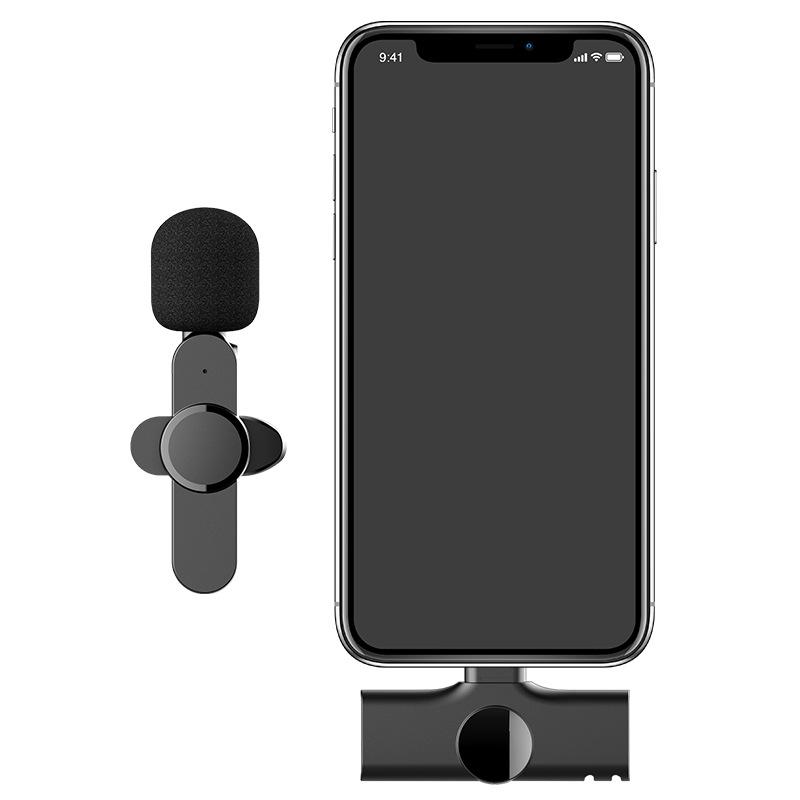
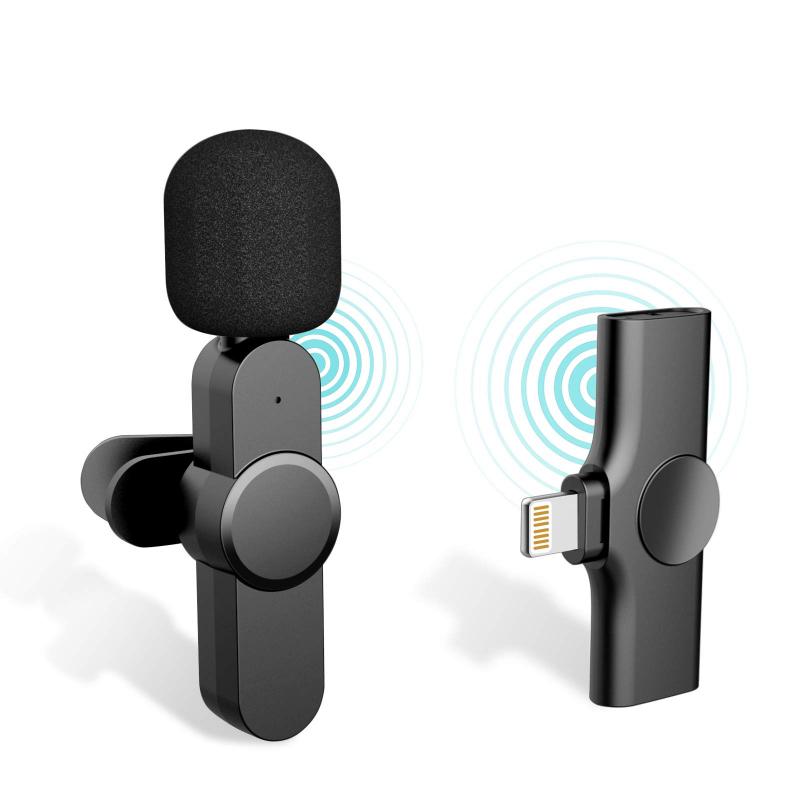
- External Microphone: For better sound quality, consider using an external microphone. USB microphones are user-friendly and offer decent quality for podcasts or semi-professional work. For professional-grade recordings, XLR microphones paired with an audio interface are recommended.
2. Headphones:
- Use headphones to monitor your recording and to avoid feedback during playback.
3. Audio Interface (Optional):
- An audio interface is crucial for converting analog signals from a microphone to a digital format for computers. This is particularly important if you’re using XLR microphones.
Selecting the Right Software

There are numerous software options available for audio recording, each with its own unique features:
1. Audacity: A free, open-source software that offers a wide range of editing tools. It's great for beginners due to its simplicity and comprehensive online tutorials.
2. GarageBand (Mac Users): Comes pre-installed on macOS. It's intuitive and offers various instruments and effects, ideal for music production.
3. Adobe Audition: Part of Adobe's Creative Cloud suite, providing professional-grade features with a steeper learning curve.
4. Reaper: A budget-friendly option offering robust capabilities for both beginners and experienced users.
5. Online Tools: Websites like Vocaroo or TwistedWave allow you to record directly from your browser without installing any software.
Steps to Record Audio
Step 1: Set Up Your Environment
Find a quiet space to minimize background noise. If possible, use soundproof materials like foam panels to dampen the sound. Make sure all phones and notifications are turned off to avoid interruptions.
Step 2: Connect Your Equipment
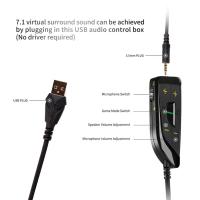
- Connect your microphone to the computer. For USB mics, use the provided USB cable. For XLR mics, connect through an audio interface.
- Position the microphone at an appropriate distance from your mouth, usually 6-12 inches, depending on the microphone type.
Step 3: Configure Your Software
- Open your chosen recording software.
- Go to the preferences or settings menu, select the correct input device (your microphone), and set the sample rate and bit depth. Typically, 44.1 kHz/16-bit is sufficient for most purposes.
- Test the microphone levels by speaking into it and adjust the gain so it captures your voice clearly without peaking.
Step 4: Start Recording
- Create a new track or project.
- Click the record button and start speaking or playing your instrument.
- Keep an eye on the levels to ensure the audio is neither too soft nor clipping due to high input.
Step 5: Edit Your Audio
Once the recording is complete, you can edit the audio to enhance its quality:
- Trim: Remove unwanted sections of the recording.
- Normalize: Ensures consistent volume levels throughout the recording.
- Equalization (EQ): Adjusts the balance of different frequency components.
- Compression: Controls the range between the loudest and softest parts.
- Noise Reduction: Minimizes background noise, though it's best achieved by good recording conditions.
Step 6: Save and Export
After editing, export your audio file. Common formats include WAV for lossless quality or MP3 for compressed files suitable for sharing.
Tips for Better Audio Quality
1. Use a Pop Filter: This helps in minimizing the plosive sounds that occur when pronouncing 'P's and 'B's.
2. Maintain a Consistent Volume: Speak consistently and maintain the same distance from the microphone.
3. Room Acoustics: Evaluate and enhance room acoustics to reduce echo and reverb.
Troubleshooting Common Issues
1. Low Audio Levels: Check if the microphone is selected as the input device in both the system settings and the recording software.
2. Background Noise: Ensure you're in a quiet environment and use software noise reduction features.
3. Latency Issues: Lower buffer size settings in your recording software or update audio drivers.
Recording audio on your computer, whether for professional or personal use, can be straightforward with the right tools and techniques. Understanding your equipment, utilizing proper software, and adhering to best practices in recording and editing will help you achieve the desired audio quality. Whether capturing a simple voice note or producing a complex music track, these guidelines will set you on the right path to successful audio recordings on your computer. By practicing and refining your workflow, you will ensure high-quality results that meet your needs.


