How To Record Your Screen With Sound?
Recording your screen with sound is a valuable skill for a variety of purposes, from creating tutorials and presentations to capturing gameplay or troubleshooting technical issues. With the increasing demand for remote work and online learning, knowing how to effectively record your screen with sound has become more important than ever. This article will guide you through the process, covering different operating systems and tools, and providing practical tips to ensure high-quality recordings.
Understanding the Basics

Before diving into the specifics, it's essential to understand the basic components involved in screen recording with sound:
1. Screen Recording Software: This is the primary tool you'll use to capture your screen. There are numerous options available, both free and paid, each with its own set of features.
2. Audio Source: This can be your system audio (sounds from your computer), your microphone (your voice), or both. Ensuring that the correct audio source is selected is crucial for a successful recording.
3. Output Format: The format in which your recording is saved can affect the quality and file size. Common formats include MP4, AVI, and MOV.
Recording on Different Operating Systems

Windows
Windows users have several options for screen recording, ranging from built-in tools to third-party software.
1. Built-in Xbox Game Bar
Windows 10 and later versions come with the Xbox Game Bar, a built-in tool primarily designed for recording gameplay but also useful for other screen recording purposes.
- How to Use Xbox Game Bar:
1. Press `Win + G` to open the Xbox Game Bar.
2. Click on the "Capture" widget.
3. Click the "Start Recording" button (or press `Win + Alt + R`).
4. To record audio, ensure that the microphone icon is enabled.
5. Click "Stop Recording" when finished. The video will be saved in the "Captures" folder under "Videos".
2. OBS Studio
OBS Studio is a free, open-source software that offers advanced features for screen recording and live streaming.
- How to Use OBS Studio:
1. Download and install OBS Studio from the official website.
2. Open OBS Studio and configure your settings.
3. Add a new "Display Capture" source to capture your screen.
4. Add an "Audio Input Capture" source to record from your microphone.
5. Click "Start Recording" to begin and "Stop Recording" to end. The video will be saved in the location specified in your settings.
macOS
Mac users also have built-in tools and third-party software options for screen recording.
1. Built-in QuickTime Player
QuickTime Player is a versatile media player that also offers screen recording capabilities.
- How to Use QuickTime Player:
1. Open QuickTime Player from your Applications folder.
2. Go to "File" > "New Screen Recording".
3. Click the drop-down arrow next to the record button to select your audio source.
4. Click the record button to start recording.
5. Click the stop button in the menu bar to end the recording. The video will be saved automatically.
2. ScreenFlow
ScreenFlow is a paid software that offers advanced screen recording and video editing features.
- How to Use ScreenFlow:
1. Download and install ScreenFlow from the official website.
2. Open ScreenFlow and configure your recording settings.
3. Select the screen and audio sources you want to capture.
4. Click the record button to start and stop recording.
5. Edit and export your video using ScreenFlow's built-in editor.
Linux
Linux users can also find several screen recording tools, both built-in and third-party.
1. SimpleScreenRecorder
SimpleScreenRecorder is a popular choice for Linux users due to its simplicity and effectiveness.
- How to Use SimpleScreenRecorder:
1. Install SimpleScreenRecorder from your package manager.
2. Open SimpleScreenRecorder and configure your settings.
3. Select the screen and audio sources you want to capture.
4. Click "Start Recording" to begin and "Save Recording" to end. The video will be saved in the specified location.
2. OBS Studio
OBS Studio is also available for Linux and offers the same advanced features as on other operating systems.
- How to Use OBS Studio:
1. Download and install OBS Studio from the official website or your package manager.
2. Open OBS Studio and configure your settings.
3. Add a new "Screen Capture" source to capture your screen.
4. Add an "Audio Input Capture" source to record from your microphone.
5. Click "Start Recording" to begin and "Stop Recording" to end. The video will be saved in the location specified in your settings.
Practical Tips for High-Quality Recordings
1. Plan Your Recording: Before you start, outline what you want to capture. This will help you stay focused and ensure you don't miss any important details.
2. Check Your Audio Levels: Make sure your microphone and system audio levels are balanced. You don't want one to overpower the other.
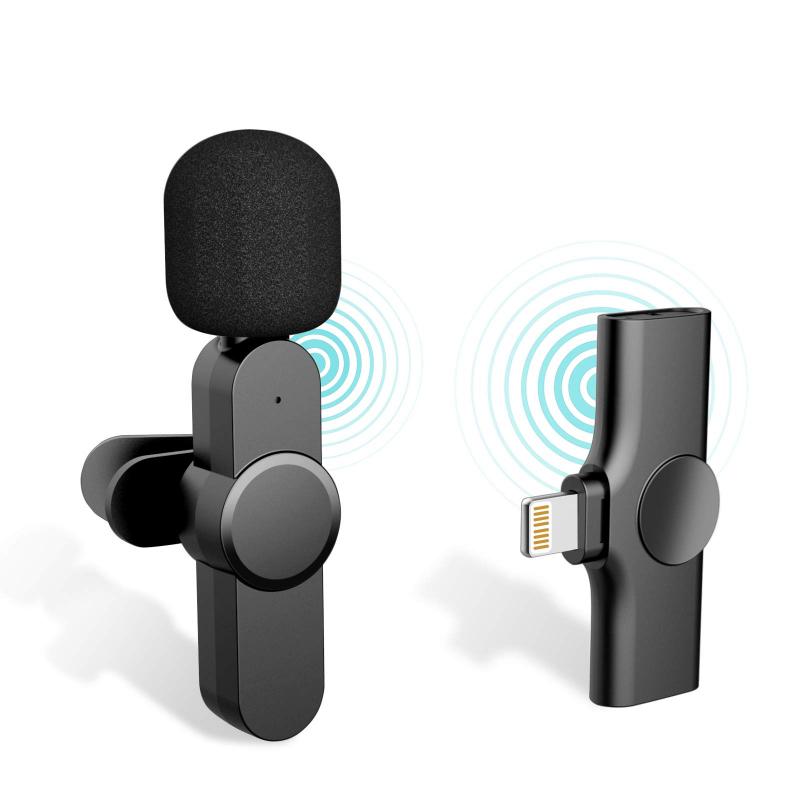
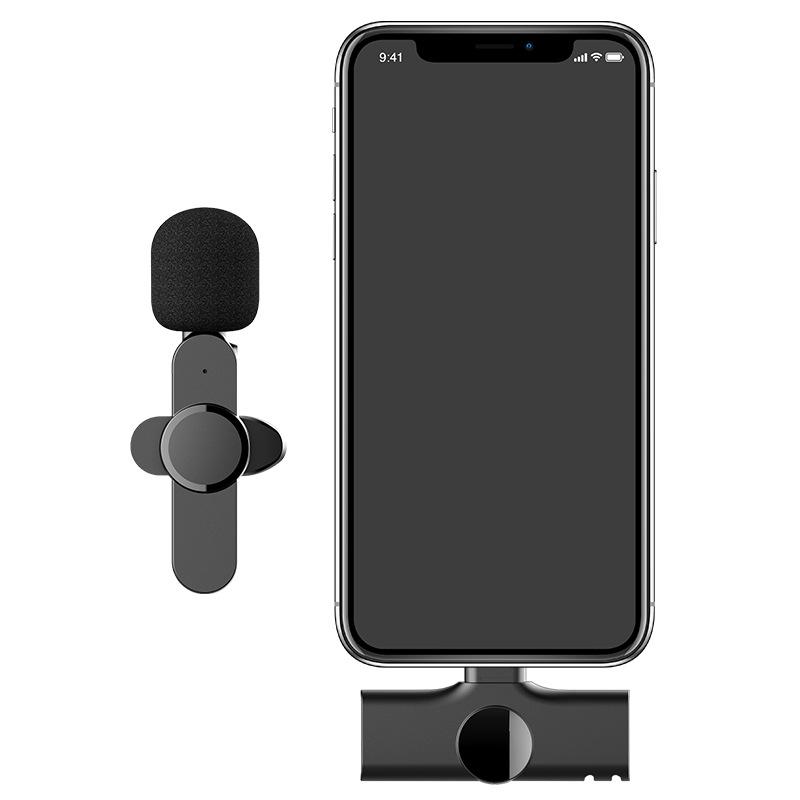
3. Use a Good Microphone: If possible, use an external microphone for better audio quality. Built-in microphones can pick up a lot of background noise.
4. Minimize Background Noise: Record in a quiet environment to reduce unwanted noise.
5. Close Unnecessary Applications: This will free up system resources and reduce the chances of interruptions during your recording.
6. Test Before Recording: Do a quick test recording to ensure everything is working correctly. This can save you from potential issues later on.
Recording your screen with sound is a straightforward process once you understand the tools and techniques involved. Whether you're using Windows, macOS, or Linux, there are plenty of options available to suit your needs. By following the steps outlined in this article and applying the practical tips provided, you'll be well on your way to creating high-quality screen recordings with sound. Whether for professional use, educational purposes, or personal projects, mastering this skill can greatly enhance your digital communication capabilities.

