How To Release Write Protected Sd Card?
In the world of digital storage, SD cards are a ubiquitous and essential tool for many users. They are used in cameras, smartphones, tablets, and even some laptops to store a variety of data, from photos and videos to documents and applications. However, one common issue that users often encounter is the write protection feature on SD cards. This feature can be both a blessing and a curse. While it protects your data from accidental deletion or modification, it can also prevent you from adding new data or making changes when you need to. In this article, we will explore various methods to release a write-protected SD card, ensuring you can use your storage device as intended.
Understanding Write Protection

Before diving into the solutions, it’s important to understand what write protection is and why it exists. Write protection is a feature that prevents data from being written to or deleted from a storage device. This can be a physical switch on the SD card itself or a software setting that has been enabled. The primary purpose of write protection is to safeguard your data from accidental changes or deletions, which can be particularly useful in professional settings where data integrity is crucial.
Physical Write Protection Switch

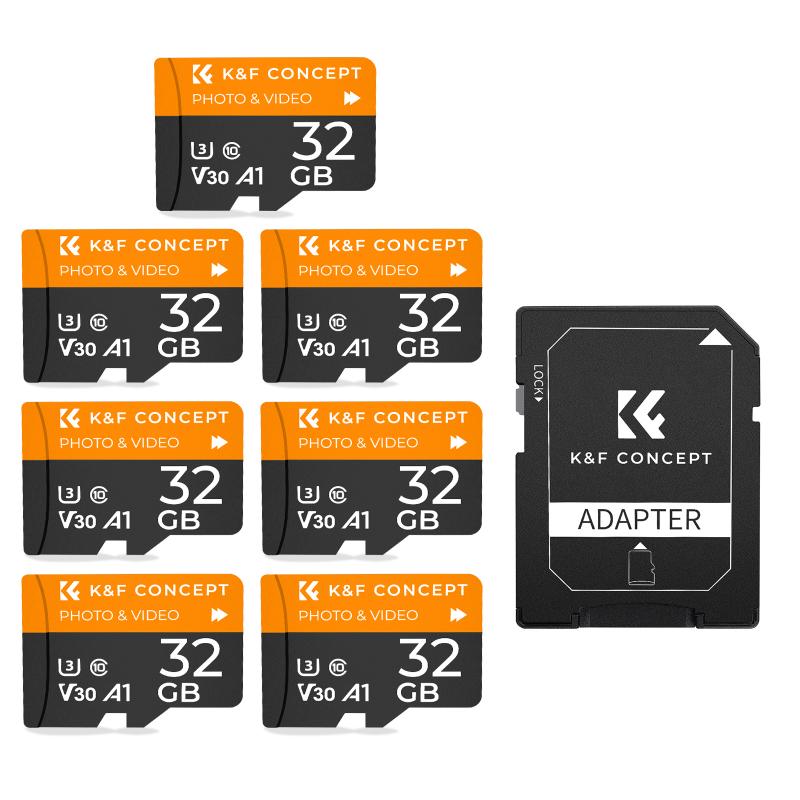
The most common form of write protection on SD cards is a physical switch located on the side of the card. This switch can be toggled to enable or disable write protection. Here’s how you can release write protection using the physical switch:
1. Locate the Switch: Remove the SD card from your device and examine its side. You should see a small switch that can be moved up or down.
2. Toggle the Switch: Move the switch to the "unlock" position. This is usually indicated by an icon of an open padlock or the word "unlock."
3. Reinsert the SD Card: Place the SD card back into your device and check if you can now write to it.
If the physical switch is damaged or stuck, you may need to use other methods to release write protection.
Software Write Protection

In some cases, write protection is enabled through software settings. This can happen due to various reasons, such as a corrupted file system, malware, or user settings. Here are some methods to disable software write protection:
Method 1: Using Diskpart on Windows

Diskpart is a powerful command-line utility in Windows that can manage disk partitions and storage devices. Here’s how to use it to disable write protection:
1. Open Command Prompt: Press `Win + R`, type `cmd`, and press `Enter` to open the Command Prompt.
2. Launch Diskpart: Type `diskpart` and press `Enter`. This will open the Diskpart utility.
3. List Disks: Type `list disk` and press `Enter`. This will display a list of all connected storage devices.
4. Select Disk: Identify your SD card from the list and type `select disk X`, replacing `X` with the number corresponding to your SD card.
5. Clear Write Protection: Type `attributes disk clear readonly` and press `Enter`. This command will remove the write protection from your SD card.
6. Exit Diskpart: Type `exit` and press `Enter` to close the Diskpart utility.
Method 2: Using Registry Editor on Windows
The Windows Registry Editor can also be used to disable write protection. Here’s how:
1. Open Registry Editor: Press `Win + R`, type `regedit`, and press `Enter` to open the Registry Editor.
2. Navigate to StorageDevicePolicies: Go to `HKEY_LOCAL_MACHINE\SYSTEM\CurrentControlSet\Control\StorageDevicePolicies`. If the `StorageDevicePolicies` key does not exist, you will need to create it.
3. Modify WriteProtect Value: In the right pane, double-click on the `WriteProtect` value. Set the value data to `0` and click `OK`.
4. Restart Your Computer: Close the Registry Editor and restart your computer to apply the changes.
Formatting the SD Card
If the above methods do not work, formatting the SD card may be necessary. Formatting will erase all data on the card, so be sure to back up any important files before proceeding. Here’s how to format an SD card:
On Windows
1. Insert the SD Card: Connect the SD card to your computer using an SD card reader.
2. Open File Explorer: Press `Win + E` to open File Explorer and locate your SD card.
3. Format the SD Card: Right-click on the SD card and select `Format`. Choose the file system (usually FAT32 or exFAT) and click `Start`.
On Mac
1. Insert the SD Card: Connect the SD card to your Mac using an SD card reader.
2. Open Disk Utility: Go to `Applications > Utilities > Disk Utility`.
3. Format the SD Card: Select your SD card from the list on the left, click the `Erase` tab, choose the file system, and click `Erase`.
Preventing Write Protection Issues
To avoid encountering write protection issues in the future, consider the following tips:
1. Handle with Care: Be gentle with your SD card, especially the physical switch, to prevent damage.
2. Regular Backups: Regularly back up your data to avoid data loss in case you need to format the card.
3. Use Reliable Software: Avoid using unreliable or unverified software that may alter your SD card’s settings.
4. Keep Your System Clean: Regularly scan your computer for malware that could potentially enable write protection on your SD card.
Releasing a write-protected SD card can be a straightforward process if you know where to look and what steps to take. Whether it’s toggling a physical switch, using command-line utilities, or modifying registry settings, there are multiple ways to regain control over your storage device. By understanding the root cause of write protection and following the appropriate steps, you can ensure that your SD card remains a reliable and versatile tool for all your storage needs.
