How To Remove Noise From Recorded Audio?
Recording clear audio is an essential aspect of many professional and personal projects, from podcasts and music production to video content and interviews. However, capturing pristine sound can often be challenging due to the presence of unwanted background noise. The presence of hiss, hum, environmental sounds, and other noise can significantly detract from the quality of the final product. Fortunately, there are several techniques and tools available to help reduce and remove noise from recorded audio, thereby enhancing its clarity and quality. In this article, we will explore practical methods and industry-standard practices for noise reduction, catering to both beginners and more experienced users.
Understanding the Sources of Noise

Before embarking on the process of noise removal, it's crucial to understand the common sources of noise in audio recordings:
1. Ambient Noise: This includes any background sounds present during recording, such as air-conditioning hum, traffic noise, or computer fans.
2. Equipment Noise: Poorly shielded cables, low-quality preamps, and older recording equipment can introduce hiss or hum into recordings.
3. Environmental Sounds: Uncontrolled environments can lead to sounds like wind or footsteps being inadvertently captured.
4. Electrical Interference: Devices like smartphones and wireless transmitters can introduce interference into audio signals.
Identifying the source of the noise is a critical first step, as it helps zero in on the most effective reduction strategies.
Pre-recording Strategies

The best approach to managing audio noise is prevention. Here are some pre-recording tips to minimize noise:
- Select a Quiet Environment: Choose recording spaces that are inherently quiet or can be acoustically treated to minimize external sound intrusion.
- Use Directional Microphones: These microphones are designed to pick up sound primarily from one direction, which can help isolate the intended audio source from background noise.
- Soundproofing: Employ soundproofing techniques such as using acoustic panels, carpets, and curtains to dampen noise reflections and reduce intrusion from outside noise.
- Check Equipment: Ensure all equipment, including cables and microphones, are in good condition to avoid noise introduced by faults or degradation.
Post-recording Noise Reduction Techniques

No matter how careful you are during recording, some noise may still find its way into your audio. Here’s how you can address it:
1. Using Noise Reduction Software

Noise reduction software analyzes audio to detect consistent noise patterns and removes or reduces them. Popular software includes:
- Adobe Audition: Known for its robust noise reduction capabilities, Adobe Audition allows users to capture a "noise print" and apply this to the entire audio file to decrease background noise.
- Audacity: This open-source software offers a noise reduction effect where users can highlight a sample of noise for the software to identify and filter out throughout the recording.
- iZotope RX: This specialized software is designed for audio repair and enhancement, offering advanced features such as voice de-noise and spectral repair tools.
Step-by-step guide for using noise reduction plugins:
1. Identify a Noise Profile: Choose a section of your audio where only noise is present. Use this section to help the software identify what to filter out.
2. Apply Noise Reduction: Use the software’s noise reduction tool, adjusting settings such as noise reduction level and sensitivity to achieve the desired result.
3. Listen and Adjust: It's crucial to find a balance where noise is reduced but the quality and clarity of important audio content remains intact. Over-processing can sometimes lead to a warbled or metallic sound.
2. Equalization (EQ) Adjustment
EQ can be used to manage noise by reducing the impact of unwanted frequencies. This method is especially useful when dealing with specific noise types, like hum or hiss, which occupy certain frequency ranges.
- Low-pass Filter: Useful for cutting high-frequency noise like hiss. Setting a low-pass filter can help eliminate those higher frequencies.
- High-pass Filter: Effective for removing low-frequency noises such as rumble or hum, often set at 60Hz or higher to filter out HVAC noise or electrical hum.
- Parametric EQ: This allows detailed adjustments of specific frequencies where the noise is predominant.
3. Manual Noise Editing
In some cases, the best way to remove noise is manually, particularly when dealing with irregular noises:
- Spectral Editing: Tools like the spectral frequency display in Adobe Audition or iZotope RX visualize sound frequencies, allowing for time-specific noise removal.
- Manual Clipping: For small interruptions, using volume automation or drawing out noise in specific sections can serve as a more precise approach.
Additional Considerations
Monitor with Quality Equipment
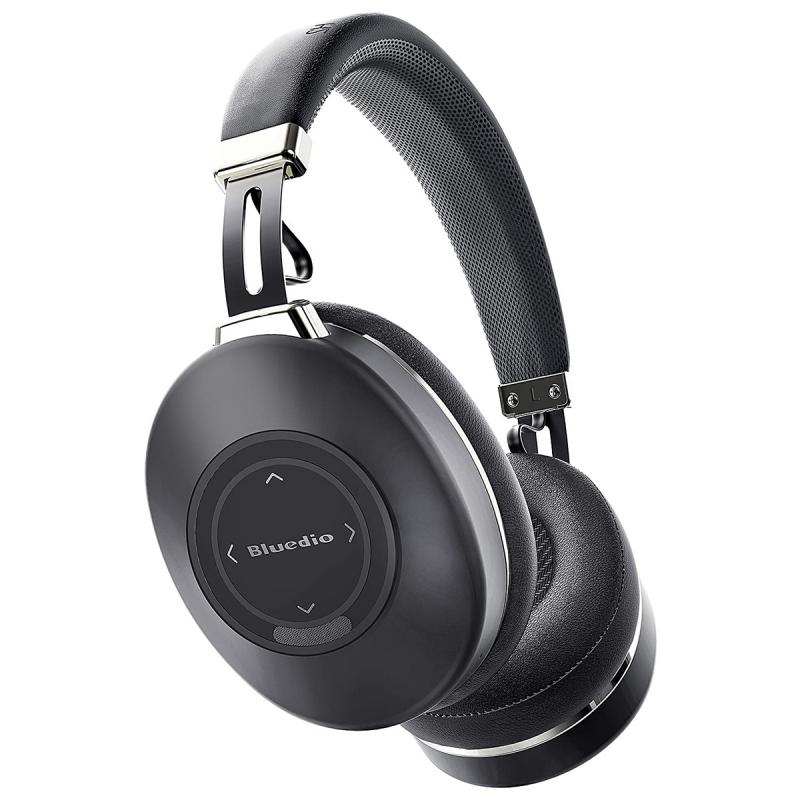
When working on noise reduction, monitoring with quality headphones ensures a better assessment of the audio improvements. It's vital to hear subtle differences that might not be apparent on standard speakers.
Non-destructive Editing
Always apply changes in a non-destructive manner to maintain the original version of your audio files. This allows you to revert or make new adjustments without compromising the initial recording.
IRL (In-Real-Life) Solutions
Sometimes practical solutions, such as changing the recording location or eliminating particular noise sources in your environment, can provide significant improvements to your audio recordings.
Effective noise reduction is both an art and a science, requiring a combination of good upfront preparation and post-recording techniques. By understanding the sources and characteristics of the noise in your recordings, choosing the right tools and techniques, and applying these solutions skillfully, you can achieve high-quality, professional audio outcomes. Whether you are an audio production novice or an experienced engineer, adopting the strategies outlined in this article will enable you to elevate the quality of your recordings significantly, ensuring they captivate and engage your audience with the clarity they deserve.
