How To Remove Write Protected In Sd Card?
Removing Write Protection from an SD Card: A Comprehensive Guide
SD cards are widely used for storing data in various devices, including cameras, smartphones, and computers. However, encountering a write-protected SD card can be frustrating, especially when you need to add or delete files. Write protection is a feature that prevents data from being modified or deleted, ensuring the safety of the stored information. While this can be useful, it can also be a hindrance when you need to make changes to the data. This article will guide you through various methods to remove write protection from an SD card, addressing practical problems and providing step-by-step solutions.
Understanding Write Protection

Before diving into the solutions, it's essential to understand what write protection is and why it might be enabled on your SD card. Write protection can be hardware-based or software-based:
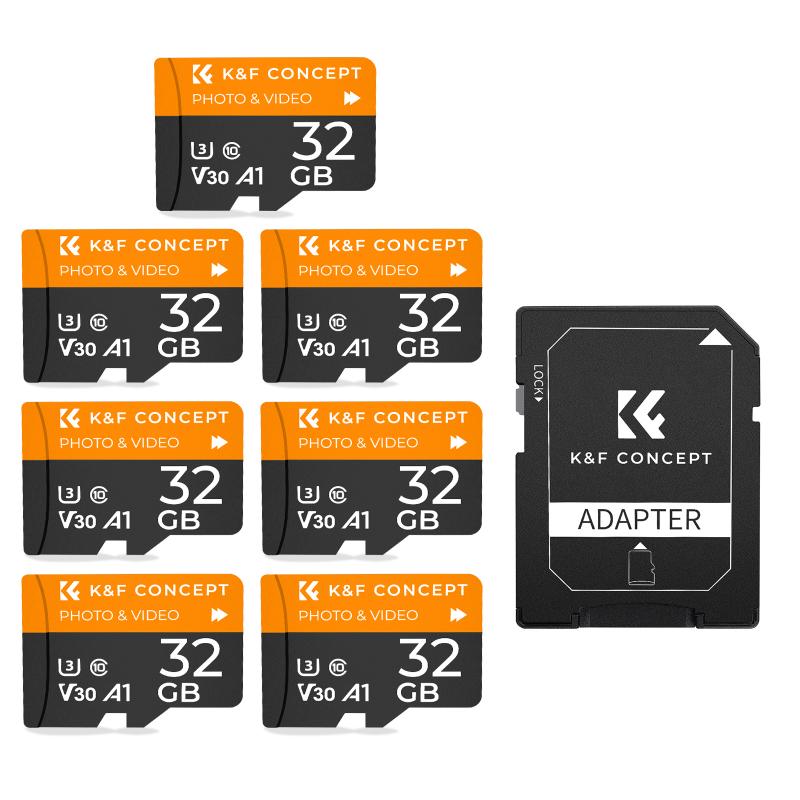
1. Hardware-Based Write Protection: Many SD cards come with a physical switch on the side that can be toggled to enable or disable write protection. When the switch is in the "Lock" position, the SD card is write-protected, and you cannot modify its contents.
2. Software-Based Write Protection: This type of write protection is enabled through the file system or operating system settings. It can be due to corrupted files, malware, or specific settings that prevent writing to the SD card.
Methods to Remove Write Protection
1. Check the Physical Lock Switch

The first and simplest step is to check the physical lock switch on the SD card. Follow these steps:
1. Remove the SD card from the device.
2. Locate the small switch on the side of the SD card.
3. Ensure the switch is in the "Unlock" position.
4. Reinsert the SD card into the device and check if the write protection is removed.
2. Use Diskpart Utility (Windows)

If the physical switch is not the issue, you can use the Diskpart utility in Windows to remove write protection. Here’s how:
1. Insert the SD card into your computer.
2. Press `Win + R` to open the Run dialog box.
3. Type `diskpart` and press Enter. This will open the Diskpart command-line utility.
4. Type `list disk` and press Enter. This will display a list of all disks connected to your computer.
5. Identify your SD card from the list (usually based on its size) and note its disk number.
6. Type `select disk X` (replace X with the disk number of your SD card) and press Enter.
7. Type `attributes disk clear readonly` and press Enter.
8. Type `exit` to close the Diskpart utility.
Check if the write protection is removed by trying to add or delete files on the SD card.
3. Modify Registry Settings (Windows)
Another method to remove write protection is by modifying the registry settings. Follow these steps carefully:
1. Press `Win + R` to open the Run dialog box.
2. Type `regedit` and press Enter to open the Registry Editor.
3. Navigate to the following path: `HKEY_LOCAL_MACHINE\SYSTEM\CurrentControlSet\Control\StorageDevicePolicies`.
4. If you don’t see the `StorageDevicePolicies` key, you’ll need to create it. Right-click on `Control`, select `New > Key`, and name it `StorageDevicePolicies`.
5. Right-click on `StorageDevicePolicies`, select `New > DWORD (32-bit) Value`, and name it `WriteProtect`.
6. Double-click on `WriteProtect` and set its value to `0`.
7. Close the Registry Editor and restart your computer.
After restarting, check if the write protection is removed.
4. Use Disk Utility (Mac)
For Mac users, the Disk Utility can be used to remove write protection. Here’s how:
1. Insert the SD card into your Mac.
2. Open `Disk Utility` from the Applications > Utilities folder.
3. Select your SD card from the list of drives.
4. Click on the `First Aid` tab and run the repair process.
5. If the issue persists, you may need to reformat the SD card. Select the `Erase` tab, choose a file system format (e.g., exFAT or FAT32), and click `Erase`.
Note that reformatting will erase all data on the SD card, so ensure you have a backup before proceeding.
5. Check for Malware
Malware can sometimes cause write protection issues. Running a full system scan with a reliable antivirus program can help identify and remove any malicious software that might be causing the problem.
1. Insert the SD card into your computer.
2. Open your antivirus program and run a full system scan.
3. Follow the prompts to remove any detected malware.
4. Check if the write protection is removed.
6. Use Third-Party Software
Several third-party software tools are available that can help remove write protection from SD cards. Some popular options include:
- SD Formatter: A tool specifically designed for formatting SD cards, which can also help remove write protection.
- EaseUS Partition Master: A comprehensive disk management tool that includes features for removing write protection.
Download and install the software, follow the on-screen instructions, and check if the write protection is removed.
Preventing Write Protection Issues
To avoid encountering write protection issues in the future, consider the following tips:
1. Handle with Care: Always handle your SD card with care, avoiding physical damage that might affect the lock switch.
2. Regular Scans: Regularly scan your SD card and devices for malware to prevent software-based write protection.
3. Backup Data: Regularly back up your data to avoid data loss in case you need to reformat the SD card.
4. Safely Eject: Always use the "Safely Remove Hardware" option when ejecting your SD card from a computer to prevent file system corruption.
Encountering a write-protected SD card can be a significant inconvenience, but with the methods outlined in this article, you should be able to remove the write protection and regain full access to your data. Whether it's a simple toggle of the physical switch or a more involved process like using Diskpart or modifying registry settings, these solutions cover a range of scenarios to help you resolve the issue. By understanding the causes and implementing preventive measures, you can ensure a smoother experience with your SD cards in the future.



![4K digital camera for photography and video [autofocus and stabilisation] 48 MP video blog camera with SD card, 3 4K digital camera for photography and video [autofocus and stabilisation] 48 MP video blog camera with SD card, 3](https://img.kentfaith.com/cache/catalog/products/us/GW41.0065/GW41.0065-1-200x200.jpg)

