How To Set Up A Solar Panel?
Setting up a solar panel system can be a transformative step towards energy independence and environmental sustainability. However, the process can seem daunting for those unfamiliar with the technical aspects. This article aims to provide a comprehensive guide to setting up a solar panel system, addressing common user demands and practical concerns.
Understanding Solar Panel Systems

Before diving into the setup process, it's essential to understand the basic components of a solar panel system:
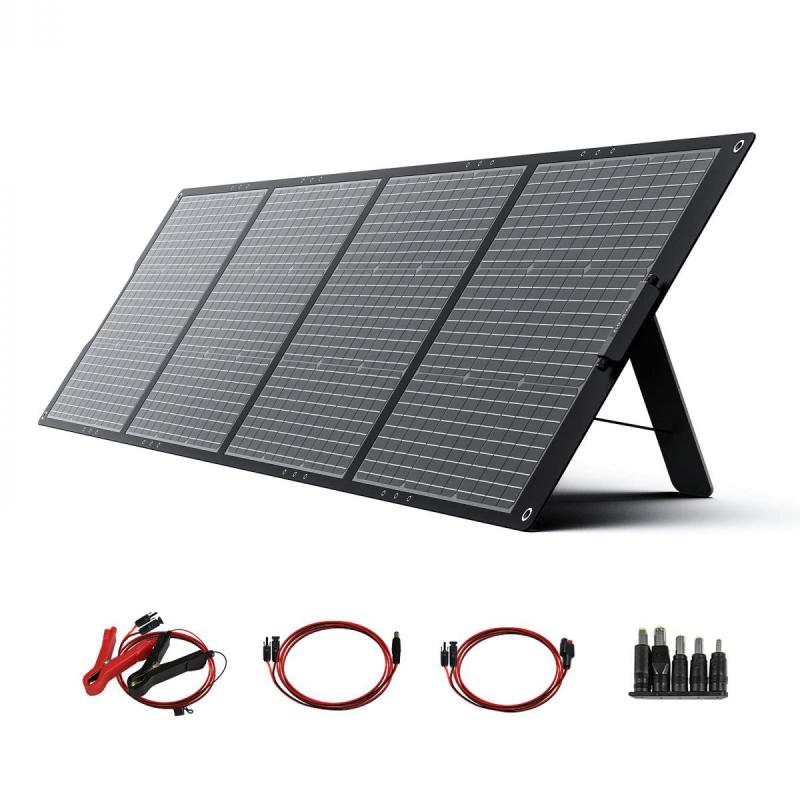
1. Solar Panels: These are the primary components that capture sunlight and convert it into electricity.
2. Inverter: This device converts the direct current (DC) produced by the solar panels into alternating current (AC), which is used by most household appliances.
3. Mounting System: This includes the racks and hardware used to secure the solar panels to your roof or ground.
4. Battery Storage (Optional): Batteries store excess energy produced during the day for use at night or during cloudy periods.
5. Charge Controller: This regulates the voltage and current coming from the solar panels to the batteries, preventing overcharging.
6. Electrical Wiring: Proper wiring is crucial for connecting all components and ensuring the system operates safely and efficiently.
Step-by-Step Guide to Setting Up a Solar Panel System

1. Assess Your Energy Needs

The first step in setting up a solar panel system is to assess your energy needs. This involves:
- Calculating Your Energy Consumption: Review your electricity bills to determine your average monthly energy usage in kilowatt-hours (kWh).
- Determining System Size: Based on your energy consumption, calculate the size of the solar panel system you need. A general rule of thumb is that a 1 kW system produces about 4 kWh per day.
2. Site Assessment and Planning

Next, conduct a site assessment to determine the best location for your solar panels. Consider the following factors:
- Sunlight Exposure: Ensure the location receives maximum sunlight throughout the day. Avoid areas shaded by trees, buildings, or other obstructions.
- Roof Condition: If you plan to install the panels on your roof, ensure it is in good condition and can support the additional weight.
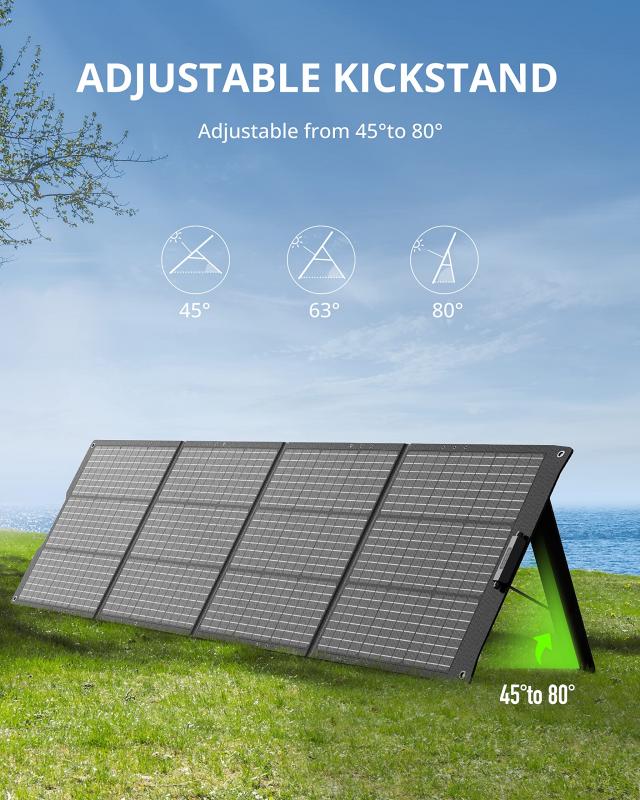
- Orientation and Tilt: In the Northern Hemisphere, solar panels should generally face south and be tilted at an angle equal to your latitude to maximize energy production.
3. Obtain Necessary Permits and Approvals
Before installation, check with your local government and utility company to obtain any necessary permits and approvals. This may include:
- Building Permits: Required for structural modifications to your property.
- Electrical Permits: Required for any electrical work involved in the installation.
- Utility Interconnection Agreement: If you plan to connect your system to the grid, you will need an agreement with your utility company.
4. Purchase the Components
Once you have the necessary permits, purchase the components for your solar panel system. Ensure you buy high-quality products from reputable manufacturers. Consider the following:
- Solar Panels: Choose panels with a high efficiency rating and a good warranty.
- Inverter: Select an inverter that matches the size of your solar panel system.
- Mounting System: Ensure the mounting system is compatible with your roof type or ground setup.
- Battery Storage: If you opt for battery storage, choose batteries with a high cycle life and capacity.
- Charge Controller: Select a charge controller that matches the voltage and current specifications of your system.
- Electrical Wiring: Use wiring that meets local electrical codes and standards.
5. Install the Mounting System
Begin the installation process by setting up the mounting system. This involves:
- Roof Installation: If installing on a roof, secure the mounting brackets to the roof rafters. Ensure they are evenly spaced and aligned.
- Ground Installation: If installing on the ground, set up the mounting racks on a stable foundation. Ensure they are level and properly anchored.
6. Install the Solar Panels
Once the mounting system is in place, install the solar panels. This involves:
- Securing the Panels: Attach the panels to the mounting brackets or racks using the provided hardware. Ensure they are securely fastened.
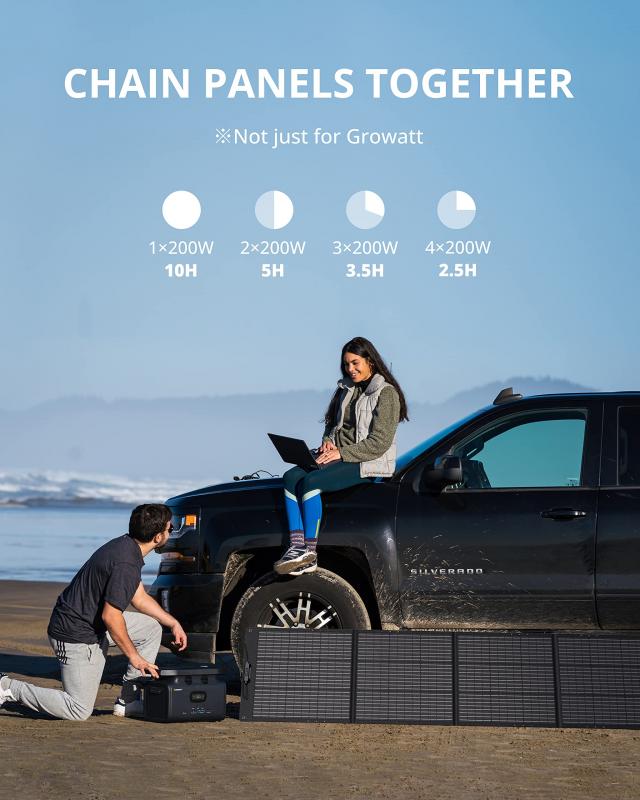
- Connecting the Panels: Connect the panels in series or parallel, depending on your system design. Use appropriate connectors and ensure all connections are tight and secure.
7. Install the Inverter and Electrical Components
Next, install the inverter and other electrical components. This involves:
- Mounting the Inverter: Install the inverter in a cool, dry location, preferably close to your main electrical panel.
- Connecting the Inverter: Connect the solar panels to the inverter using appropriate wiring. Follow the manufacturer's instructions for proper wiring and connections.
- Installing the Charge Controller: If using a battery storage system, install the charge controller between the solar panels and the batteries. Ensure it is properly configured to match your system specifications.
- Connecting the Batteries: If using batteries, connect them to the charge controller and inverter. Ensure all connections are secure and follow the manufacturer's guidelines.
8. Perform System Testing and Inspection
Before activating your solar panel system, perform thorough testing and inspection. This involves:
- Checking Connections: Ensure all electrical connections are tight and secure. Check for any loose or exposed wires.
- Testing Voltage and Current: Use a multimeter to test the voltage and current output of the solar panels and inverter. Ensure they match the expected values.
- Inspecting for Safety: Check for any potential safety hazards, such as exposed wiring or improper grounding. Ensure all components are properly installed and secured.
9. Activate the System
Once you have completed the testing and inspection, activate your solar panel system. This involves:
- Turning on the Inverter: Follow the manufacturer's instructions to turn on the inverter and start the system.
- Monitoring Performance: Monitor the system's performance using the inverter's display or a monitoring app. Ensure it is producing the expected amount of energy.
10. Regular Maintenance and Monitoring
To ensure your solar panel system operates efficiently, perform regular maintenance and monitoring. This involves:
- Cleaning the Panels: Keep the panels clean and free of debris. Clean them periodically using water and a soft brush.
- Inspecting for Damage: Regularly inspect the panels and other components for any signs of damage or wear. Address any issues promptly.
- Monitoring Performance: Continuously monitor the system's performance to ensure it is operating efficiently. Use a monitoring app or system to track energy production and usage.
Setting up a solar panel system can be a rewarding and cost-effective way to generate clean energy and reduce your reliance on the grid. By following this comprehensive guide, you can ensure a successful installation and enjoy the benefits of solar power for years to come. Remember to assess your energy needs, conduct a thorough site assessment, obtain necessary permits, purchase high-quality components, and perform regular maintenance to keep your system running smoothly. With careful planning and attention to detail, you can achieve energy independence and contribute to a more sustainable future.

There are no comments for this blog.