How To Set Up A Telescope?
Setting up a telescope can be an exciting yet daunting task, especially for beginners. Whether you are an amateur astronomer or a seasoned stargazer, understanding the correct setup process is crucial for a successful and enjoyable experience. This article will guide you through the essential steps to set up a telescope, ensuring you get the most out of your astronomical observations.
Understanding Your Telescope

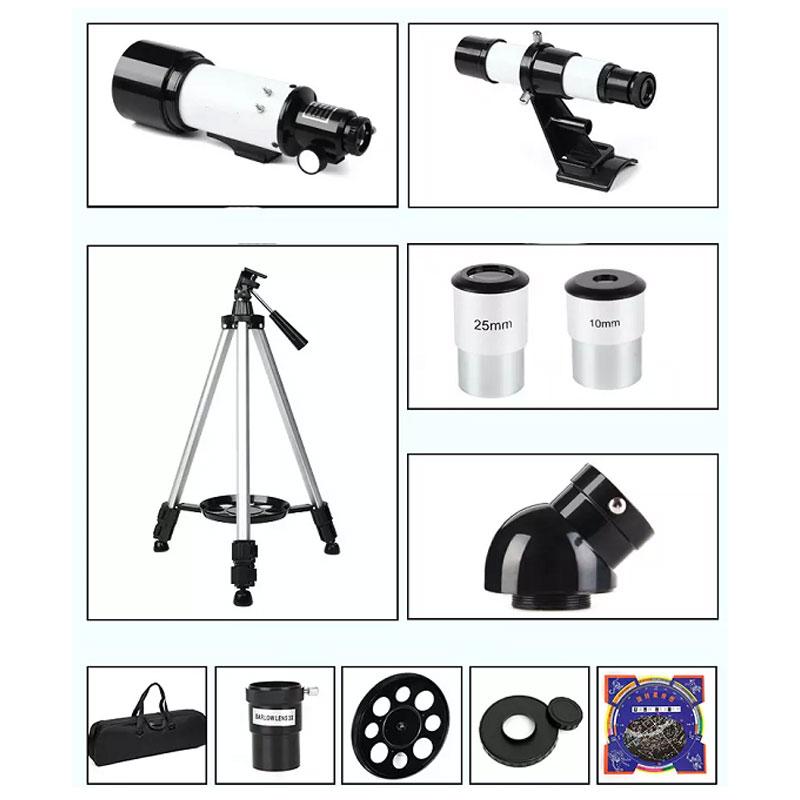
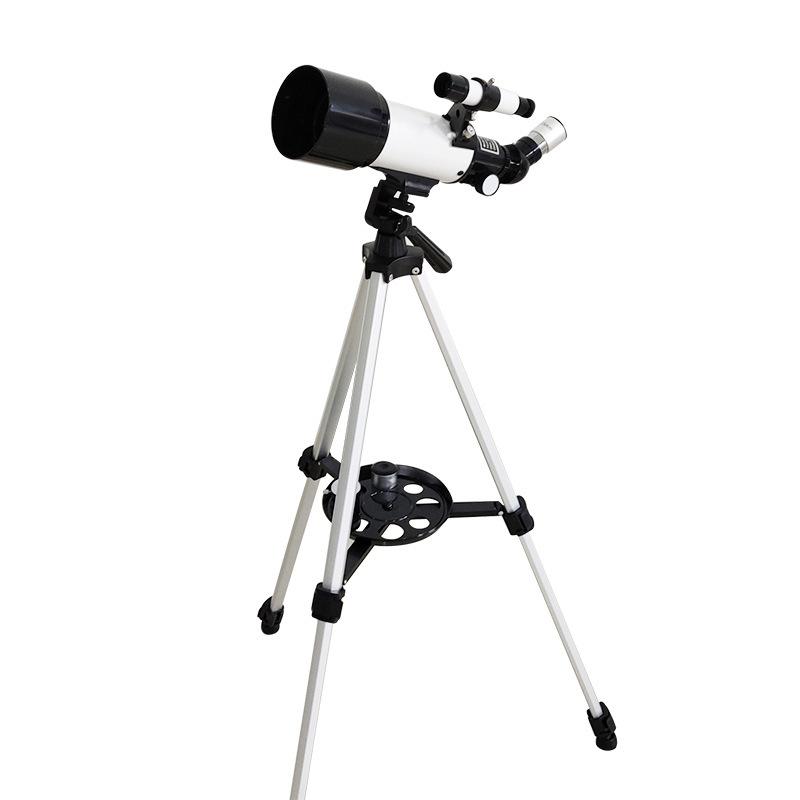
Before diving into the setup process, it is important to familiarize yourself with the different parts of your telescope. Most telescopes consist of the following components:
1. Optical Tube Assembly (OTA): This is the main body of the telescope, which houses the primary optics.
2. Mount: The structure that supports the OTA and allows it to move. There are two main types of mounts: altazimuth and equatorial.
3. Tripod: The three-legged stand that provides stability to the mount and OTA.
4. Finderscope: A small auxiliary telescope mounted on the OTA to help locate objects in the sky.
5. Eyepieces: Interchangeable lenses that magnify the image produced by the telescope.
6. Counterweights: Used in equatorial mounts to balance the OTA.
Step-by-Step Guide to Setting Up Your Telescope

1. Choose the Right Location

Selecting an appropriate location is the first step in setting up your telescope. Ideally, you should choose a spot with minimal light pollution, such as a rural area or a designated dark-sky site. Ensure the location has a clear view of the sky and is free from obstructions like trees and buildings. Additionally, a stable and level surface is essential for setting up the tripod and mount.
2. Assemble the Tripod and Mount

Start by setting up the tripod. Spread the legs wide enough to provide a stable base, and adjust the height to a comfortable level. Ensure the tripod is level by using a bubble level if available. Once the tripod is secure, attach the mount to the tripod. If you are using an equatorial mount, make sure it is oriented correctly with the polar axis pointing towards the North Star (Polaris) in the Northern Hemisphere or the South Celestial Pole in the Southern Hemisphere.
3. Attach the Optical Tube Assembly (OTA)
Carefully attach the OTA to the mount. This process may vary depending on the type of mount you have. For altazimuth mounts, simply secure the OTA using the provided clamps or screws. For equatorial mounts, you may need to use dovetail plates or rings to attach the OTA. Ensure the OTA is balanced and securely fastened to prevent any movement during observations.
4. Install the Finderscope
The finderscope is a crucial tool for locating celestial objects. Attach the finderscope to the OTA using the provided brackets or screws. Once installed, align the finderscope with the main telescope. During the day, point the telescope at a distant object, such as a tree or building, and center it in the eyepiece. Then, adjust the finderscope so that the same object is centered in its crosshairs.
5. Insert the Eyepiece
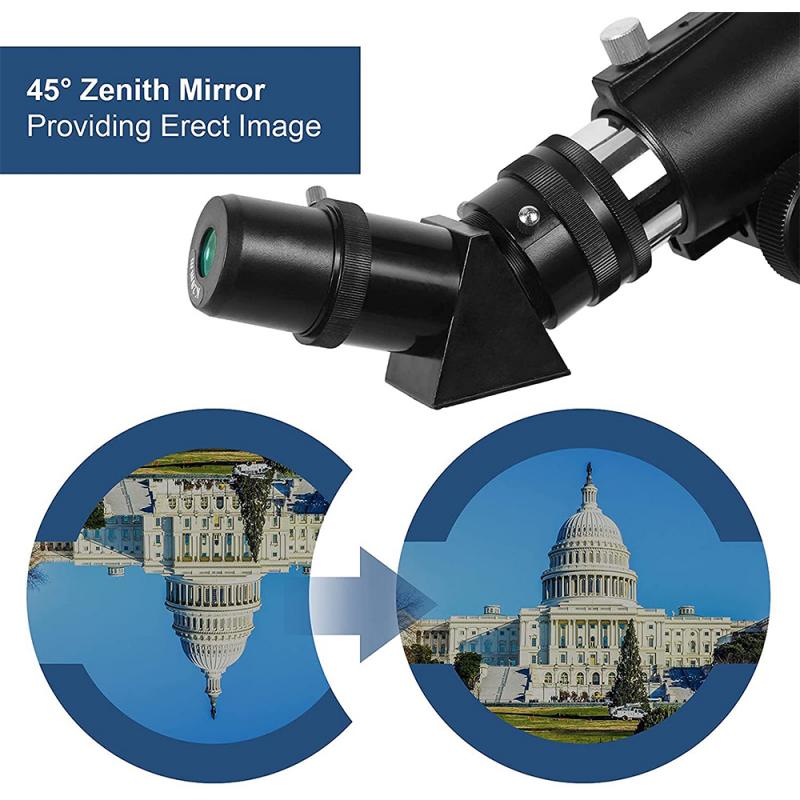
Choose an eyepiece with a low magnification to start with, as it provides a wider field of view, making it easier to locate objects. Insert the eyepiece into the focuser and secure it in place. If your telescope has a diagonal, attach it to the focuser first, and then insert the eyepiece into the diagonal.
6. Balance the Telescope (Equatorial Mounts Only)
If you are using an equatorial mount, balancing the telescope is essential for smooth tracking. Start by balancing the declination axis. Loosen the declination lock and move the OTA until it is horizontal. Adjust the position of the OTA along the dovetail plate until it remains level without tipping. Tighten the declination lock. Next, balance the right ascension axis by adjusting the counterweights. Loosen the right ascension lock and move the counterweights along the shaft until the OTA remains level. Tighten the right ascension lock once balanced.
7. Polar Alignment (Equatorial Mounts Only)
Polar alignment is crucial for accurate tracking of celestial objects. In the Northern Hemisphere, locate Polaris and adjust the mount’s altitude and azimuth controls to center Polaris in the finderscope or polar alignment scope. In the Southern Hemisphere, use a polar alignment app or software to locate the South Celestial Pole and adjust the mount accordingly.
8. Fine-Tune the Focus
Once your telescope is set up and aligned, it’s time to fine-tune the focus. Point the telescope at a bright star or planet and adjust the focuser until the object appears sharp and clear in the eyepiece. You may need to make small adjustments to the focus as the telescope cools down to the ambient temperature.
Tips for a Successful Observation
- Allow Time for Cooling: Telescopes need time to reach thermal equilibrium with the surrounding environment. Allow at least 30 minutes for the telescope to cool down before starting your observations.
- Use a Star Chart or App: A star chart or astronomy app can help you identify and locate celestial objects. Familiarize yourself with the night sky and plan your observations in advance.
- Avoid Touching the Telescope: Once the telescope is set up and aligned, avoid touching it to prevent vibrations and movement. Use slow-motion controls or a remote control to make adjustments.
- Protect Your Eyes: Never look directly at the sun through a telescope without a proper solar filter, as it can cause permanent eye damage.
Troubleshooting Common Issues
- Blurry Images: If the images appear blurry, check the focus and ensure the eyepiece is securely in place. Atmospheric turbulence can also cause blurriness, so try observing on nights with stable weather conditions.
- Difficulty Finding Objects: If you have trouble locating objects, double-check the alignment of the finderscope and ensure it is properly aligned with the main telescope. Start with bright, easy-to-find objects before moving on to fainter targets.
- Mount Instability: If the mount feels unstable, check that the tripod legs are fully extended and the mount is securely attached. Adding weight to the tripod, such as a sandbag, can also improve stability.
Setting up a telescope may seem challenging at first, but with practice and patience, it becomes a straightforward process. By following the steps outlined in this guide, you can ensure a successful setup and enjoy the wonders of the night sky. Remember to take your time, double-check each step, and most importantly, have fun exploring the universe. Happy stargazing!
