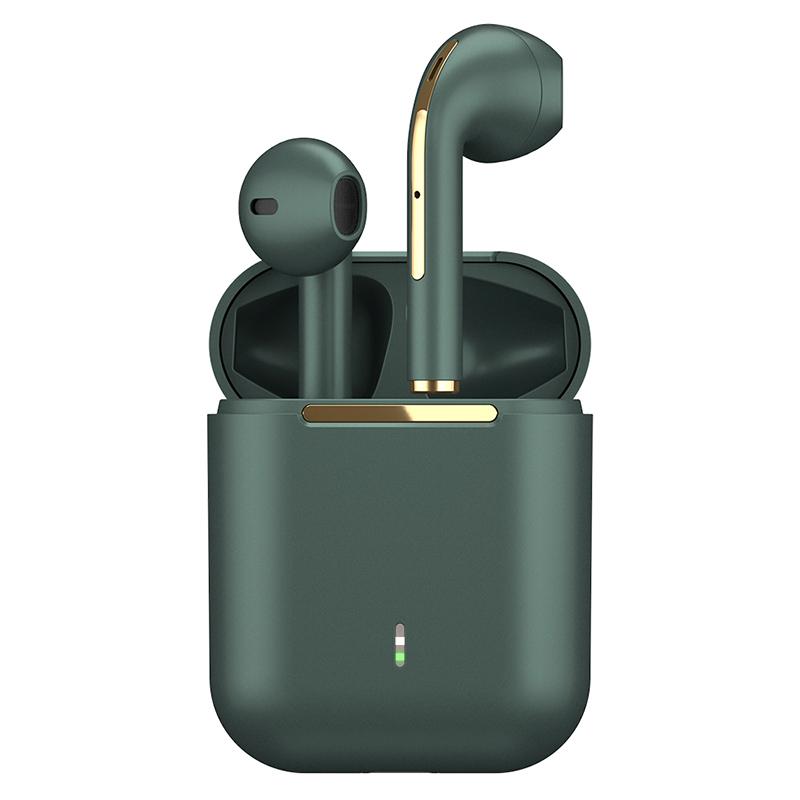
How To Set Up Wireless Headphones?
Setting up wireless headphones can seem daunting, especially if you're not particularly tech-savvy. However, with the right guidance, you can easily connect your wireless headphones to a variety of devices, including smartphones, tablets, computers, and even smart TVs. This article will walk you through the process step-by-step, ensuring that you can enjoy your wireless headphones without any hassle.
Understanding Wireless Headphones

Before diving into the setup process, it's essential to understand the different types of wireless headphones available. The most common types are Bluetooth headphones and RF (radio frequency) headphones. Bluetooth headphones are the most popular and versatile, as they can connect to a wide range of devices. RF headphones, on the other hand, are typically used for home entertainment systems and require a dedicated transmitter.
Step-by-Step Guide to Setting Up Bluetooth Headphones
1. Charge Your Headphones
Before you start the setup process, make sure your headphones are fully charged. Most wireless headphones come with a USB charging cable. Connect the cable to a power source and let the headphones charge until the battery is full. This step is crucial to avoid any interruptions during the setup process.
2. Turn On Your Headphones
Once your headphones are charged, turn them on. Most wireless headphones have a power button that you need to press and hold for a few seconds. You may see a light indicator that shows the headphones are powered on.
3. Activate Pairing Mode
To connect your headphones to a device, you need to activate pairing mode. This usually involves pressing and holding the power button or a dedicated pairing button until the light indicator starts flashing. The flashing light indicates that the headphones are in pairing mode and ready to connect to a device.
4. Enable Bluetooth on Your Device
Next, you need to enable Bluetooth on the device you want to connect to. This process varies slightly depending on the type of device:
- Smartphones/Tablets (iOS and Android):
- Go to the Settings app.
- Select Bluetooth.
- Toggle the Bluetooth switch to the "On" position.
- Windows Computers:
- Open the Start menu and go to Settings.
- Select Devices, then Bluetooth & other devices.
- Toggle the Bluetooth switch to the "On" position.
- Mac Computers:
- Click on the Apple menu and select System Preferences.
- Click on Bluetooth.
- Ensure that Bluetooth is turned on.
5. Pair Your Headphones with the Device
Once Bluetooth is enabled on your device, it will start searching for available Bluetooth devices. Your headphones should appear in the list of available devices. Select your headphones from the list to initiate the pairing process. You may be prompted to enter a PIN or passcode, which is usually "0000" or "1234." Refer to your headphones' user manual if you're unsure.
6. Confirm the Connection
After selecting your headphones, the device will establish a connection. You should see a confirmation message on your device, and the light indicator on your headphones will stop flashing, indicating a successful connection. You can now start using your wireless headphones.
Troubleshooting Common Issues
Despite following the steps above, you may encounter some issues during the setup process. Here are some common problems and their solutions:
1. Headphones Not Appearing in Bluetooth List
If your headphones don't appear in the list of available Bluetooth devices, try the following:
- Ensure that your headphones are in pairing mode.
- Turn Bluetooth off and on again on your device.
- Restart both your headphones and the device.
- Move closer to the device to ensure you're within the Bluetooth range.
2. Connection Drops or Audio Cuts Out
If the connection between your headphones and device drops frequently or the audio cuts out, try these solutions:
- Ensure that there are no obstacles between the headphones and the device.
- Keep other electronic devices that may cause interference away.
- Update the firmware of your headphones and the device.
- Reset your headphones to factory settings and pair them again.
3. Poor Audio Quality
If you experience poor audio quality, consider the following:
- Check the audio settings on your device and ensure that the volume is set to an appropriate level.
- Ensure that your headphones are fully charged.
- Try using a different audio source to rule out issues with the content.
Setting Up RF Wireless Headphones
If you have RF wireless headphones, the setup process is slightly different. RF headphones come with a transmitter that needs to be connected to your audio source. Here's how to set them up:
1. Connect the Transmitter
Plug the transmitter into a power source and connect it to your audio source using the provided cables. The audio source could be a TV, stereo system, or computer.
2. Turn On the Transmitter and Headphones
Turn on both the transmitter and the headphones. The transmitter will send a signal to the headphones, allowing them to connect automatically.
3. Adjust the Frequency
Some RF headphones allow you to adjust the frequency to avoid interference. Refer to your user manual for instructions on how to change the frequency if needed.
4. Test the Connection
Play some audio on your source device to test the connection. Adjust the volume on both the audio source and the headphones to ensure optimal sound quality.
Setting up wireless headphones doesn't have to be complicated. By following the steps outlined in this guide, you can easily connect your Bluetooth or RF headphones to a variety of devices. Remember to charge your headphones, activate pairing mode, enable Bluetooth on your device, and pair the two devices. If you encounter any issues, refer to the troubleshooting section for solutions. With your wireless headphones set up, you can enjoy a seamless and convenient audio experience.
