How To Setup Webcam?
Setting up a webcam can seem like a daunting task, especially if you're not particularly tech-savvy. However, with the right guidance, it can be a straightforward process. Whether you're setting up a webcam for video conferencing, streaming, or simply to stay in touch with family and friends, this guide will walk you through the necessary steps to get your webcam up and running smoothly.
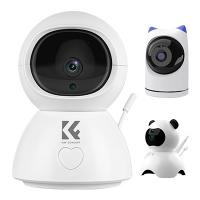
Step 1: Choose the Right Webcam
Before you can set up a webcam, you need to choose the right one for your needs. Webcams come in various shapes, sizes, and specifications. Here are some factors to consider:
1. Resolution: Higher resolution webcams (1080p or 4K) provide clearer and more detailed images.
2. Frame Rate: A higher frame rate (30fps or 60fps) ensures smoother video.
3. Field of View: A wider field of view captures more of the surroundings.
4. Microphone Quality: Some webcams come with built-in microphones, but the quality can vary.
5. Compatibility: Ensure the webcam is compatible with your operating system (Windows, macOS, Linux).
Step 2: Unbox and Inspect the Webcam
Once you've chosen your webcam, unbox it and inspect the contents. Most webcams come with the following components:
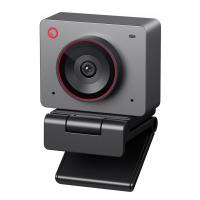
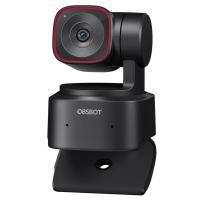
1. Webcam Unit: The main device.
2. USB Cable: For connecting the webcam to your computer.
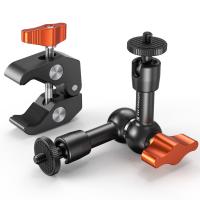
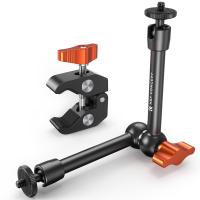
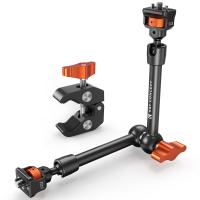
3. Mounting Clip or Stand: To attach the webcam to your monitor or place it on a flat surface.
4. User Manual: Instructions and warranty information.
Step 3: Connect the Webcam to Your Computer
1. USB Connection: Most webcams connect to your computer via a USB port. Plug the USB cable into an available USB port on your computer.
2. Driver Installation: Modern operating systems usually recognize webcams automatically and install the necessary drivers. If your webcam comes with a driver CD or a download link, follow the instructions to install the drivers manually.
Step 4: Position the Webcam
1. Mounting: Use the mounting clip to attach the webcam to the top of your monitor. Ensure it's secure and stable.
2. Adjusting: Adjust the angle of the webcam to ensure it captures your face and upper body. Most webcams have a swivel or tilt feature for easy adjustment.
Step 5: Configure Webcam Settings
1. Software Installation: Some webcams come with dedicated software for configuration. Install this software if available.
2. System Settings: Go to your computer's system settings to configure the webcam. On Windows, you can find this under "Devices" > "Cameras." On macOS, go to "System Preferences" > "Security & Privacy" > "Camera."
3. Adjust Settings: Adjust settings such as resolution, frame rate, brightness, contrast, and microphone volume to your preference.
Step 6: Test the Webcam
1. Video Conferencing Apps: Open a video conferencing app like Zoom, Skype, or Microsoft Teams. Go to the settings menu and select your webcam as the video input device.
2. Test Call: Make a test call to ensure the webcam is working correctly. Check the video quality, audio quality, and overall performance.
3. Troubleshooting: If you encounter any issues, refer to the user manual or the manufacturer's website for troubleshooting tips.
Step 7: Enhance Your Webcam Experience
1. Lighting: Good lighting can significantly improve the quality of your webcam video. Use natural light or invest in a ring light or desk lamp.
2. Background: Choose a clean and uncluttered background. Some video conferencing apps offer virtual backgrounds if you prefer.
3. External Microphone: If the built-in microphone quality is not satisfactory, consider using an external microphone for better audio quality.
Common Issues and Solutions
1. Webcam Not Detected: Ensure the USB cable is securely connected. Try a different USB port. Restart your computer and check for driver updates.
2. Poor Video Quality: Adjust the resolution and frame rate settings. Improve lighting conditions. Clean the webcam lens.
3. Audio Issues: Check the microphone settings in your system and video conferencing app. Ensure the microphone is not muted. Use an external microphone if necessary.
Setting up a webcam doesn't have to be a complicated process. By following these steps, you can ensure that your webcam is properly installed, configured, and ready to use. Whether you're using it for professional video conferencing, streaming, or personal communication, a well-setup webcam can make a significant difference in your online interactions.
Remember to keep your webcam software and drivers up to date to ensure optimal performance. With the right setup and a few enhancements, you'll be able to enjoy clear, high-quality video and audio for all your online activities.




![3mm/0.12in Industrial Borescope Inspection Camera with Light 180° 2-Way Articulating [3.28ft Cable] 3mm/0.12in Industrial Borescope Inspection Camera with Light 180° 2-Way Articulating [3.28ft Cable]](https://img.kentfaith.com/cache/catalog/products/us/GW45.0108/GW45.0108-1-200x200.jpg)


