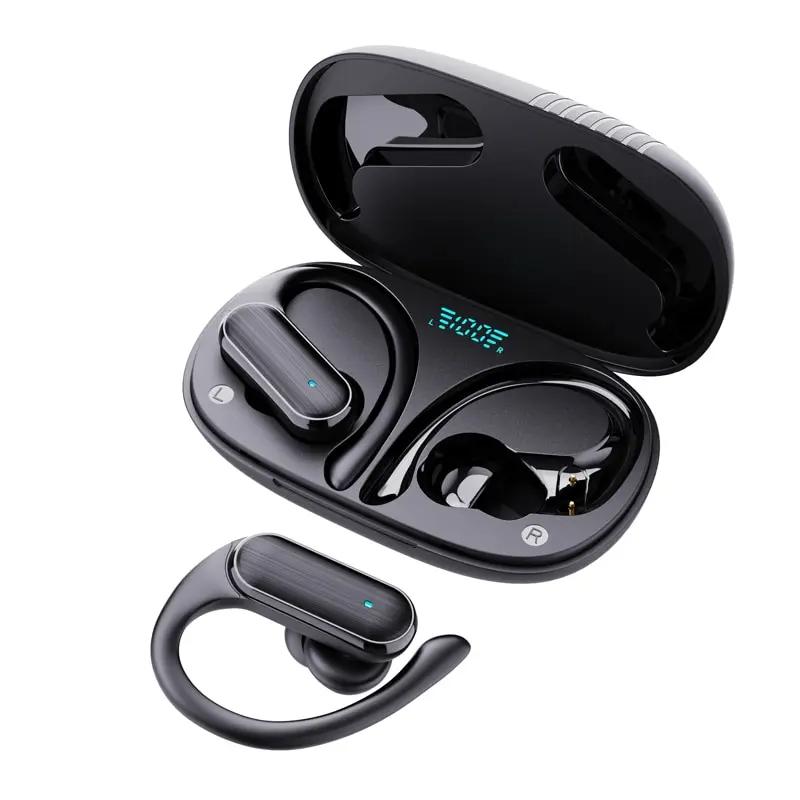
How To Take Off Earbud Tips?
Taking off earbud tips might seem like a relatively simple task, but doing so correctly can help prevent damage to your earbuds and ensure they remain in good condition. It's essential for maintaining ear hygiene and sometimes necessary for troubleshooting or adjusting the fit of your earbuds. In this guide, we'll explore the reasons you might need to remove earbud tips, provide a step-by-step process for doing so safely, and offer some maintenance tips to keep your earbuds in top condition.
Understanding the Purpose of Earbud Tips

Earbud tips serve a crucial role in the function and comfort of earbuds. They are primarily designed to:
1. Enhance Comfort: Earbud tips help provide a comfortable seal in your ear, reducing irritation and allowing for extended listening periods without discomfort.
2. Improve Sound Quality: Properly fitted earbud tips ensure that the sound is directed into your ear canal, significantly improving the sound quality and enhancing bass response.
3. Provide Noise Isolation: The tips help to block external noise, allowing you to enjoy your music without interference from outside sounds.
4. Maintain Hygiene: Regularly changing and cleaning your earbud tips can prevent the buildup of earwax and bacteria, reducing the risk of ear infections.
Reasons for Removing Earbud Tips

There are several reasons you might need to remove the tips from your earbuds:
- Cleaning and Maintenance: Over time, earwax and dirt accumulate on earbud tips. Removing them for regular cleaning is essential for hygiene and maintaining sound quality.
- Replacing Worn-Out Tips: Earbud tips can wear out or get damaged. Replacing them restores comfort and sound quality.
- Changing for Size and Fit: Everyone's ears are different, and the standard tips may not fit all users comfortably. Trying different sizes or materials can enhance your listening experience.
- Troubleshooting Speaker Issues: Sometimes, the sound might seem muffled or uneven, necessitating removal of the tips to check for blockages or damages to the earbud speakers themselves.
Step-By-Step Guide to Removing Earbud Tips

Here’s a comprehensive guide on how to safely remove and replace earbud tips:
1. Gather Your Materials: Before you begin, make sure you have a clean cloth, some rubbing alcohol or warm soapy water, slightly dampened cloths, and the replacement tips if you are planning to change them.
2. Washing Hands: Start by washing your hands thoroughly. This helps to prevent transferring dirt and oils to the earbuds.
3. Hold the Earbuds Firmly: Gently but firmly hold the body of the earbud. Make sure you’re not tugging on the cable to avoid damage.
4. Gently Twist the Tip: Gently twist the earbud tip slightly to see if it begins to loosen. Different earbuds have different attachment mechanisms (some pull straight off, others may require slight twisting).
5. Remove the Tip: Once it’s slightly loosened, pull the tip straight off, making sure to apply even pressure. Avoid using excessive force as it can damage the earbud or the tips themselves.
6. Clean the Earbuds: Before replacing the tips, clean the exposed end of the earbud with a slightly dampened cloth. Avoid getting moisture into the earbud.
7. Inspect and Clean Removed Tips: Wash the ear tips with warm soapy water or wipe them down with rubbing alcohol. This will remove any accumulated wax or debris.
8. Dry the Tips Completely: Ensure that the tips are fully dry before putting them back onto the earbuds or replacing them.
9. Attach New or Cleaned Tips: Align the new or cleaned earbud tips with the nozzle of the earbuds and push gently but firmly until they are snug.
Tips for Maintaining Earbud Tips

- Regular Cleaning: Clean your earbud tips regularly to maintain sound quality and hygiene. Wiping them down after each use can prevent buildup.
- Storage: Store your earbuds in a case when not in use to protect them from dirt and damage.
- Replace When Needed: Replace tips every few months, or sooner if you notice visible degradation or a loss in sound quality.
- Use the Right Size: Ensure that you are using the correct size of earbud tip. A poor fit can drastically affect sound quality and comfort.
Troubleshooting Common Problems
1. Tip Doesn’t Fit Properly: If the tips don’t fit comfortably or fall off too easily, try a different size or manufacturer. Some people opt for foam tips for a more customizable fit.
2. Sound Issues: If sound quality is compromised after a tip is reattached, remove it and ensure nothing is obstructing the sound nozzle.
3. Difficulty Removing Tip: If you find the tips particularly challenging to remove, it might be worthwhile to check the manufacturer’s instructions for any specific guidance.
Proper care and understanding the process of removing and replacing earbud tips is vital for any earbud owner. This seemingly simple task has a significant impact on delivering optimal sound quality and maintaining ear hygiene. By following the steps outlined, you can ensure that your earbuds function at their best and remain comfortable and hygienic to wear. Regular maintenance and timely replacement of earbud tips are small but essential tasks that enhance the longevity and performance of your audio device. Whether you’re a casual listener or an audiophile, paying attention to the condition and fit of your earbud tips can greatly enhance your listening experience.
