How To Take Photos From Telescope?
Capturing stunning images from a telescope can be an immensely rewarding experience. Whether you're an amateur astronomer or a seasoned astrophotographer, telescope photography opens up a universe of visual possibilities. The process, however, demands a clear understanding of both your equipment and the techniques required to take compelling images. This guide aims to expand on the essentials of astrophotography through telescopes, offering insights that ensure you capture images that not only showcase celestial beauty but also fulfill your creative and technical aspirations.
Understanding the Basics of Telescope Photography

Telescope photography, also known as astrophotography, involves using a camera attached to a telescope to take pictures of celestial objects. This art form necessitates an understanding of the equipment at your disposal, including telescopes, cameras, mounts, and adapters, as well as knowledge of the sky and the objects within it. It's not just a matter of setting up and clicking away; it requires preparation, patience, and a little bit of know-how.
Choosing the Right Equipment

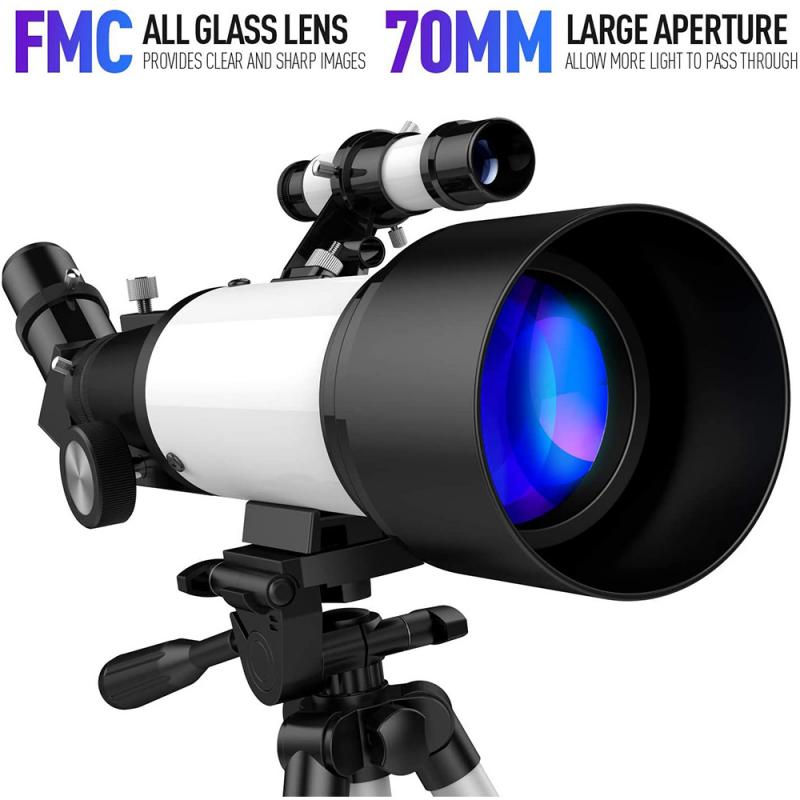
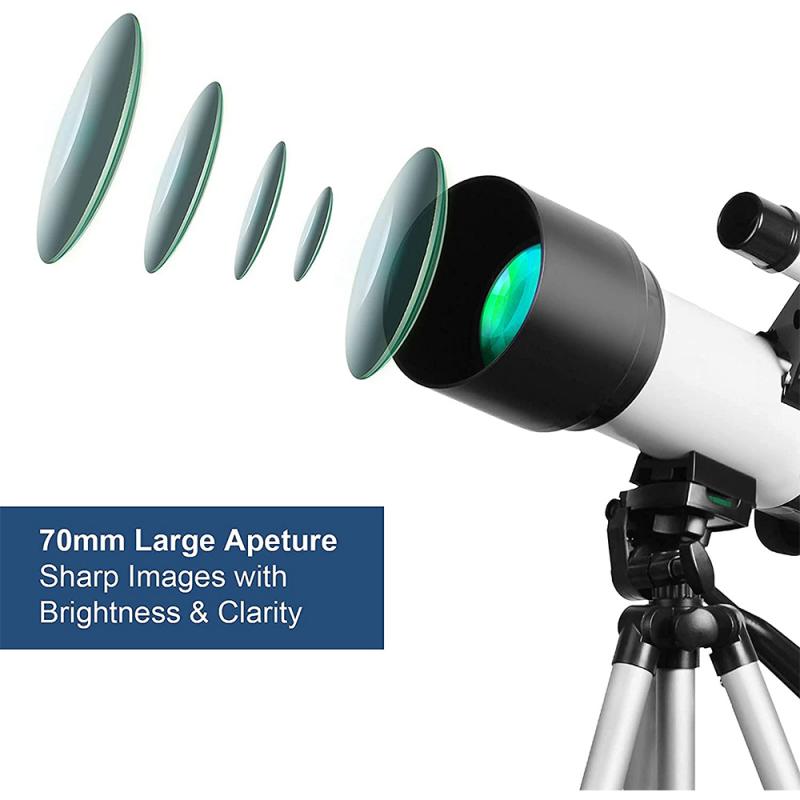
1. Telescopes: The first step is choosing the right telescope. For beginners, refractors and reflectors are among the most popular options. Refractors, which use lenses, are ideal for viewing planets and binary stars. Reflectors, on the other hand, use mirrors and are better suited for deep-sky objects like galaxies and nebulae. The aperture size, focal length, and optical quality are critical factors in the overall quality of the images you can capture.
2. Cameras: When it comes to cameras, Digital Single-Lens Reflex (DSLR) cameras and mirrorless cameras are widely used for telescope photography due to their versatility and ability to shoot in RAW format, which retains more information for post-processing. Dedicated astronomy cameras, although more expensive, offer features tailored specifically for astrophotography, such as cooling systems that reduce noise in long exposures.
3. Mounts and Tripods: Stability is crucial when it comes to astrophotography. Equatorial mounts are preferred for their ability to track the Earth's rotation, keeping the celestial object in your frame for longer periods. Accurate alignment and tracking are essential for long exposure photography, which is often needed to capture the faint light of distant celestial objects.
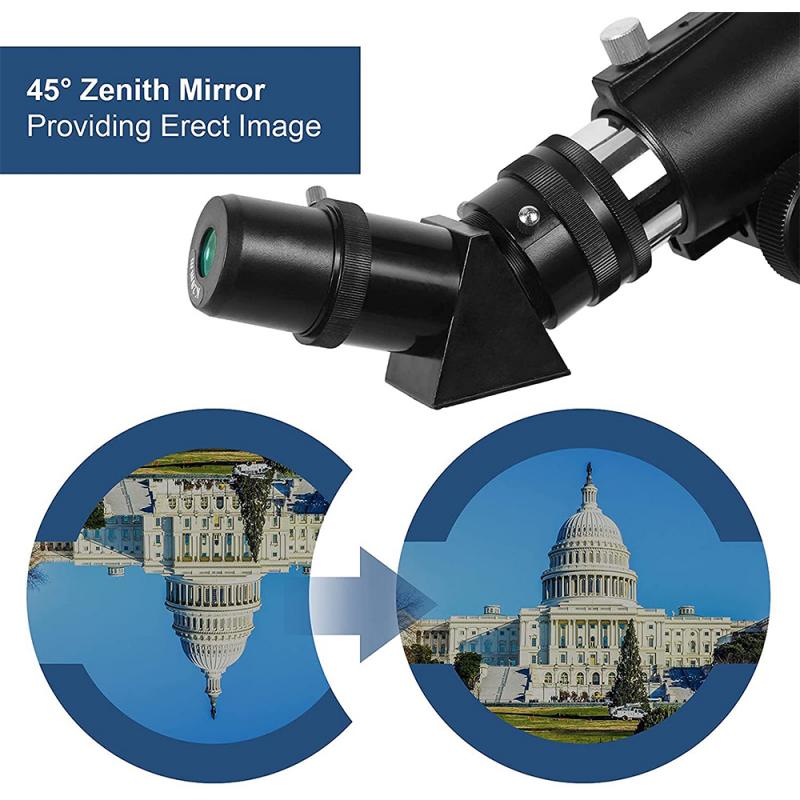
4. Adapters and Accessories: To connect your camera to the telescope, you’ll need the appropriate adapters. Generally, a "T-ring" adapter and a “T-ring to telescope adapter” are needed for DSLR cameras. Additional accessories like focal reducers can be used to widen the field of view or increase the brightness of the image.
Preparing for the Shoot

Pre-planning your shoot is an integral part of astrophotography. Here are essential considerations:
- Weather and Light Pollution: Clear skies are a must. Use weather forecasting tools to predict cloud cover. Additionally, light pollution can affect the quality of your images drastically. Plan your shoot in places with little to no light pollution. Apps and websites provide information on dark sky locations and levels of light pollution.
- Lunar Phases: A moonlit sky can wash out fainter celestial objects. The best time for deep-sky photography is during the new moon phase. If you’re focusing on the Moon itself or a planet, lunar phases may still be important for your planning.
- Object Visibility: Use star maps or digital planetarium software to identify what celestial objects are visible on your planned night. Some objects are season-specific; thus, capturing them may require planning months in advance.
Taking the Shot

Once the planning and setup are complete, the next step is capturing the image. Here's how:
- Focusing: Achieving perfect focus through a telescope can be challenging. Use the telescope’s manual focus and live view mode on your camera to adjust. Focusing aids such as Bahtinov masks can dramatically enhance focus accuracy.
- Exposure Settings: Exposure settings should be adjusted based on the object you're photographing. Bright objects like the Moon or planets require shorter exposures, whereas deep-sky objects will require longer. It's crucial to balance ISO settings and exposure time to capture enough light without causing grainy noise or trailing effects from Earth's rotation.
- Calibration Frames: Astrophotography benefits from taking calibration frames, including dark frames, flat frames, and bias frames, which help in reducing noise and correcting optical imperfections during post-processing.
Processing the Images
Astrophotography doesn't end with taking photos—it involves extensive post-processing to bring out the detail captured during shooting.
- Stacking Images: Software like DeepSkyStacker or Astrophotography Tool allows you to stack multiple images to improve signal-to-noise ratio. This practice effectively highlights faint details that might be invisible in a single shot.
- Editing Software: Professional editing software like Adobe Photoshop or PixInsight is widely used for processing astrophotographs. Tasks include adjusting levels and curves to enhance contrast, removing background gradients caused by light pollution, and color correction.
- Fine-tuning: The finest details in stars, nebulas, and galaxies often need fine-tuning through sharpening and de-noising techniques. Using layers and masks can allow you to target specific elements of your photo without affecting others.
Troubleshooting Common Issues
Astrophotography can be rife with challenges. Here are a few common issues and how to address them:
- Star Trails: Resulting from the Earth’s rotation, these can be corrected using shorter exposure times combined with stacking techniques or by ensuring your mount is accurately tracking celestial coordinates.
- Focus Shift: Often caused by temperature changes. Regularly check your focus, especially if shooting over several hours.
- Noise: Long exposures can bring about noise. Cooling on dedicated astrophotography cameras, lower ISO settings, and dark frame calibration can help control noise levels.
Astrophotography through a telescope is a fascinating discipline that combines technical skills with an artistic eye. While the learning curve may be steep, patience and practice will yield incredible images of the cosmos. By carefully selecting your equipment, planning meticulously, and processing your images with an eye for detail, capturing the beauty of the universe becomes an ever-rewarding pursuit. So set your sights on the stars, and embark on a journey to create your own window into the universe.
