How To Take Photos Through A Telescope?
Capturing photographs through a telescope, a process known as astrophotography, is both an art and a science, allowing even amateur astronomers to explore the beauty of the night sky. With advancements in technology, including smartphone cameras and specialized telescope adapters, taking stunning images of celestial wonders is more accessible than ever. This article will guide you through the essentials of astrophotography, offering practical advice and tips to help you capture awe-inspiring images.
Understanding Your Equipment
Telescope Selection:
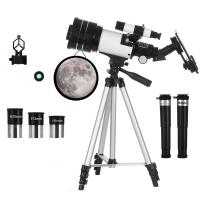
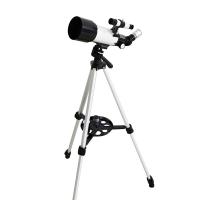
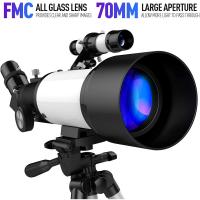
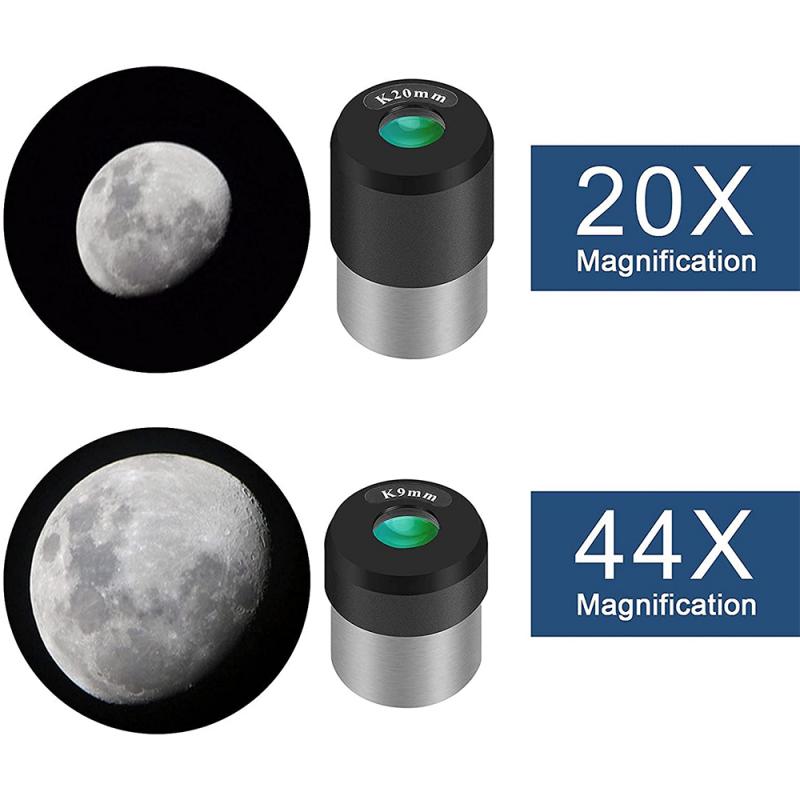
The first step is to ensure you have an appropriate telescope. While it's possible to use a basic telescope for casual observation, serious astrophotography demands more refined equipment. Refractors are generally preferred for their sharp images, while reflectors are great for capturing faint objects, given their larger apertures. The critical factors are aperture and focal length, which determine the amount of light your telescope can gather and the level of detail it can resolve.
Mounts Matter:
A sturdy mount is indispensable for taking sharp images. Equatorial mounts are favored in astrophotography because they can accurately track celestial objects as they move across the night sky. Ensuring your mount is steady and well-aligned is crucial to mitigate the Earth's rotation, which can blur long-exposure photos.
Choosing the Camera
Basic Options:
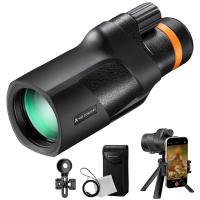
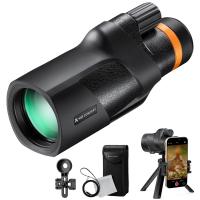
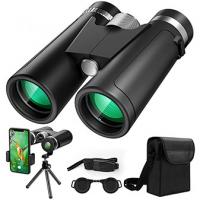
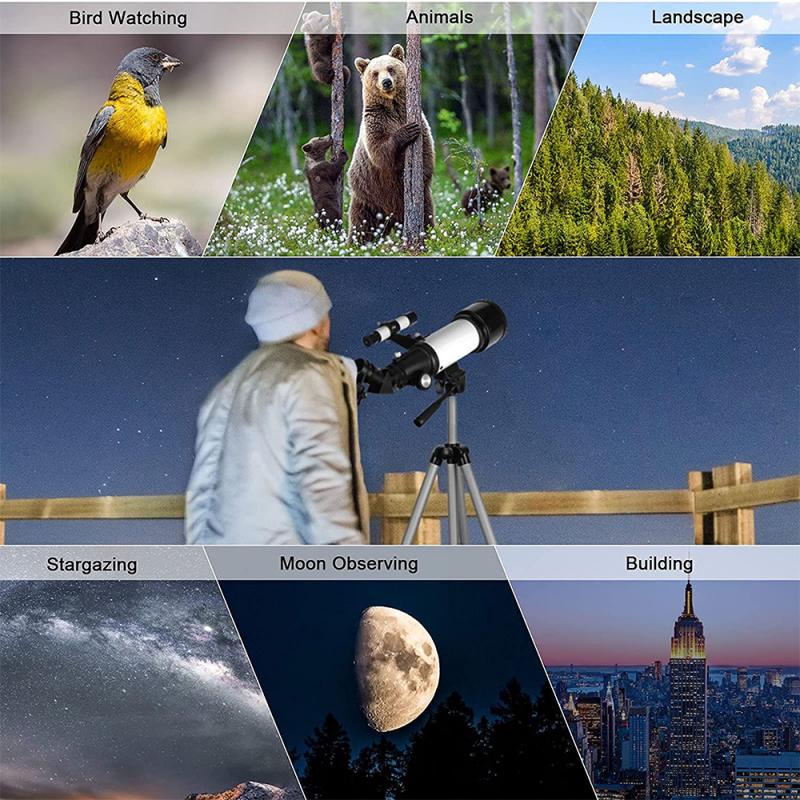
Beginners often start with what they already have: a smartphone camera. With the help of an adapter that mounts your phone to the telescope eyepiece, you can take surprisingly good images.
Advanced Options:
For higher quality images, a DSLR or mirrorless camera is ideal. These cameras offer better sensitivity to light, more manual control over settings, and interchangeable lenses. Astrophotography-specific cameras, such as CCD or dedicated astronomical cameras, while more expensive, provide the best image quality with higher sensitivity and lower noise, making them perfect for capturing deep-sky objects.
Essential Accessories
Adapters and T-Rings:
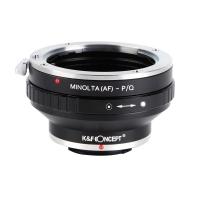
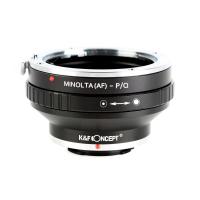
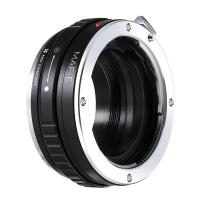
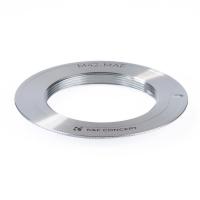
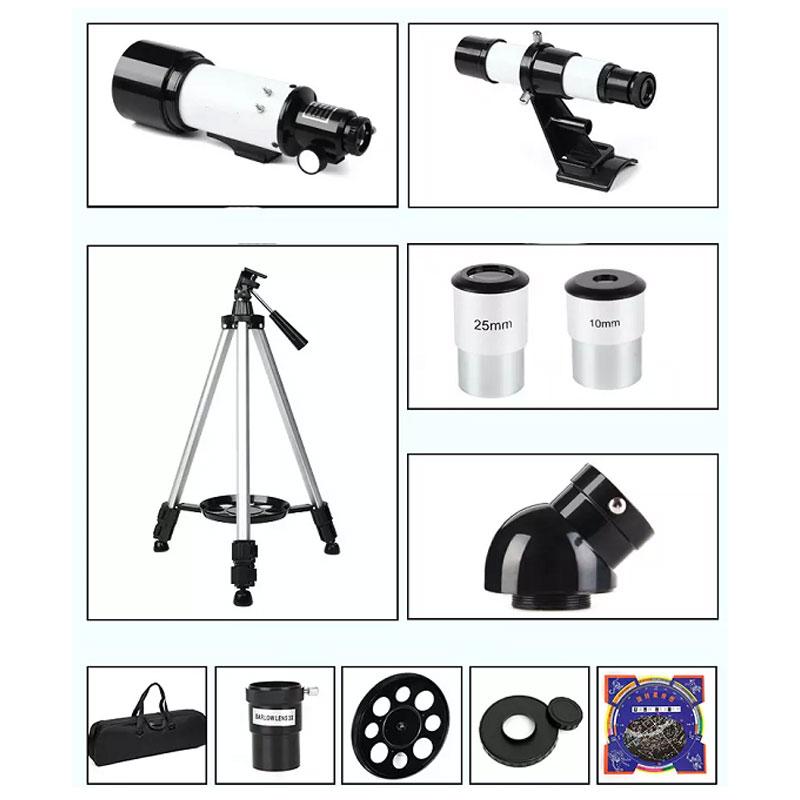
To connect your camera to the telescope, you'll generally need specific adapters. For DSLR cameras, this usually means a T-ring and a T-adapter. Ensure that your adapters are compatible with both your camera and telescope.
Remote Shutter Release:
To reduce vibrations that cause blurring, use a remote shutter release or the camera's timer function. This is especially important for long exposure shots.
Guiding Systems:
When taking long exposures of faint objects, even the best mounts need assistance. Auto-guiding systems can track stars accurately, allowing for longer exposure times without streaking.
Mastering the Technique
Alignment and Polar Alignment:
Proper alignment of your telescope, especially polar alignment, is crucial. This process involves aligning your telescope's mount with the Earth's rotational axis, enabling precise tracking of celestial objects. Polar alignment is most critical for long exposure astrophotography, where accuracy is paramount.
Focusing:
Achieving a sharp focus is perhaps the most challenging aspect. Many astrophotographers use a focusing aid called a Bahtinov mask. This inexpensive accessory sits over your telescope’s aperture and helps achieve perfect focus by creating distinct diffraction patterns around bright stars.
Exposure Settings:
Astrophotography often requires experimentation with exposure settings. Start with moderate ISO settings to balance sensitivity and noise, and experiment with shutter speeds to capture enough light without overexposing bright objects. Remember, long exposures let you capture faint stars and nebulae but require precise tracking to avoid star trails.
Image Stacking:
To improve image quality, many astrophotographers employ a technique called stacking. This involves taking multiple short exposure photos of the same object and combining them using software. Stacking reduces noise and improves detail, helping overcome the limitations of individual exposures.
Post-Processing Your Images
Capturing raw images is just the beginning. Post-processing is crucial in astrophotography to highlight the details of your subjects and achieve the desired aesthetic quality.
Software Selection:
Several software options are available, ranging from free platforms like GIMP and DeepSkyStacker to professional-grade programs like Adobe Photoshop and Lightroom. These tools provide powerful features for stacking, adjusting lighting, contrast, and removing noise.
Color Adjustment:
Tweaking the color balance can bring out subtle details of nebulae and galaxies, revealing features obscured by light pollution or atmospheric interference. Be mindful not to over-process – maintaining natural-looking images is the hallmark of professional astrophotography.
Noise Reduction:
Astrophotography often requires high ISO settings, which increases the likelihood of noise. Effective noise reduction techniques can be applied through post-processing software while preserving detail.
Practical Tips and Considerations
Location and Timing:
Choose a location with minimal light pollution, which dramatically affects image quality. Additionally, timing can impact photo opportunities – shooting during phases of the moon (e.g., new moon) when the sky is darker, improves results. For specific celestial events, early planning increases your chances of success.
Weather Monitoring:
Clear skies are ideal, but atmospheric conditions also play a role. Monitor weather forecasts and avoid nights with excessive humidity or high winds, as these can distort images and affect clarity.
Experimentation:
Astrophotography involves significant trial and error. Don’t be discouraged by initial challenges – each session provides valuable learning experiences. As you grow familiar with your equipment and the night sky, your skills and confidence will improve.
Astrophotography is a rewarding hobby that provides a deeper understanding of our universe and a unique way to express creativity. With patience, practice, and the right equipment, capturing beautiful images through a telescope is within your reach. Mastering the technical and artistic aspects of astrophotography takes time, yet the stunning visuals and personal satisfaction make the journey worthwhile. Whether you start with a smartphone or invest in sophisticated cameras and mounts, remember there’s no substitute for patience and persistence when aiming for the stars.

