How To Take Pictures Through A Telescope?
Taking pictures through a telescope, also known as astrophotography, is a fascinating and rewarding hobby that combines the art of photography with the science of astronomy. Whether you're a beginner or an experienced stargazer, capturing the beauty of celestial objects can be a thrilling experience. This article will guide you through the essential steps and considerations for taking stunning pictures through a telescope.
Understanding the Basics
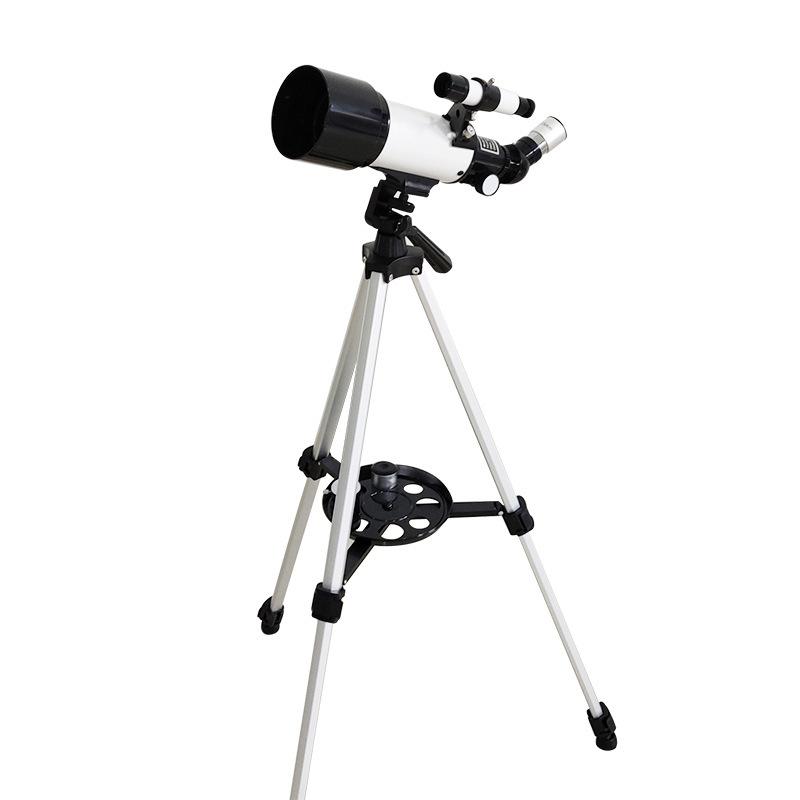
Before diving into the technical aspects, it's important to understand the basic principles of astrophotography. The primary goal is to capture images of astronomical objects such as planets, stars, galaxies, and nebulae. This requires a telescope to magnify the objects and a camera to record the images.
Choosing the Right Equipment
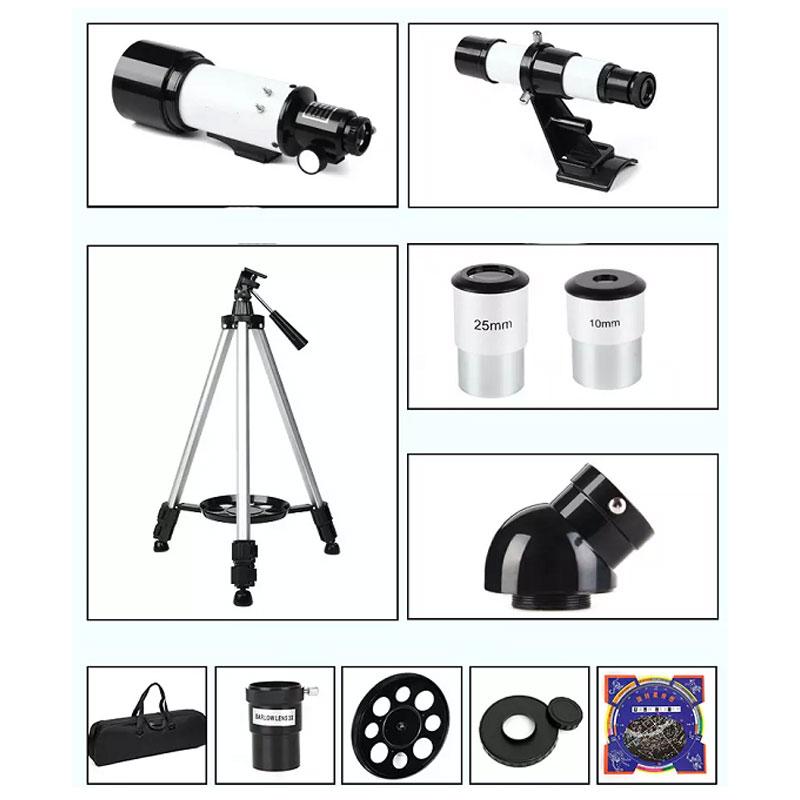
Telescope
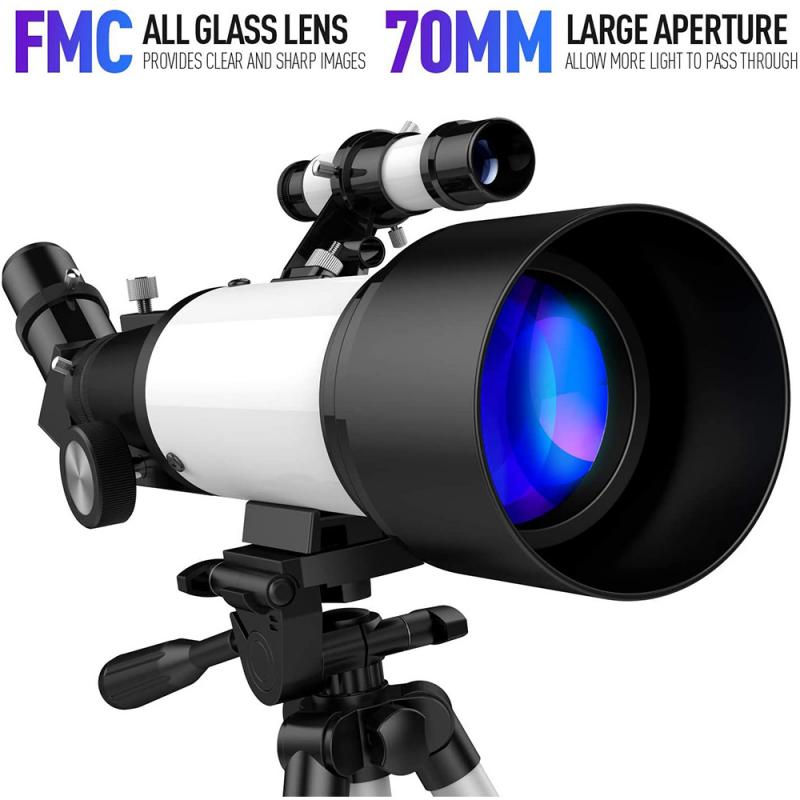
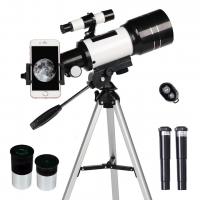
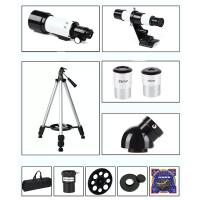
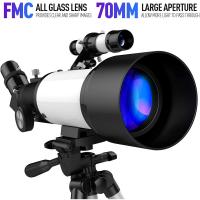
The type of telescope you use will significantly impact the quality of your astrophotography. There are three main types of telescopes: refractors, reflectors, and catadioptrics.
- Refractors: These telescopes use lenses to gather and focus light. They are known for their sharp and high-contrast images, making them ideal for planetary and lunar photography.
- Reflectors: These use mirrors to collect light. They are generally more affordable and offer larger apertures, which are beneficial for deep-sky photography.
- Catadioptrics: These combine lenses and mirrors, offering a compact design and versatility. They are suitable for both planetary and deep-sky photography.
Camera
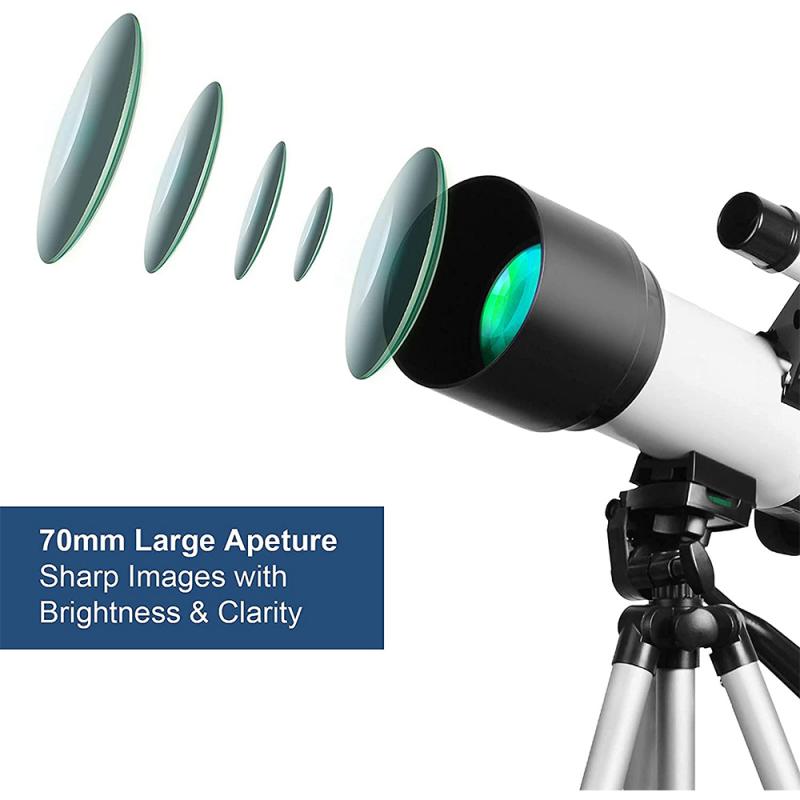
There are several types of cameras you can use for astrophotography:
- DSLR Cameras: Digital Single-Lens Reflex cameras are popular due to their versatility and high image quality. They allow for interchangeable lenses and manual settings.
- Mirrorless Cameras: These are similar to DSLRs but are more compact and lightweight. They also offer high image quality and manual controls.
- Dedicated Astronomy Cameras: These are specifically designed for astrophotography. They often come with cooling systems to reduce noise and are highly sensitive to light.
Mount
A stable and accurate mount is crucial for astrophotography. There are two main types of mounts:
- Altazimuth Mounts: These are simple and easy to use but are not ideal for long-exposure photography due to field rotation.
- Equatorial Mounts: These are designed to follow the rotation of the Earth, making them perfect for long-exposure astrophotography.
Setting Up Your Equipment
1. Align Your Telescope: Proper alignment is essential for accurate tracking. For equatorial mounts, this involves polar alignment, which means aligning the mount's axis with the Earth's rotational axis.
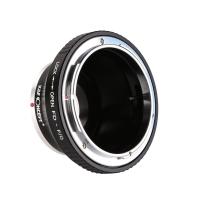
2. Attach Your Camera: Depending on your camera and telescope, you may need specific adapters. For DSLRs and mirrorless cameras, a T-ring and T-adapter are commonly used.
3. Focus Your Telescope: Achieving precise focus is critical. Use a focusing mask or software to help with fine adjustments.
Capturing the Image
Planetary and Lunar Photography
For capturing images of planets and the Moon, follow these steps:
1. Use High Magnification: Planets and the Moon are relatively small, so use a high magnification eyepiece or a Barlow lens.
2. Short Exposures: These objects are bright, so short exposures (fractions of a second) are sufficient.
3. Video Mode: For planets, consider using video mode and then stacking the frames to improve image quality.
Deep-Sky Photography
For capturing images of galaxies, nebulae, and star clusters, follow these steps:
1. Use Low Magnification: Deep-sky objects are often large, so use a low magnification eyepiece.
2. Long Exposures: These objects are faint, requiring long exposures (several minutes) to capture enough light.
3. Guiding: Use an autoguider to correct for any tracking errors during long exposures.
Processing the Image
Post-processing is a crucial step in astrophotography. It involves enhancing the details and reducing noise in your images. Here are some common techniques:
1. Stacking: Combine multiple exposures to improve the signal-to-noise ratio. Software like DeepSkyStacker or RegiStax can help with this.
2. Calibration Frames: Use dark frames, flat frames, and bias frames to correct for sensor noise and optical imperfections.
3. Image Editing: Use software like Adobe Photoshop or GIMP to adjust levels, curves, and colors. Be careful not to over-process, as this can introduce artifacts.
Troubleshooting Common Issues
Blurry Images
Blurry images can result from poor focus, atmospheric turbulence, or tracking errors. Ensure your telescope is properly focused and consider using a focusing mask. If atmospheric conditions are poor, try again on a clearer night. For tracking errors, ensure your mount is properly aligned and consider using an autoguider.
Noise
Noise is a common issue in long-exposure photography. Use a camera with a cooling system if possible, and take multiple exposures to stack and reduce noise. Calibration frames can also help mitigate noise.
Vignetting
Vignetting, or darkening at the edges of the image, can be corrected using flat frames during the stacking process. Ensure your optical system is clean and free of obstructions.
Advanced Techniques
Narrowband Imaging
Narrowband imaging involves using filters to capture specific wavelengths of light, such as hydrogen-alpha, oxygen-III, and sulfur-II. This technique is particularly useful for capturing details in nebulae and can produce stunning, high-contrast images.
High Dynamic Range (HDR) Imaging
HDR imaging involves combining exposures of different lengths to capture both the bright and faint details of an object. This technique is useful for objects with a wide range of brightness, such as the Orion Nebula.
Astrophotography is a challenging but immensely rewarding hobby. By understanding the basics, choosing the right equipment, and mastering the techniques, you can capture stunning images of the night sky. Remember that practice and patience are key. Each night out with your telescope and camera is an opportunity to learn and improve. Happy stargazing!







There are no comments for this blog.