How To Unlock Write Protected Micro Sd Card?
Unlocking a write-protected micro SD card can be a frustrating experience, especially when you need to access or modify the data stored on it. Write protection is a feature that prevents data from being written to or deleted from the card, ensuring the safety of the stored information. However, there are times when you need to disable this feature to make changes. In this article, we will explore various methods to unlock a write-protected micro SD card, addressing common issues and providing practical solutions.
Understanding Write Protection

Before diving into the solutions, it is essential to understand what write protection is and why it might be enabled on your micro SD card. Write protection can be enabled for several reasons:
1. Physical Lock Switch: Some SD card adapters have a physical lock switch that can be toggled to enable or disable write protection.
2. File System Errors: Corrupt file systems can sometimes cause the card to become write-protected.
3. Registry Settings: On Windows systems, certain registry settings can enforce write protection.
4. Third-Party Software: Some software applications can lock the card to prevent data modification.
5. Card Damage: Physical damage or wear and tear can sometimes cause the card to malfunction and become write-protected.
Method 1: Check the Physical Lock Switch

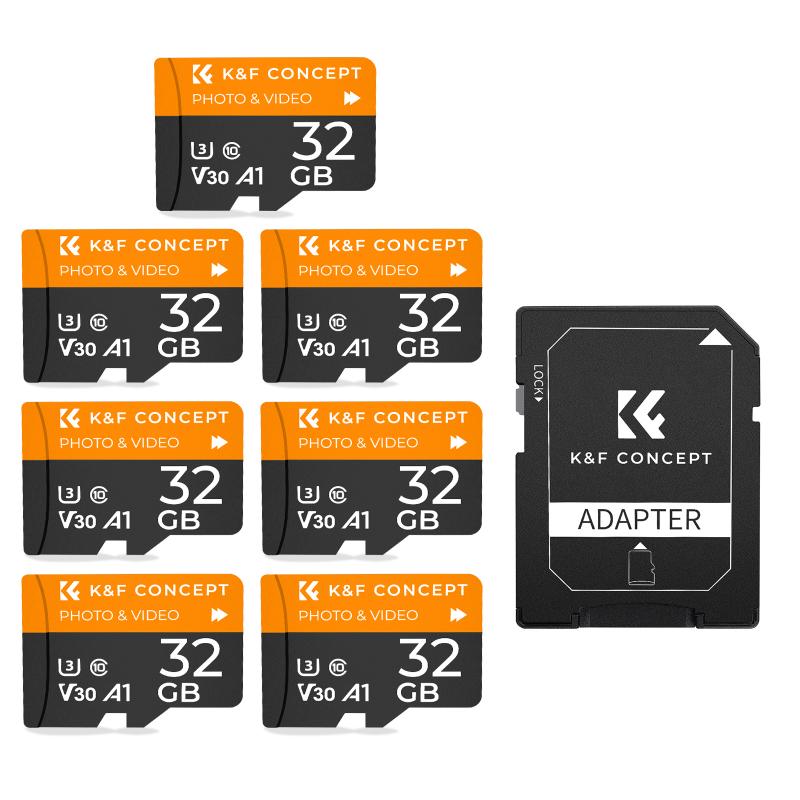
The first and simplest method to unlock a write-protected micro SD card is to check the physical lock switch on the SD card adapter. Micro SD cards themselves do not have a lock switch, but the adapters they are often used with do.
1. Remove the micro SD card from your device and insert it into the SD card adapter.
2. Locate the lock switch on the side of the adapter. It is usually a small sliding switch.
3. Slide the switch to the "unlock" position. The switch should be moved away from the "lock" label.
4. Reinsert the adapter with the micro SD card into your device and check if the write protection is disabled.
Method 2: Use Diskpart Utility (Windows)

If the physical lock switch is not the issue, you can use the Diskpart utility on Windows to remove write protection.
1. Open Command Prompt: Press `Win + R`, type `cmd`, and press Enter.
2. Launch Diskpart: In the Command Prompt window, type `diskpart` and press Enter.
3. List Disks: Type `list disk` and press Enter. This will display all the disks connected to your computer.
4. Select Disk: Identify your micro SD card from the list and type `select disk X`, replacing `X` with the number corresponding to your micro SD card.
5. Clear Write Protection: Type `attributes disk clear readonly` and press Enter.
6. Exit Diskpart: Type `exit` and press Enter to close the Diskpart utility.
Method 3: Modify Registry Settings (Windows)

Another method to disable write protection is by modifying the registry settings on a Windows computer.
1. Open Registry Editor: Press `Win + R`, type `regedit`, and press Enter.
2. Navigate to StorageDevicePolicies: Go to `HKEY_LOCAL_MACHINE\SYSTEM\CurrentControlSet\Control\StorageDevicePolicies`. If the `StorageDevicePolicies` key does not exist, you will need to create it.
3. Create or Modify WriteProtect Value: In the right pane, find the `WriteProtect` value. If it does not exist, right-click, select `New > DWORD (32-bit) Value`, and name it `WriteProtect`. Set its value to `0`.
4. Restart Your Computer: Close the Registry Editor and restart your computer to apply the changes.
Method 4: Format the Micro SD Card
If the above methods do not work, formatting the micro SD card might be necessary. Note that formatting will erase all data on the card, so ensure you have a backup before proceeding.
1. Insert the micro SD card into your computer.
2. Open File Explorer: Press `Win + E` to open File Explorer.
3. Locate the Micro SD Card: Right-click on the micro SD card and select `Format`.
4. Choose File System: Select the desired file system (e.g., FAT32, exFAT) and uncheck the `Quick Format` option for a thorough format.
5. Start Formatting: Click `Start` to begin the formatting process.
Method 5: Use Third-Party Software
Several third-party software tools can help unlock write-protected micro SD cards. These tools often provide more advanced features and can handle more complex issues.
1. Download and Install Software: Some popular options include EaseUS Partition Master, AOMEI Partition Assistant, and SD Formatter.
2. Run the Software: Open the software and follow the on-screen instructions to select your micro SD card.
3. Remove Write Protection: Use the software's features to remove write protection and format the card if necessary.
Method 6: Check for Physical Damage
If none of the above methods work, it is possible that the micro SD card is physically damaged. Inspect the card for any visible signs of damage, such as cracks or bent connectors. If the card is damaged, it may need to be replaced.
Unlocking a write-protected micro SD card can be achieved through various methods, depending on the cause of the write protection. By checking the physical lock switch, using the Diskpart utility, modifying registry settings, formatting the card, or using third-party software, you can often resolve the issue and regain access to your data. If the card is physically damaged, replacement may be necessary. Always ensure you have a backup of your data before attempting any of these methods to avoid data loss.
